Air Compressor for Paint Sprayers: CFM and Tank Needs
A paint sprayer uses air continuously, so CFM at the gun's working pressure and clean, dry air decide the finish. Learn how to size and protect the setup.
 By BuyOnceChoice Editorial Team
Updated November 16, 2026
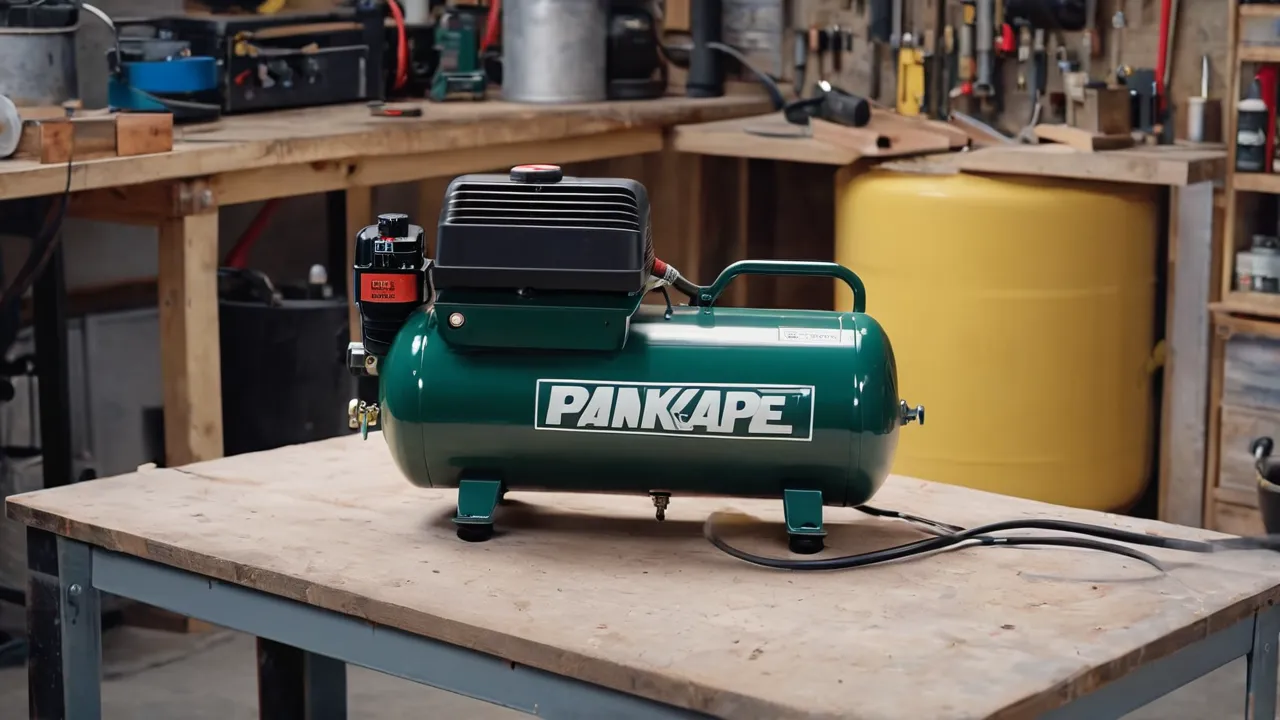
An air compressor for a paint sprayer must deliver at least the gun’s stated CFM at its working pressure for as long as you hold the trigger, and the air must be clean and dry. HVLP and conventional guns use air differently, so read the gun’s manual before you pick a compressor. A small unit that suits a nailer will usually fall short here, because spraying is a continuous load.
Why spraying is hard on a compressor
Spray guns consume air continuously. Unlike a nailer that fires in bursts, a gun runs for as long as paint flows. Once the tank is empty, the pump alone must supply the air, so the pump’s CFM rating becomes the limit. A compressor that drops pressure mid-pass leaves uneven coverage, spitting and a rough finish.
Time matters too. A cabinet door takes a minute or two to coat, but a fence or a ceiling takes far longer. The longer the job, the more the pump rating matters and the less the tank helps.
Pressure stability is the other factor. A gun works best when pressure at the cap stays constant. As tank pressure drops, the regulator tries to hold the set pressure, but once the tank falls close to the set point it cannot, and the spray pattern changes. A bigger pump keeps tank pressure well above the setting, which is why pump capacity beats tank size for this job.
HVLP versus conventional guns
HVLP stands for high volume low pressure. It uses a large volume of air at low pressure at the cap, transfers more paint to the surface and creates less overspray, but typically needs a good deal of air flow. Conventional guns use higher pressure at the gun and may use less volume, but they waste more paint as mist. Numbers differ by gun, and the manual gives the CFM at the recommended pressure.
Some HVLP setups use a separate turbine that makes its own air and avoids the compressor altogether. That is worth considering if your compressor is small. Other guns, sometimes sold as low demand or LVLP, need only modest air. Confirm which type you have before buying a compressor.
Material matters as well. Thin coatings such as stains and lacquers spray easily with modest air. Thick coatings such as latex paint and primers need a gun and setting suited to heavier material, and sometimes a thinner added according to the paint maker’s directions. A mismatch between gun, paint and air supply causes most spraying complaints, so read the paint can and the gun manual together.
How to size the compressor
Follow these steps.
- Find the gun’s air consumption in CFM at its working pressure.
- Pick a compressor whose CFM at 90 PSI exceeds it, and check the 40 PSI figure only if the gun works at lower pressure.
- Choose a tank large enough to smooth cycling, though the pump rating is the key.
- Use a regulator at the compressor and one at the gun for fine control.
- Add margin if other tools will share the line.
If a spec sheet lists only a 40 PSI rating, convert carefully, since flow at 90 PSI is lower. Compare the gun and the compressor at matching pressures.
Worked example
Suppose a gun lists 10 CFM at 30 PSI at the cap. That number is for the gun’s pressure, and your compressor’s rating at 90 PSI is lower than its rating at 40 PSI. Look for the compressor’s CFM at the pressure nearest your setting, and expect that a model rated well above 10 CFM at 90 PSI will run the gun comfortably. If your compressor lists only 4 CFM at 90 PSI, that gun will outrun it within moments. These are illustration figures, so replace them with the numbers in your manuals.
Think about how many people use the line. If a helper runs a die grinder or sander while you spray, the demand adds. Add the CFM of each tool that may run together and size to the total. Under-sizing leads to constant pump running and heat, which shortens life and lowers finish quality.
Moisture, oil and filtration
Water and oil in the air show up as fisheyes, blisters and cloudy finishes. Compressed air carries moisture, and a hot compressor adds more. A water separator and a coalescing filter near the gun remove most of it. A desiccant dryer is an option in humid climates. Drain the tank before each session and again as you work, and keep the hose clean.
Oil-lubricated pumps can pass a tiny amount of oil, which a filter must catch. Oil-free pumps avoid this but have other trade-offs, such as noise. Use filters sized for the flow your gun needs, and replace elements as the manufacturer directs.
Place the filter near the gun, not at the compressor, because air cools along the hose and moisture condenses along the way. A filter at the end of the line catches what the cooling hose produced. Drain it often. In humid weather, plan to drain every session.
Hoses and fittings
The hose between the compressor and the gun must be large enough in inner diameter to carry the flow without a pressure drop. A long thin hose starves the gun. Use full-flow couplers, keep the run as short as practical and avoid kinks. A lightweight whip hose at the gun end makes it easier to move while the main line stays fixed along the wall. The air compressor category explains hose sizing in more detail.
Quick-connect couplers are another source of loss. Some are sized for light tools and restrict flow at a spray gun’s demand. Choose couplers and plugs from the same family with a full bore, and avoid stacking adapters, which add restriction at every joint. Check the gun’s inlet size and thread type, since they vary, and follow the manual’s recommended hose diameter.
Setup and safety
Spray in a ventilated area, away from ignition sources, and wear a respirator rated for the coating along with eye protection. Paint vapors can be flammable and harmful. Follow the paint maker’s safety data sheet and the gun manual. Keep the compressor outside the spray zone or draw its intake from clean air, since a compressor motor can spark. Drain the tank and release pressure after use.
Practice on cardboard or scrap before you spray the real piece. Adjust the fan pattern, fluid flow and air pressure until the pattern is even, and keep the gun moving at a steady speed and distance. Clean the gun right after use to prevent clogs, and dispose of solvents and rags as local rules require, since oily rags can ignite on their own.
Cleanup and upkeep after spraying
Release pressure, drain the tank and open the drain on the filter and separator when you finish. Flush the gun with the solvent or water the paint maker names, take apart the cap and needle area as the gun manual shows, and let parts dry. A gun left dirty clogs at the next session, and a half-clean gun causes the spitting people blame on the compressor.
Wipe down the hose and check the couplers for wear. Replace filter elements on the maker’s schedule, and note the date on the housing so you know when it is due. Store the gun with its cap loose, away from heat. A few minutes of upkeep after each job protects a finish that took hours to prepare.
Choosing between a compressor, a turbine and an airless sprayer
If you only paint a few projects a year, an airless or turbine sprayer may serve you better than upsizing a compressor. Airless units pump the paint itself and do not use compressor air, which suits walls, fences and ceilings with thicker paint. Turbines suit fine finishing with HVLP guns. A compressor-driven gun is the most flexible choice when you already own a mid-size compressor and run other tools from it. Weigh how often you spray, what you coat, and whether the compressor will have other jobs.
Frequently Asked Questions
What size air compressor do I need to run an HVLP spray gun?
It depends on the gun, so read its CFM at the working pressure and choose a compressor whose CFM at 90 PSI is higher, with margin. Many HVLP guns need more air than a small pancake compressor provides. A turbine system avoids the compressor altogether.
Is tank size or CFM more important for spray painting?
CFM matters more, because spraying uses air continuously and the pump must keep up once the tank drains. A larger tank delays the point where the pump takes over and reduces cycling, but it cannot make up for a pump rated below the gun’s demand.
Why does my paint sprayer spit?
Common causes are pressure dropping because the compressor cannot keep up, water in the air line, paint that is too thick for the gun, or a partly clogged tip. Check the regulator at the gun, drain the tank and filter, and follow the paint maker’s thinning directions.
Do I need a water separator for spray painting?
Yes, in most cases. Moisture in compressed air causes fisheyes and blisters, and a separator or coalescing filter near the gun removes most of it. Drain it regularly, especially in humid weather, and replace filter elements as the maker directs.
Final Thoughts
Match the compressor to the gun, not the other way around. Read the gun’s CFM at its working pressure, pick a pump that exceeds it, add moisture filtration and a good hose, and keep safety gear on. If your compressor is small, consider a gun that needs less air or a turbine system. See how we review to learn how we match tools, and the air compressor guide for shop-size options.
Related buying guides
- Air Compressor for Blowing Out Sprinklers: Size Rules
- Air Compressor Hose and Fittings Guide: Size and Type
- Air Compressor Maintenance Checklist: Oil, Filter, Valve
About the author

The BuyOnceChoice Editorial Team researches durable products worth buying once. Our guides compare published specifications, warranty terms, expert review consensus, and verified owner feedback. We do not conduct our own product trials. See How We Review and our Editorial Policy for our standards.