Miter Saw Stand and Dust Setup for a Small Garage
Plan a miter saw station in a small garage with a folding or fixed stand, outfeed support, good lighting and a vacuum-based dust plan.
 By BuyOnceChoice Editorial Team
Updated November 16, 2026
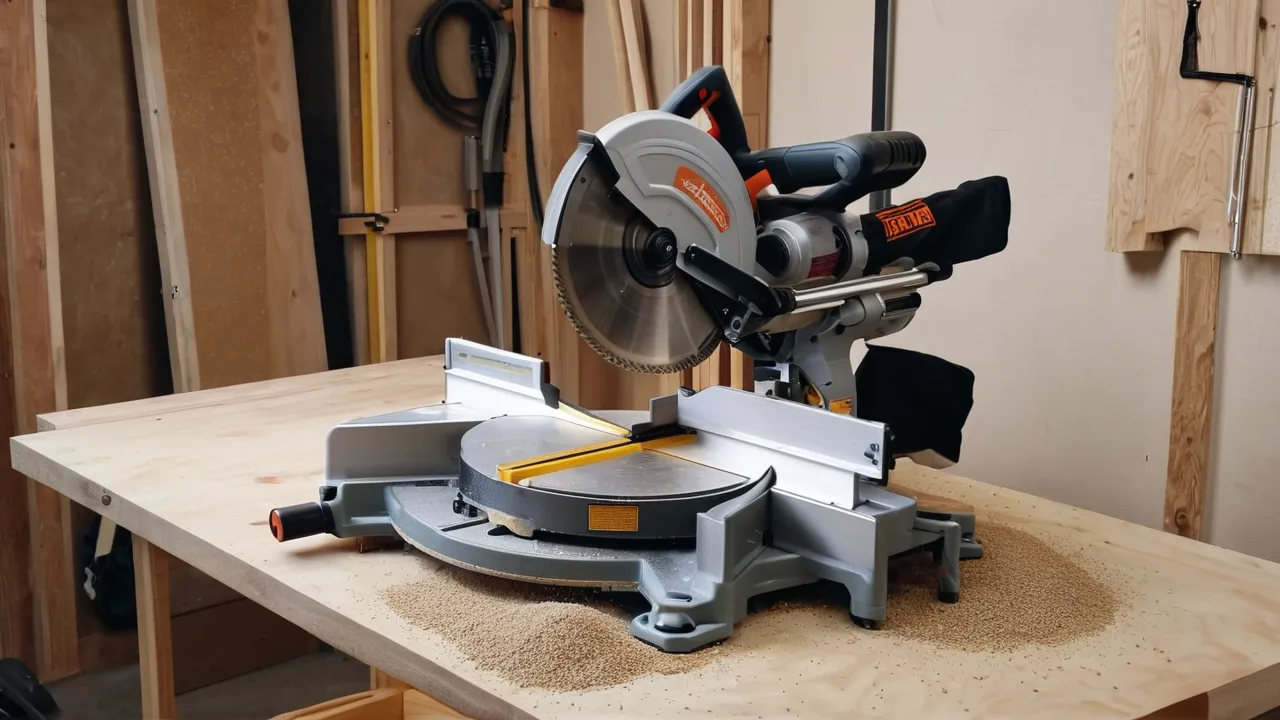
A miter saw stand for a small garage should fold or roll away, hold long boards level with the saw table, and sit near an outlet and a place to connect a vacuum. The setup checklist below covers the footprint, stand, board support, power, lighting and dust control, because layout matters more than gear: give the saw room for long stock in both directions and plan dust control before you cut.
Start with the footprint
A miter saw needs space in front for your body, behind for the sliding head if it is a slider, and on both sides for long boards. A common rule is to allow roughly the longest board you cut plus some space on each side. In a one car garage that may mean placing the saw along the longest wall and cutting parallel to it, so that long boards extend along the wall rather than into the car space.
Measure the garage, mark the saw location with tape, and walk through a cut with a long board. If the board strikes the car, the door or a shelf, shift the station. Moving the saw a few feet can solve the problem.
Think about the direction of cuts and the swing of the board. When you cut a long board, you hold it against the fence and may shift your weight to either side. Allow room for your feet and for a helper. If you share the garage with a workbench, consider placing the saw so that its table lines up with the bench top, which turns the bench into an outfeed table with no extra equipment. That layout is a favorite in small shops because it uses what you already have.
A quick worked example: if you cut eight foot boards, a saw centered on the board needs about four feet of clear space on each side, plus room to stand at the front. If you only have six feet on one side, plan to cut long boards in two steps, supporting the overhang on a roller stand, or place the saw so the long side faces the open wall.
Stand types
| Stand type | Strength | Limit |
|---|---|---|
| Folding stand with wheels | Stores flat and rolls out | Support wings need setup each time |
| Fixed workbench | Solid, with storage below | Takes permanent floor space |
| Wall mounted fold-down bench | Frees the floor | Needs sturdy wall framing |
| Sawhorses with plywood | Cheap and flexible | Less precise and slower to set up |
A folding stand with side supports is a common choice for garages that double as parking. It lets you set up for a project and store the stand against a wall. A fixed bench suits a dedicated shop. A wall mounted bench uses the wall and folds away, but it must be anchored into studs and rated for the weight.
Weight and stability are the key checks when you shop for a stand. A flimsy stand flexes under a heavy saw and makes cuts inaccurate. Look at the load rating in the manual and compare it with your saw’s weight. Check how the saw mounts: quick release brackets are convenient, but they must lock securely. Wheels should lock, and leg locks should hold. A stand that rocks is a safety hazard as well as an accuracy problem.
Outfeed and material support
Long boards droop if only the saw table supports them, and droop gives inaccurate cuts. Use support wings or roller stands at the same height as the saw table. Check height with a straightedge across the table and the support. A stop block clamped to the support lets you cut repeated lengths without measuring each one. A rolling stand adjusts in height, which is handy when you change saws or supports.
- Match support height to the saw table
- Use a stop block for repeat cuts
- Keep supports stable so they do not shift
- Leave a clear path to load and unload boards
- Store offcuts in a bin to keep the floor clear
Think about how you will cut small pieces. A zero clearance insert or a sacrificial fence helps hold small parts and reduces tear-out. Clamp the work whenever your hand would come near the blade. Short offcuts can fly, so use a stop block at a safe distance rather than holding the piece. A little planning at the station prevents the worst accidents with small parts.
Power and lighting
Place the station near an outlet, with a cord path that does not cross your walking line. Use a heavy extension cord of adequate gauge, and keep it off the floor where possible. Check the saw’s amp rating in the manual to choose the cord. Good lighting helps you read the cut line, and a bright overhead light plus a task light on the saw reduces shadows. A shadow line or laser guide is helpful but check it against a trial cut, because they are not always accurate.
Cord management deserves attention in a small space. Use a retractable cord reel or a ceiling hook to keep cords off the floor. Make sure the circuit can handle the saw and the vacuum at the same time, since both draw current. Compare the combined amp ratings on the labels with the breaker rating. If the breaker trips, the vacuum and saw may need separate outlets or circuits, and adding a circuit is a job for a licensed electrician. Never daisy chain extension cords, and keep them dry.
Dust control for a small space
In a small garage, dust spreads to everything, including the car. Use a shop vacuum connected to the saw’s dust port, and run it for every cut. A vacuum with a hose of the right diameter and a filter rated for fine dust works better than a plain one. A cyclone separator in front of the vacuum keeps the filter clean longer. A simple enclosure behind the saw, such as a three sided shroud, helps capture the dust thrown by the blade.
Open the garage door for cross ventilation when you cut, and wear a respirator suited to fine wood dust. Sweep and vacuum after each session, because settled dust can be stirred back into the air. Keep dust away from heaters, pilot lights and any ignition source, since fine dust can be combustible. The miter saw category and the small miter saw guide list features that help in tight spaces.
Consider a dust deputy style separator or a two stage system if you cut a lot. A separator catches the bulk of chips before they reach the vacuum, which keeps suction strong and extends filter life. Empty the bin before it fills. For sanding and finishing, switch to a vacuum fitted with a fine filter, since sanding dust is finer than sawdust and travels farther in the air.
Storage, workflow and setup checklist
Keep blades, clamps, squares and pencils within reach in a small cabinet or a pegboard. Use wall space for vertical lumber storage. Put the stand in a fixed location when you work, and store it when you finish. A planned workflow avoids carrying boards back and forth, and a clean station is safer than a cluttered one.
Think about cleanup and the car. Cover the car or park it outside when you work, and sweep the floor at the end of each session. A small floor mat near the saw catches chips, and a bin for offcuts keeps the area tidy.
Use this checklist at the start of each session:
- Station location marked, long board path clear of the car, door and shelves
- Stand legs locked, wheels locked, saw bolted or clamped securely
- Support wings or roller stands level with the saw table
- Stop block clamped and square
- Cord routed away from the cutting line, circuit not overloaded
- Shop vacuum hose attached to the dust port and switched on
- Garage door open for ventilation, respirator and eye and ear protection on
- Guard moves freely and the blade is clean and sharp
And this one at the end:
- Saw unplugged, head locked down
- Vacuum emptied, floor swept
- Stand folded, wheels locked, offcuts binned
- Cords coiled and hung
Safety
Keep the work area free of tripping hazards, and keep children and pets away from the saw. Wear eye and hearing protection and a dust mask. Do not run the saw with the guard removed. Check that the stand is stable before you cut, and lock the wheels. Follow the manual for blade changes and unplug the saw first. See how we review for how we weigh safety guidance, and the power tools category for related help.
Frequently Asked Questions
How much space do I need for a miter saw in a garage?
Plan for the longest board you cut. The saw sits in the middle, so you need clear space equal to roughly half the board length on each side, plus standing room in front and clearance behind a sliding head. If space is short, cut long boards in two steps with a roller stand.
Should I buy a miter saw stand or build a workbench?
A folding stand suits a garage that also holds a car, since it stores flat and rolls out. A bench is better for a permanent shop, offers storage and can serve as an outfeed table. Whichever you choose, check the load rating and that the saw table sits level with the supports.
How do I keep sawdust out of the rest of my garage?
Connect a shop vacuum to the saw’s dust port and run it for every cut. Add a simple shroud or three sided enclosure behind the saw, open the door for ventilation, wear a respirator, and sweep or vacuum afterward. These steps reduce dust but do not remove it entirely.
Can I run a miter saw and a shop vacuum on one circuit?
It depends on the amp ratings on both labels and the breaker size. Add them up and compare with the breaker rating, and avoid long thin extension cords. If the breaker trips, use separate circuits, and hire a licensed electrician to add one rather than working around it.
Final Thoughts
A good small-garage station fits the longest board you cut, supports it at table height, has power and light within reach, and handles dust with a vacuum and a mask. Choose a folding stand if the garage doubles as parking, and a bench if the shop is permanent. Plan the layout on paper, try it with a long board, and adjust before you commit.
Related buying guides
- Sliding vs Non Sliding Miter Saw: Which Do You Need
- 10 Inch vs 12 Inch Miter Saw: Size Decision Guide
- Cutting Crown Molding on a Miter Saw: Angles and Settings
About the author

The BuyOnceChoice Editorial Team researches durable products worth buying once. Our guides compare published specifications, warranty terms, expert review consensus, and verified owner feedback. We do not conduct our own product trials. See How We Review and our Editorial Policy for our standards.