Miter Saw Setup and Calibration: Square Cuts Every Time
Square the fence, blade and bevel stops with a reliable square and scrap cuts, then learn the signs that a miter saw is too worn to hold a setting.
 By BuyOnceChoice Editorial Team
Updated November 16, 2026
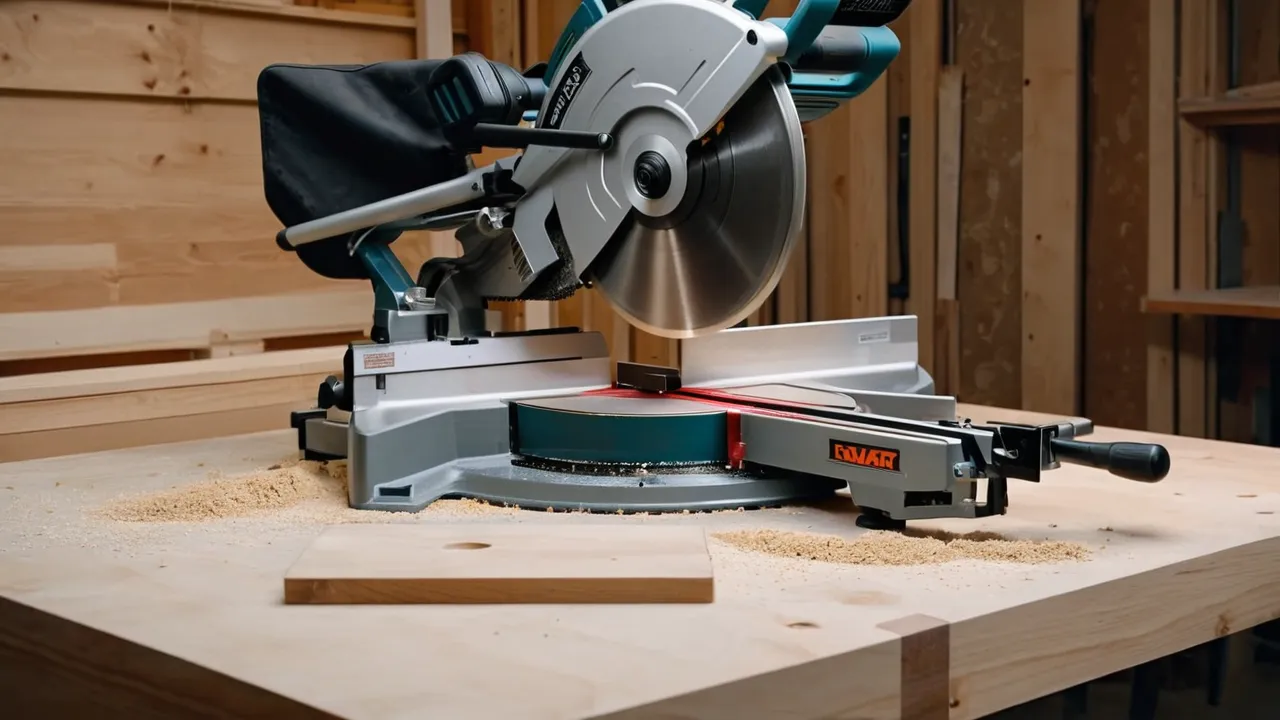
To calibrate a miter saw, unplug it, square the blade to the fence at the zero miter detent, set the bevel stop so the blade is perpendicular to the table, and then adjust the pointers to match. Confirm each setting with a reliable square and a trial cut in scrap. If a setting will not hold after you tighten it, the saw may be too worn to trust for trim work.
Prepare the saw and the tools
Unplug the saw or remove the battery, and clear the table of dust and chips, because debris under the square gives a false reading. Gather a good machinist or engineer’s square, a combination square or a digital angle gauge, a pencil, a few pieces of straight scrap, and the hex keys and wrenches from the manual. A cheap square can be out of true, so check it by drawing a line along it, flipping it over and comparing the lines.
Read the manual’s calibration section, because adjustment points differ by model. The steps below are the general sequence most saws follow.
Choose a calm, well-lit spot with the saw on a stable surface. A saw on a wobbly stand will not hold a setting, and you may chase errors that come from the stand. Make sure the saw is level and does not rock. If the saw is on a folding stand, check that the legs are locked. Calibration is easiest when the saw sits where it will be used, since moving it can knock the settings out.
Calibration steps
Step one: square the blade to the fence
Lower the blade to the table with the saw unplugged and set the miter to the zero detent. Hold the square against the fence and the flat side of the blade, between teeth so that the carbide tips do not throw off the reading. There should be no gap along the blade plate. If there is, loosen the fence or the pivot as the manual describes and shift until the blade is flush, then tighten and recheck.
- Place the square between teeth to avoid measuring the tooth set
- Check at the top and bottom of the blade face
- Tighten the fence screws evenly
- Recheck after tightening, since the setting often shifts
- Make sure the fence is straight along its length with a straightedge
A fence that is bowed or twisted cannot be made square, and it is a reason to replace it or the saw.
Check the blade itself. A blade with a bent plate or a dirty flange will not sit flat, and no adjustment will fix it. Remove the blade, clean the arbor and flange, reinstall it, and recheck. If the blade has side wobble when spun by hand, replace it. Many calibration problems come down to a poor blade or a dirty arbor, so start there before you loosen the fence or the pivot.
Step two: set the bevel to ninety degrees
Move the head to the bevel position of zero and use the square against the table and the blade. Adjust the bevel stop screw until the blade is perpendicular, then lock and recheck. Do the same for the forty five degree stops if your saw has adjustable ones, using a reliable angle gauge. A saw with adjustable stops is easier to keep accurate over time.
On a sliding saw, check the slide as well. Pull the head forward and back and watch whether the blade stays square to the fence throughout the travel. A rail with play makes the blade drift. Some saws have an adjustment for the slide bearings or rails. If you find play that cannot be removed, expect inaccurate cuts on wide boards, since the error grows with distance.
Step three: align the pointers and scales
After you square the blade, set the miter pointer to zero and the bevel pointer to zero. Many saws have a small screw for each pointer. Scales are rough guides, not precision tools, so rely on trial cuts for fine work. Adjust the pointer until it lines up, then lock it.
Dual bevel saws have two bevel stops, one for each side. Set and check both. A saw may be square on one side and off on the other, which shows up as a bevel cut that is accurate left but not right. Take the time to check the opposite side, since trim work uses both. A digital angle gauge placed on the table and then on the blade helps you read the bevel directly.
Verify with trial cuts
Reconnect power only when the saw is secure, wear eye and hearing protection, and keep hands well clear. Cut a piece of straight scrap at the zero setting, flip one half over, and push the cut edges together on a flat surface. A gap shows an error that doubles when you flip. Repeat at forty five degrees by cutting two pieces and joining them into a right angle, then check the corner with a square. Adjust and cut again. A saw that produces tight corners is ready for trim.
| Check | What to look for | Likely fix |
|---|---|---|
| Zero miter cut | Gap when halves are flipped | Adjust blade to fence |
| Ninety bevel cut | Edge leans | Adjust bevel stop |
| Forty five miter corners | Gap at heel or toe | Adjust miter detent or pointer |
| Repeat cuts | Different results each time | Check for slop, replace worn parts |
A gap that opens at the outside of a corner means the angles are slightly more than forty five, and a gap at the inside means slightly less. Make a small change, recut, and compare, because large adjustments overshoot. Work with the same type of stock you will use on the job, since thin trim and thick lumber can behave differently.
Keep a record. Write the date and the results on a piece of tape near the saw or in a notebook. If the settings drift, you will see how quickly, and you can decide whether a quick check before each project is enough or whether the saw needs repair. A saw that stays true for months is a keeper, while one that drifts every week is a source of frustration.
How often to check and what upkeep to do
A simple schedule keeps the saw true without turning it into a chore.
- Before each project: look at the blade for pitch and damage, check that the table is clear, and make one trial cut to confirm the zero setting
- After moving or transporting the saw: recheck the fence and zero miter, since bumps and vibration shift settings
- After changing the blade: clean the arbor and flange, and confirm that the blade sits flat
- Every few months of regular use: recheck the bevel stops and pointers, and clean and lightly lubricate the pivots as the manual describes
- Before a precise job such as crown molding: run the full set of trial cuts above
Clean the pivot points and lubricate them lightly as the manual describes. Dust and resin build up and make detents stiff. Keep the table clean and the guard working freely.
Shop environment affects results. Large swings in temperature and humidity can shift fence parts slightly, and a saw stored in a damp garage may rust at the pivots. Wipe metal parts with a dry cloth, keep them lightly protected, and store the saw with the head locked down. Keeping the saw clean and dry is a cheap way to protect its accuracy for years.
Signs of a worn saw
Some saws cannot hold calibration. Look for play in the pivot, head wobble when the saw is raised and lowered, detent plates that wear or crack, a fence that flexes, and bearings that grind. If you find side play at the blade after tightening, the saw may be beyond repair. Compare the cost of parts with the cost of a replacement, and check whether the maker sells the parts you need. A saw that is repeatedly out of square is a poor base for trim work.
A useful repair-or-replace rule: if the problem is a loose screw, a dirty arbor or a worn blade, fix it. If the problem is a cracked detent plate, a bent fence or play in the main pivot that adjustment cannot remove, price the parts and the labor against a new saw, and lean toward replacing when the repair is a large share of the cost.
Safety
Keep the saw unplugged while you adjust it, and recheck that it is secure before powering on. Wear eye and hearing protection for the trial cuts, and keep hands clear of the blade. Do not remove the guard. Follow the manual for any adjustment, and contact the maker or a qualified repair shop if a part is damaged. Our miter saw category and the small miter saw guide explain which features help saws hold their settings, and how we review explains how we weigh them.
Frequently Asked Questions
How do I know if my miter saw is out of square?
Cut a piece of straight scrap at the zero setting, flip one half over and push the cut edges together. If you see a gap, the blade is not square to the fence. Check bevel the same way with a square against the blade and table. Any visible gap means an adjustment is needed.
How often should I calibrate a miter saw?
Make a quick zero check before each project and a fuller check after moving the saw, changing the blade, or noticing gaps in joints. A full calibration every few months of regular use is a reasonable habit. Saws on rough job sites may need checks more often.
Why does my miter saw cut a perfect angle one day and not the next?
Likely causes are play in the pivot, a loose fence or stop, a dirty arbor, or a stand that rocks. Check each one in that order with the saw unplugged. If tightening everything does not restore consistent cuts, the saw may be worn and may not be reliable for trim.
Do I need a digital angle gauge to calibrate a miter saw?
No. A good machinist or engineer’s square plus trial cuts is enough for most work. A digital angle gauge is helpful for bevel and forty five degree checks because it reads the angle directly, but the flip check with scrap pieces catches the same errors.
Final Thoughts
Calibration is a short routine: check the square, set the blade to the fence, set the bevel, align the pointers and confirm with cuts. Repeat it when you move the saw or when the cuts drift, and replace the saw if it will not hold. An accurate saw saves hours of fitting and gives joints that look professional. Keep a good square on hand.
Related buying guides
- Miter Saw Stand and Dust Setup for a Small Garage
- Sliding vs Non Sliding Miter Saw: Which Do You Need
- 10 Inch vs 12 Inch Miter Saw: Size Decision Guide
About the author

The BuyOnceChoice Editorial Team researches durable products worth buying once. Our guides compare published specifications, warranty terms, expert review consensus, and verified owner feedback. We do not conduct our own product trials. See How We Review and our Editorial Policy for our standards.