Miter Saw Blade Guide: Tooth Count and Kerf Explained
More teeth give smoother crosscuts, fewer teeth cut faster. Learn how tooth count, kerf and plate quality fit wood, trim, plywood and non-ferrous metals.
 By BuyOnceChoice Editorial Team
Updated November 16, 2026
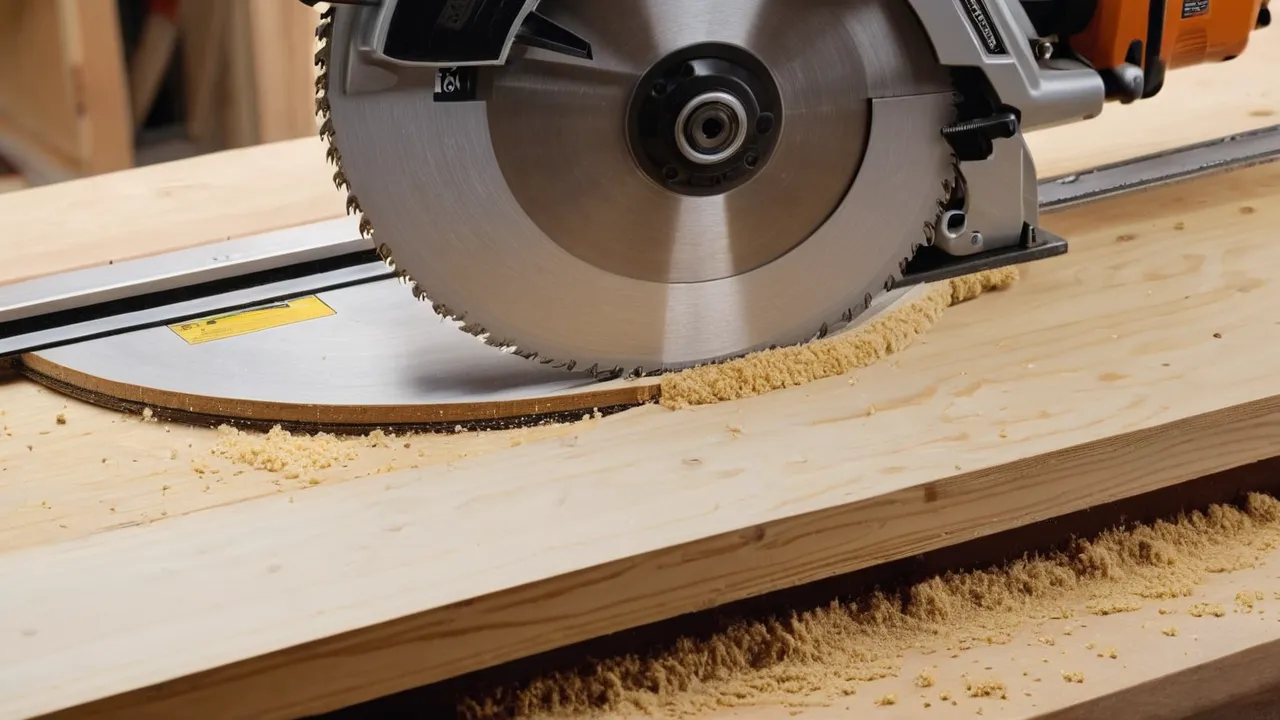
Miter saw blade tooth count is the number of carbide teeth around the blade, and it sets the trade between speed and finish: fewer teeth cut faster and clear chips well but leave a rougher edge, while more teeth cut slower and leave a smoother crosscut. Match the count to the material, with lower counts for framing, middle counts for general work, and high counts for fine trim and plywood, then check kerf and plate quality.
What tooth count does
Each tooth removes a small chip as the blade turns. With more teeth, each takes a smaller bite, leaving a smoother edge but producing more heat and cutting slower. With fewer teeth, each bite is larger, the cut is faster, and the gullets between teeth clear chips more easily, but the edge is rougher. The right balance depends on the material and the finish you need.
On a miter saw, the blade cuts mostly across the grain, so tooth geometry matters. A crosscut blade has teeth ground to slice the fibers cleanly. A general purpose blade is a compromise.
There is also a link between tooth count and the saw’s power. A saw with a small motor struggles with a very high count blade in thick stock because the teeth remove little material per revolution while the motor works to hold speed. A thin kerf blade with a moderate count is easier on a modest saw. If your saw bogs down, try a blade with fewer teeth or a thinner kerf, and slow the cut so the blade can clear its gullets.
Tooth count by material
| Material | Tooth count tendency | Notes |
|---|---|---|
| Framing lumber | Lower | Fast cuts, rougher edge |
| General carpentry | Middle | Balance of speed and finish |
| Finish trim and molding | Higher | Smooth cuts for visible joints |
| Plywood and veneered panels | Higher | Reduces tear-out |
| Melamine and laminates | High, with specific tooth shape | Reduces chipping |
| Non-ferrous metal | Specific blade rated for it | Only with a blade and saw the manual approves for it |
Exact numbers depend on blade diameter, since a larger blade has more teeth at the same density. As a rough guide on a ten inch blade, many makers sell framing blades in the twenties and thirties, general blades around forty to sixty, and fine finish blades from sixty up to eighty or more. Treat those as starting points, not rules. The label on the blade usually states the intended material, and the saw’s manual states the allowed blade diameter.
Blade makers describe their blades as framing, general purpose, fine finish or ultra-fine, and the real tooth counts differ by diameter. The most reliable guide is the label and your own cut. Make a trial cut in scrap of the same material and inspect it. If the edge is rough, step up in tooth count. If the blade burns the wood, step down or clean the blade.
How to choose a blade step by step
Work through these questions in order and the right blade usually becomes obvious.
- What do you cut most? Pick the material from the table above, and buy for that job rather than the rare exception.
- What blade diameter and arbor size does the saw take? Ten inch saws commonly use a five eighths inch arbor, and some larger saws use a one inch arbor, so confirm in the manual.
- How much finish do you need? Hidden framing joints can be rough, while visible trim joints should leave no tear-out.
- How powerful is the saw? A modest saw or a cordless one pairs better with a thin kerf blade and a moderate count.
- What is the saw’s top speed? The blade’s maximum rated speed must be at or above the saw’s no load speed, which is in the manual.
A worked example: a homeowner who installs baseboard and casing and also cuts a few two by fours for shelves is best served by two blades. A middle count blade stays on the saw for shelves and general work, and a high count finish blade goes on for the trim days. Swapping takes a few minutes and is cheaper than one blade that is poor at both jobs.
Kerf and plate stability
Kerf is the width of the cut. A thin kerf blade removes less material and demands less power from a cordless or light saw, but a thin plate can flex, especially at larger diameters. A full kerf blade has a thicker plate and stays flatter in the cut. Thin kerf blades are often described as around three thirty seconds of an inch and full kerf around an eighth of an inch, though makers vary. For a miter saw, where accuracy at angles matters, a stable plate is worth having. Many thin kerf blades are fine, but check that the plate is flat and rigid.
Anti-vibration slots or laser cut expansion slots help keep the plate from heating and warping. A flat, true plate gives a square cut.
For a miter saw, the blade’s arbor size and diameter must match the saw. A blade that is too large will hit the guard, and one that is too small reduces capacity. The manual lists the allowed diameter and the maximum safe speed, and the blade should be rated for at least the saw’s speed.
Tooth geometry
- Alternate top bevel teeth leave a clean cross-grain cut
- Triple chip grind suits laminates and non-ferrous materials
- Flat top grind suits ripping and is not ideal for a miter saw
- Negative or low hook angle makes the cut safer on a sliding saw
- Positive hook pulls the blade into the work and may grab
Negative or low hook angles are typical for miter saw blades because they reduce the tendency to climb the board. If a blade grabs and pulls the saw forward, check the hook angle and the material.
Carbide quality differs as well. Micro-grain carbide holds an edge longer and resists chipping, and a thicker carbide tip allows more resharpening. Cheap blades use smaller or softer tips that dull fast. When you compare blades, check the tip size and the brazing, which should look clean and consistent, and the sharpness of the teeth, which should have no visible chips.
When a pricier blade is worth it
A better blade has high quality carbide, tight tolerances, a flat plate and good brazing. It stays sharp longer, cuts cleaner and can be resharpened several times. If you cut trim for a whole house, a premium blade saves time on sanding and filler. If you cut a few boards a year, a mid-range blade is fine. Resharpening costs less than a new blade and keeps performance high.
Care for the blade: clean pitch with a blade cleaner, avoid dropping it, and store it in a sleeve. Replace it when it burns the wood, needs force to cut or leaves a ragged edge. See the miter saw category for related guides, and the small miter saw guide for compact saws that take smaller blades.
Think in terms of cost per cut. A premium blade that lasts several times longer and can be resharpened a few times costs less over its life than a string of cheap blades. A resharpening service can often return a blade to near-new condition at a fraction of the price of a new one, provided the plate is straight and enough carbide remains. For serious work, keep two blades, one general and one fine finish.
Safety
Unplug the saw or remove the battery before changing blades. Check the blade rotation arrow and the arbor size. Tighten the arbor nut as the manual says and replace the guard. Do not use a blade rated for lower speeds than the saw runs. Wear eye and hearing protection. Never use a blade that is cracked, bent or missing teeth.
Store spare blades in their sleeves with the teeth protected, and handle them by the plate edges. A blade left loose in a drawer chips its carbide against other tools. Never clean a blade while it is mounted on the saw, since the teeth are sharp and the arbor can turn. Remove it, soak off pitch with a cleaner, brush gently and dry it fully to prevent rust before putting it back in service.
If a new blade vibrates or gives a poor cut, check the arbor nut, washers and flange for debris or damage, since a speck of dust under the blade makes it wobble. Confirm that the blade is installed with the teeth pointing in the correct direction, as shown by the arrow on the blade and the saw’s housing. Follow the saw manual for every step. See how we review for how we weigh upgrades.
Frequently Asked Questions
How many teeth should a miter saw blade have for trim?
For fine trim and molding on a ten inch saw, many people choose a blade in the sixty to eighty tooth range or higher, with a crosscut grind. More teeth reduce tear-out on visible joints. Check the blade label for finish use and your saw manual for the allowed diameter before buying.
Is a thin kerf blade good for a miter saw?
It can be, especially on a cordless or low power saw, because it removes less material and needs less motor effort. The risk is a flexible plate. Choose one with a flat, rigid plate and anti-vibration slots, and use a full kerf blade if you want maximum stability at angles.
Can I use a framing blade for finish carpentry?
You can, but expect a rougher edge and more tear-out on visible trim, which means more sanding and filler. A low tooth count removes large chips quickly, which suits framing. For joints that show, switch to a higher count finish blade and make a trial cut in scrap first.
When should I replace or resharpen a miter saw blade?
Replace or resharpen when the blade burns the wood, needs extra force, or leaves a ragged edge even after cleaning pitch off. Resharpening works if the plate is straight and enough carbide remains. Discard any blade that is cracked, bent or missing teeth, because it is unsafe to run.
Final Thoughts
Choose tooth count by material and finish: fewer teeth for speed, more for smoothness, with the right geometry for the job. Favor a stable plate and good carbide, and resharpen when the blade dulls. A quality blade often improves a saw more than any other upgrade, and a second blade for finish work costs less than the filler and sanding a poor edge creates.
Related buying guides
- Miter Saw Buying Guide: Bevel, Capacity and Dust
- Miter Saw Setup and Calibration: Square Cuts Every Time
- Miter Saw Stand and Dust Setup for a Small Garage
About the author

The BuyOnceChoice Editorial Team researches durable products worth buying once. Our guides compare published specifications, warranty terms, expert review consensus, and verified owner feedback. We do not conduct our own product trials. See How We Review and our Editorial Policy for our standards.