Miter Saw Buying Guide: Bevel, Capacity and Dust
Check bevel direction, cut capacity, detent accuracy and the fence before buying a miter saw, and learn how much dust collection can really catch.
 By BuyOnceChoice Editorial Team
Updated November 16, 2026
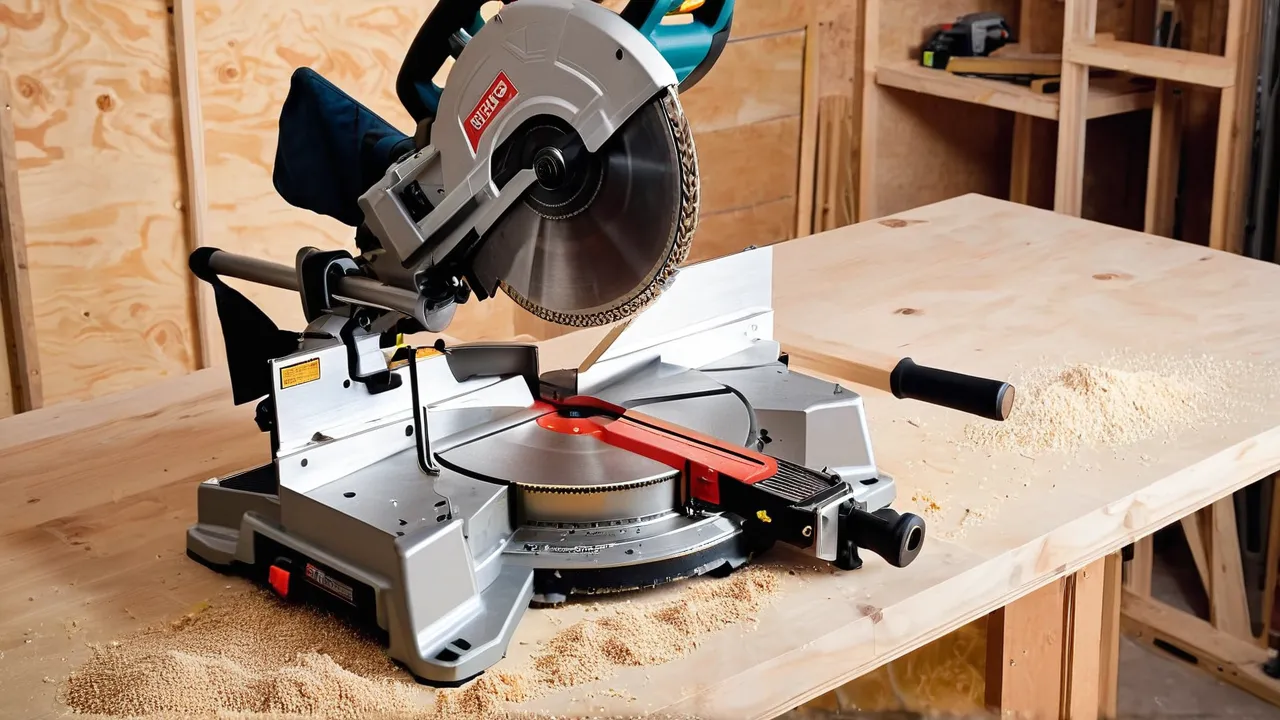
A miter saw buying guide comes down to four checks: whether the cut capacity covers the widest lumber and trim you cut, whether you need a single or dual bevel head, whether the fence and detents hold true angles, and how much dust collection you can realistically expect. Slide or non-slide, corded or cordless, a saw is only as good as its accuracy out of the box and after a few months of use.
Cut capacity and blade size
Common blade sizes are seven and a quarter, eight and a half, ten and twelve inches. Larger blades cut wider and thicker boards. A ten inch saw handles most framing and trim, and a twelve inch saw handles wider boards and thick stock. Sliding saws extend capacity by letting the head travel on rails, at the cost of footprint and complexity.
Check the manual or product page for the maximum crosscut width at ninety degrees, the maximum height, and how capacity shrinks at miter and bevel angles. A saw that cuts a wide board square may not cut it at forty five degrees. Look at the capacity for the largest board you plan to cut, including baseboard standing up or crown molding against the fence. Many ten inch sliding models list a crosscut width around a foot, and a non-slide saw of the same blade size is noticeably narrower, so read the spec rather than assuming.
Use a simple rule to size the saw. Measure the widest board you cut regularly, add a margin, and then compare it with the listed capacity at the angle you use most. A saw that only just fits your widest board forces awkward two-pass cuts, and those joints are rarely square.
Examples of how stock sets the saw size
- Baseboard, casing and window trim: nearly any saw, so choose on accuracy and dust control
- Wide shelving boards and stair treads: a sliding saw, or a non-slide saw with a wide enough listed capacity
- Deck boards and framing lumber: a ten inch saw is usually enough
- Thick posts and large timbers: a twelve inch saw, and check the listed cut height
If you work in a small garage, rear clearance matters. A zero-clearance or axial glide design reduces the room you need behind the saw, which is the main reason people choose one over a standard slider.
Single bevel or dual bevel
A single bevel saw tilts in one direction, so you flip the board for opposite bevels. A dual bevel saw tilts both ways, which saves flipping on long trim. Dual bevel adds cost and weight. For occasional trim work, single bevel is enough. For crown molding and heavy trim jobs, dual bevel saves time and reduces handling errors. See our small miter saw guide for compact options.
Bevel range matters too. Many saws bevel to forty five degrees in each direction, and some go a little further. For crown molding cut flat on the table or for steep roof angles, extra range helps. A bevel lock that is easy to reach and a clear scale save time. If you rarely cut bevels, you can accept a simpler saw and put the money toward a better blade or a stand.
A quick decision rule: if you install crown molding, long runs of base cap or anything where the cut must lean left on one end and right on the other, buy dual bevel. If most of your cuts are square or simple miters, single bevel does the job and the saw is lighter to carry.
Detent accuracy and the fence
Detents are notches that hold the saw at common angles such as zero, fifteen, twenty two and a half, thirty one point six and forty five degrees. Good detents click firmly and hold, and the scale matches the real angle. Weak detents allow slop. Check the saw with a reliable square, then make a trial cut in scrap, flip it, and look for a gap in the joint.
- Check that the fence is straight and tall enough for your trim
- Confirm that the blade is square to the fence at the zero detent
- Look for a miter lock that holds the angle firmly
- Check that the table does not flex when the saw is pressed
- Look for a bevel stop at ninety and forty five degrees
- Verify smooth head movement with no side play
Calibration is covered in our guide on miter saws, but if a saw cannot hold a square setting after you adjust it, return it.
A useful habit when you unbox a saw is to inspect it before use. Look for shipping damage, check that the blade is tight and the guard moves freely, and make a few cuts in scrap. Measure the results with a good square. Out-of-the-box accuracy varies, and a saw that can be adjusted to square and stay square is the one to keep. If the table is warped or the fence has a visible bow, return the saw instead of struggling.
When you read product pages, look for adjustable bevel stops, a fence that can be shifted for blade clearance, and a miter scale large enough to read. Those details tell you more about accuracy than a long list of extras.
Dust collection reality
Most miter saws have a dust port that captures only a portion of the dust, since the blade throws chips in a wide arc and the open design lets air escape. A shop vacuum with a hose helps, and a cyclone or dust bag adds a little. Expect to catch a good share of the dust, but not all. A cover or hood behind the blade, a tight shroud and a high airflow vacuum improve results.
Wear a dust mask or respirator, use the vacuum, and clean up regularly. Fine wood dust is a health concern, and some materials such as treated lumber or composite decking add other hazards. A saw with a better shroud design may be worth more to you than extra capacity if you work indoors.
Practical dust steps help more than any single feature. Place the saw near a door or an open window if you can, connect a shop vacuum hose directly to the dust port, and sweep or vacuum the table between cuts. A dust bag adds a little capture but fills quickly. Some owners build a simple enclosure around the saw with a vacuum connection, though any enclosure must leave space for the head to move and for the user to see the cut.
Check whether the port fits your vacuum hose. Port sizes vary, and a cheap adapter is often needed. A hose that tugs on the saw can also pull it off line, so support it with a hook or clip.
Corded, cordless and power
Corded miter saws deliver steady power and are usually lighter on the budget. Cordless models offer freedom on job sites and use large batteries or two packs. A brushless motor, an electric brake and a soft start are useful features. Compare weight, since a heavy saw is hard to move, and a light one may shift when you cut.
Check the electric brake. A brake stops the blade quickly after you release the trigger, which saves time and reduces the risk of a spinning blade catching a part. Soft start reduces the jolt when the blade begins to spin. Both features are common on mid-range saws and worth having. Also check the cord length, since a short cord limits where you can place the saw, and an extension cord must be heavy enough for the saw’s amp draw. The manual states the rating, so follow it.
For cordless saws, ask which batteries you already own. A tool that shares a battery platform with your drill saves money, and a cordless saw with only one small battery may stop mid-project. Look at the listed cuts per charge only as a rough guide, since it varies with the wood and the blade.
Stand, table and extras
| Feature | Why it matters |
|---|---|
| Laser or LED shadow guide | Helps line up the cut, but check its accuracy |
| Fence extensions | Support long boards |
| Clamp | Holds small stock securely |
| Stand compatibility | Makes moving the saw easier |
| Cord and blade lock | Keeps the saw safe in transport |
A stand turns a saw from a bench tool into a mobile station. Look for a stand with extensions or material supports that match the saw table height, so long boards lie flat. Many saws mount to a folding stand with quick release brackets. If you move the saw often, weight and carrying handle design matter, and a saw that is awkward to lift will stay in the garage instead of getting used. Our power tools category lists related gear to compare.
Spend extras money in order of usefulness: a good blade first, a stand with supports second, and a dust hose third. A laser guide is nice, but it is the first thing to drift, so mark the cut line and trust your square.
Safety
Keep hands out of the blade path, clamp small pieces and never cut freehand. Wait for the blade to stop before lifting the head. Wear eye and hearing protection and a dust mask. Unplug the saw or remove the battery before changing blades. Follow the manual’s guidance for the blade guard, and keep the work area clear. See how we review for how we assess safety claims.
Frequently Asked Questions
What size miter saw do I need for baseboard and trim?
A seven and a quarter or eight and a half inch saw can handle most narrow baseboard and casing, and a ten inch saw covers nearly everything a homeowner trims. Check the listed capacity for the tallest baseboard you cut standing against the fence, because that, not blade size, is usually the limit.
Is a sliding miter saw worth it for a home garage?
It is worth it if you cut wide boards such as shelving or stair treads, because the rails extend the crosscut width. The tradeoff is a deeper footprint and more parts to keep adjusted. If you mostly cut trim and framing, a non-slide saw is lighter, simpler and often easier to keep square.
Do miter saws with dust bags really collect the dust?
Only partly. The blade throws chips in a wide arc and the open design lets a lot of dust escape, so a bag usually catches a modest share. Connecting a shop vacuum to the dust port helps more, and a mask is still needed. Treat built-in collection as a way to reduce cleanup, not remove dust.
How do I know if a new miter saw is accurate?
Cut a piece of straight scrap at the zero setting, flip one half over and press the cut edges together to look for a gap. Then cut two forty five degree pieces and check the corner with a reliable square. If you cannot adjust the saw to hold tight joints, return it.
Final Thoughts
Choose capacity for your largest board, bevel type for your trim work, and check that the detents and fence hold true. Accept that dust collection is partial, and add a vacuum and mask. A good miter saw earns its place with accurate cuts and steady service over many years, and a few minutes of inspection on day one tells you whether yours will.
Related buying guides
- Miter Saw Setup and Calibration: Square Cuts Every Time
- Miter Saw Stand and Dust Setup for a Small Garage
- Sliding vs Non Sliding Miter Saw: Which Do You Need
About the author

The BuyOnceChoice Editorial Team researches durable products worth buying once. Our guides compare published specifications, warranty terms, expert review consensus, and verified owner feedback. We do not conduct our own product trials. See How We Review and our Editorial Policy for our standards.