Cutting Crown Molding on a Miter Saw: Angles and Settings
Crown molding sits at an angle between wall and ceiling. Learn spring angle, nested versus flat cuts and how to handle inside and outside corners.
 By BuyOnceChoice Editorial Team
Updated November 16, 2026
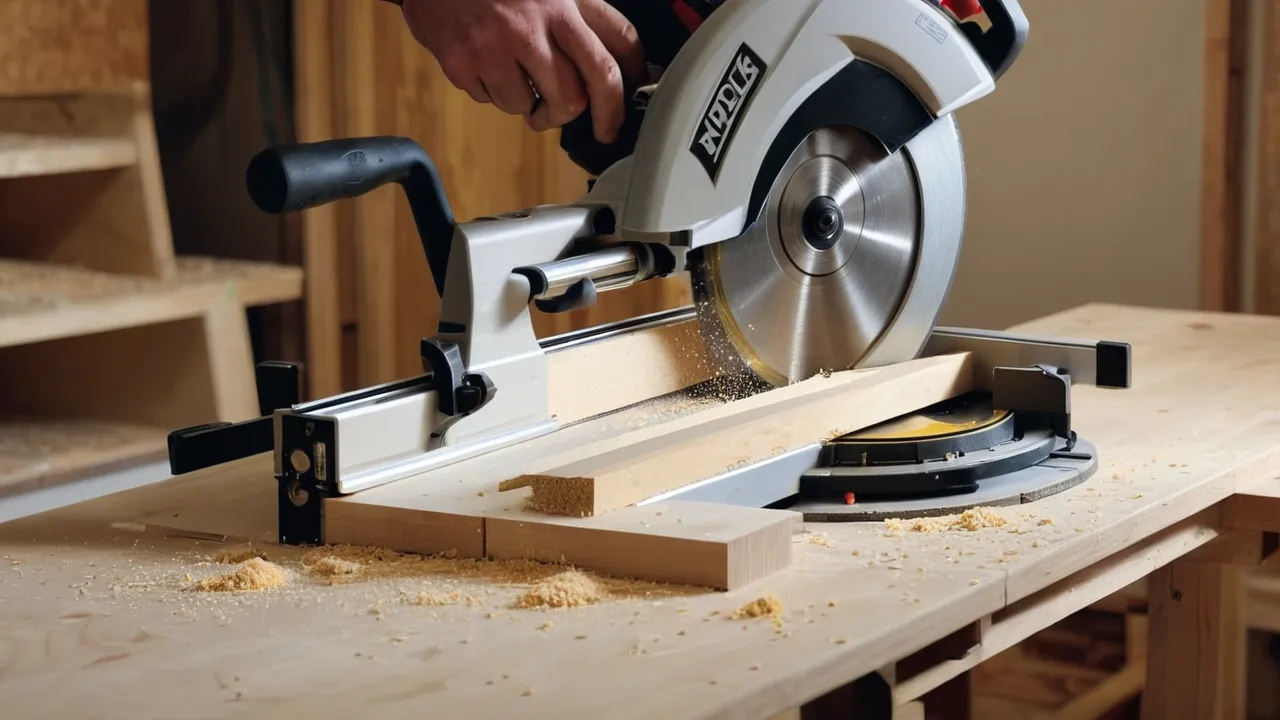
To cut crown molding with a miter saw, find the molding’s spring angle, then either cut it nested upside down against the fence and table in its installed position, or lay it flat and use compound miter and bevel settings. Mark which edge sits on the ceiling, cut inside and outside corners as mirror images, and practice on scrap first.
Understand spring angle
Crown molding does not sit flat against the wall and ceiling. It sits at an angle called the spring angle, which is the angle between the back of the molding and the wall. Common spring angles are 38 degrees and 45 degrees, though others exist. The spring angle decides the miter and bevel settings if you cut flat, and it determines how the molding rests against the fence if you cut nested.
Look for the angle in the product documentation, or find it by holding the molding in its installed position against a square. Cutting with the wrong spring angle gives gaps that no caulk will hide.
A simple method is to place a piece upside down against the saw fence and adjust it until the back edge sits flat against the fence and the bottom edge sits on the table. Mark that position on the table with tape. The mark shows where to rest every piece, which gives repeatable cuts.
Nested versus flat cutting
Nested cutting places the molding on the saw upside down and angled against the fence and table, exactly as it sits on the wall. You then set only the miter angle. The fence and table act as the wall and ceiling. It is simple and accurate for molding that fits against the fence, and it needs enough fence height and a way to hold the stock steady, such as stops.
Flat cutting lays the molding on its back on the table and uses both miter and bevel settings. It suits wide molding that will not nest, but it needs the right compound angles. Charts for the common spring angles are printed in many saw manuals and on some saws themselves. For a ninety degree corner, charts commonly list a miter near 31.6 degrees and a bevel near 33.9 degrees for 38 degree spring molding, and a miter near 35.3 degrees with a bevel of 30 degrees for 45 degree spring molding. Confirm these against your saw’s manual before cutting.
Stops and fences
Stops make nested cutting easy. Clamp or screw a small strip of wood to the table at the marked position so the molding sits at the correct angle each time. Some saws include crown stops that fold out to hold the molding. If you use them, check that they are set for your spring angle and lock firmly. A stop that slips gives a bad cut and a wasted length of molding. A tall wood auxiliary fence screwed to the saw fence adds support for large profiles.
Inside and outside corners
- Inside corner: cut with the ceiling edge against the fence and miter left or right per your orientation, then cut the matching piece as a mirror image.
- Outside corner: use the opposite miter direction from the inside corner, again as mirror pairs.
- Walls out of square: measure the actual corner angle and set each miter to half of it.
Many installers cope inside corners, where one piece is cut square and the other is shaped to follow the profile. A coped joint stays tight when walls are slightly out of square and when wood moves. Miters on both pieces look clean at outside corners but can open at inside corners.
Cutting direction trips up many beginners. Think of the piece as it sits on the wall. For the left piece of an inside corner, the cut face points toward the right wall, and the longest edge of the molding touches the ceiling. Draw a small diagram on the scrap, label the ceiling edge, and cut mirror pairs. Labeling each piece with an arrow showing the up direction prevents mistakes.
Features that help
- A sliding saw or enough capacity to handle the molding width.
- A dual bevel head, to avoid flipping the piece.
- Crown stops that hold molding at the correct angle.
- A tall fence or fence extensions.
- Clear detents at the common miter angles.
- Good lighting or a shadow line for aligning cuts.
A compound miter saw is the common tool for crown, and a dual bevel saves handling. See our miter saws category and the small miter saw guide for features that help in tight spaces. If capacity is your concern, check the maker’s nested crown figure rather than assuming a saw can handle large profiles.
Pre-finishing the molding before installation saves time and gives a cleaner result, since you can paint or stain on sawhorses. After cutting, touch up the cut ends. On long walls you will need to join pieces end to end, and a scarf joint cut at a shallow angle hides the seam better than a square butt.
Measure, mark and trial fit
Measure each wall and mark the ceiling edge on the back of each piece. Cut pieces a little long so you can trim to fit. Cut trial corners in scrap molding to check the angle before cutting the real pieces. Dry fit before nailing and plan the installation order. Sand and caulk small gaps, but do not rely on caulk to hide large errors.
Walls and ceilings are rarely square, and a corner may measure a little more or less than ninety degrees. An angle finder tells you the actual corner. Split that angle in half to find the miter setting for each piece. If the ceiling is not level, scribing and coping help a joint look tight. Plan time for fitting, and expect to recut a few pieces.
Installation sequence
Start with the longest wall and work around the room so the final piece is a short one that is easy to fit. Use a stud finder to mark framing, and nail into studs or the top plate where possible. Use a brad nailer if you have one, or hand nail with a nail set. Fill nail holes after installation, and caulk the top and bottom seams for a finished look.
Safety and handling
Hold the molding firmly against the fence and table, and keep hands well clear of the blade. Support long pieces on stands. Wear eye and hearing protection and a dust mask. Do not cut small pieces by hand, and use clamps or stops. Unplug the saw for blade changes, work on a stable ladder when installing, and have a helper hold long pieces. Follow the manual for your saw, and see how we review for how we weigh saw features.
A practice run before the real cuts
Cut an inside and an outside corner from scrap before touching finished stock. Mount two short pieces on a corner of a scrap board or a piece of drywall, or hold them against a framing square, and look at the joint from the front. If the miter gaps at the top, adjust by a small amount and try again. If it gaps at the bottom, adjust the other way. Write the final settings on masking tape stuck to the saw, along with which side of the blade each piece sits on. That note saves you from reversing a pair when you return after a break. Keep the scrap pieces labeled “left inside”, “right inside” and so on, and use them as templates when you cut the real pieces.
Common problems and fixes
- Gaps at the top of an inside corner: the wall is probably out of square, so cope the joint or adjust the miter.
- Molding that tips on the saw: add a stop or an auxiliary fence so it sits at the spring angle.
- Tear-out on the face: use a fine finishing blade with a high tooth count and cut slowly.
- Pieces too short: cut long, trim in small steps, and measure again from the wall.
- Mirror cuts reversed: mark the ceiling edge and a direction arrow on the back of every piece.
Frequently Asked Questions
What is the spring angle on crown molding?
It is the angle between the back of the molding and the wall when installed. Common values are 38 and 45 degrees. Check the product documentation or measure it, because the spring angle sets your miter and bevel settings and how the molding rests on the saw.
Should I cut crown molding upside down?
Yes when nesting it. The molding rests upside down and angled against the fence and table, as it sits against the wall and ceiling, and you only set the miter. The bottom edge of the profile is then against the fence.
What miter and bevel angles do I use for crown molding?
For flat cutting at ninety degree corners, charts commonly list about 31.6 miter and 33.9 bevel for 38 degree spring, and about 35.3 miter and 30 bevel for 45 degree spring. Confirm with your saw’s chart, and adjust when walls are not square.
Do I need a sliding miter saw for crown molding?
Not always. Small and medium crown can be cut nested on a non-sliding saw with enough fence height. Wide crown needs a sliding saw or larger capacity. Check the maker’s nested crown capacity for your molding size.
Final Thoughts
Learn the spring angle, choose nested or flat cutting, mirror your cuts and practice on scrap before cutting the real molding. Cope inside corners when walls are not square, and keep the saw calibrated. With patience and a good blade, crown molding goes from intimidating to routine. Verify every setting on scrap and keep your guard in place.
Related buying guides
- Miter Saw Blade Guide: Tooth Count and Kerf Explained
- Miter Saw Buying Guide: Bevel, Capacity and Dust
- Miter Saw Setup and Calibration: Square Cuts Every Time
About the author

The BuyOnceChoice Editorial Team researches durable products worth buying once. Our guides compare published specifications, warranty terms, expert review consensus, and verified owner feedback. We do not conduct our own product trials. See How We Review and our Editorial Policy for our standards.