Sliding vs Non Sliding Miter Saw: Which Do You Need
Cut width figures and rear clearance numbers conflict across sources. Use this space and workflow checklist, and a note on rail play as a durability point.
 By BuyOnceChoice Editorial Team
Updated November 16, 2026
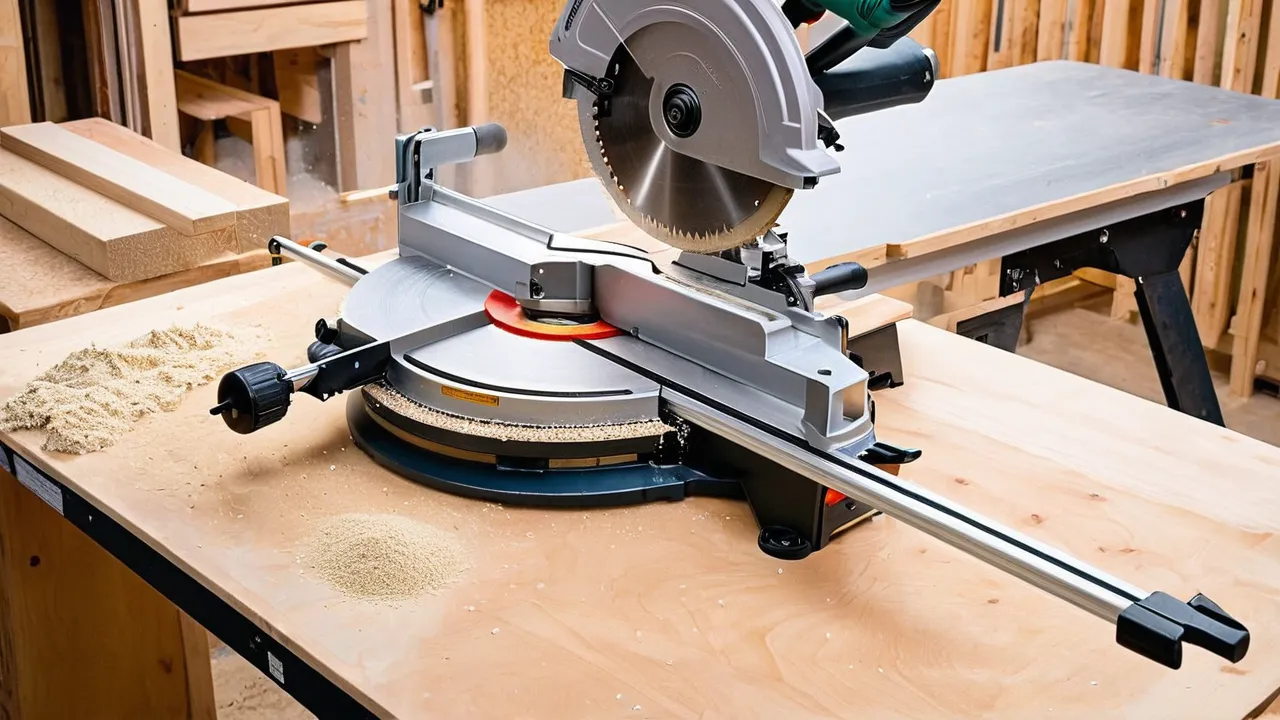
A sliding versus non sliding miter saw is the difference between a blade that can travel forward and back on rails and one that only pivots down. A non sliding miter saw is lighter, simpler and cheaper, and it cuts boards up to the width its blade allows. A sliding miter saw adds rails that let the blade glide through wider boards, often much wider, at the price of more weight, more cost and more space. Choose non sliding for trim, molding and narrow stock, and choose sliding if you regularly cut wide boards, shelving or deck lumber.
The basic difference
On a non sliding miter saw, the blade arm hinges at the back and swings down in an arc. The cut width is limited by the blade diameter and the pivot, so wide boards do not fit. On a sliding miter saw, the head rides on one or two rails, so you pull it toward you, lower the blade and push it back through the board. That extra travel is what gives the larger cut width.
Both types miter, which means they rotate left and right to cut angles. Many of both types also bevel, which tilts the blade for angled cuts across the thickness. The sliding feature does not change these abilities. It changes how wide a board you can cut, how much room the saw takes and how it handles over time.
Cut capacity: read the specs carefully
Cut capacity figures are where sources disagree, because makers list several numbers and shoppers compare the wrong ones. Capacity changes with the miter angle, the bevel angle and the board’s height. Wide cuts are always listed at 90 degrees, and the width shrinks when you cut at 45 degrees. Height capacity, the thickness of the board you can cut, is another number.
Here is how to read the spec sheet.
- Look for the crosscut capacity at 90 degrees for the width you need, for example a nominal 2 by 12 board or a wide shelf.
- Check the capacity at 45 degrees left and right if you cut wide trim or frames at angles.
- Check the height capacity for tall baseboard or crown molding cut flat or nested.
- Check whether the number refers to a nominal board size, a measured width or a combination, and use real board dimensions.
- Note the blade diameter, since a larger blade extends the cut.
As a rough guide, a typical non sliding saw cuts boards up to the width of a nominal 2 by 6 at 90 degrees, a bigger non sliding saw handles somewhat more, and sliding saws commonly handle boards in the range of a nominal 2 by 12 and beyond. The numbers vary by model and blade size, so confirm the figure for the saw you plan to buy. A sliding saw’s wide capacity is a big plus for stair treads, shelving and deck work. If you rarely cut wide boards, you may never use it.
Space and workflow checklist
Space checklist
Sliding saws need room behind them for the rails to extend, unless the design is built to avoid that. Check how much clearance the saw needs behind it and how much it needs in front for the pull stroke.
- Measure the depth of your bench or stand, and compare with the saw’s footprint.
- Check how far the rails extend behind the saw at full travel, and leave that room clear of the wall.
- Leave space on both sides for long boards, with a stop or outfeed support.
- Check the overall height when the blade is raised, especially under shelves and ceilings.
- Make sure the saw’s weight is within what your stand or bench can support, and that you can lift it.
Some sliding saws use a rail design that glides forward without needing the same space behind. They save wall clearance but may cost more or have other trade offs, so check the specs for the clearance figure.
Workflow: how you cut matters
A saw is only useful if it fits your work. Think about what you cut most often.
- Trim, molding and small frames: a non sliding saw is quick, light and easy to carry.
- Framing and decks with boards wider than a nominal 2 by 6: a sliding saw saves flipping the board and cutting twice.
- Job site work: a lighter saw is easier to move, but a stand and outfeed supports matter more than the saw type.
- Shop work with a fixed station: a sliding saw can stay in one place and handle the widest range of cuts.
If you flip boards to cut across, you can often handle wider material with a non sliding saw, but the cut may be less accurate, and the blade must reach through twice. That works for occasional cuts, but it is a poor habit for heavy production work.
A simple space mock up with cardboard
Before you buy, cut a piece of cardboard to the saw’s footprint, including the full rail travel at the back and the pull stroke in front. Lay it where the saw will go. Mark the swing of the handle and the path of a long board. If the cardboard hits the wall, a shelf or the door, the saw may not fit the way you plan. This takes minutes and prevents returns.
Rail play: a durability point
The rails and bearings on a sliding saw are the parts that wear. Rail play is the looseness or wobble in the head as it slides. A small amount may be normal, and a lot of play makes cuts inaccurate and the saw feel loose. Heavy use, dust and abuse increase play over time.
Things to look for:
- Whether the rails are supported by good bearings or bushings, and whether the maker says anything about maintenance.
- How smoothly the head moves, and whether it has a lock for transport.
- Whether the rails are protected from dust and sawdust.
- User reports of play or wobble after months of use, in reviews that describe long term experience.
Clean the rails according to the manual, wipe off dust and lightly lubricate if the maker allows it. Keep the saw from knocks and avoid forcing the head when it is locked. A non sliding saw has no rails, so it avoids this issue entirely, which is a point in its favor for light, long lasting use.
Cost, weight, dust and extras
Sliding saws cost more, weigh more and take more space. A larger sliding saw can be heavy to carry up stairs. Non sliding saws are lighter and easier to store, which suits small garages. Check weights on the product page, and think about how often you move the saw.
Dust collection matters for both. Miter saws throw sawdust, and a dust bag catches only part of it. A shop vacuum port helps, and a sliding saw with rails and a long stroke may collect dust in different ways, so check the design.
Bevel direction and extras also affect value. A saw that bevels in both directions saves flipping the board for angled cuts, and a saw with a laser or LED shadow guide helps line up cuts, though a clear line mark is still the standard. Compare the miter range, the bevel range, the detents at common angles and the quality of the fence. The miter saws category covers the main designs, and the best small miter saw guide covers compact models.
Who should choose which
Choose a non sliding saw if you cut trim, molding and narrow boards, if space and weight matter, if you want a lower price and fewer moving parts, or if you travel with the saw. Choose a sliding saw if you cut wide boards such as shelving, decking and stair parts, if you have the bench depth and wall clearance, and if you work in one spot.
Skip a sliding saw if you have a small shed or a shallow bench and cut mostly narrow stock. Skip a non sliding saw if you often need to cut wide boards in one pass and the extra passes slow you down. If you are unsure, tape out the saw’s footprint, think through three real projects and see which saw handled the widest board you cut.
Safety
Wear eye and hearing protection, and use a dust mask. Keep your hands clear of the blade path, hold the work against the fence, and clamp it when needed. Let the blade reach full speed before cutting and let it stop before you lift the head. Check that the guard moves freely, and never remove or tie it back. Use a sharp blade that matches the saw and the material. Follow the manual’s instructions, including those about the rails, the lock and the blade change.
Frequently Asked Questions
Is a sliding miter saw worth it?
It is worth it if you often cut boards wider than a non sliding saw can handle, such as shelving, decking and stair parts, and you have the space. For trim and narrow stock, a non sliding saw is lighter, cheaper and simpler. Match the saw to your most common cuts, not the rare job.
How much room does a sliding miter saw need?
It depends on the design. Many sliding saws need clearance behind the saw for the rails, plus room in front for the pull stroke. Some have a rail design that reduces the space behind. Check the maker’s stated clearance, then cut a cardboard footprint and lay it in your workspace before buying.
What is rail play on a miter saw?
Rail play is the looseness in the head as it slides along the rails. A little is normal, and too much makes cuts less accurate and the saw feel sloppy. Dust and heavy use increase play over time. Wipe the rails, follow the manual’s care instructions and check reviews for long term wear reports.
Can a non sliding miter saw cut a 2×12?
Typically not in one pass. Most non sliding saws are limited to narrower boards, though larger models cut wider. You can sometimes flip the board and cut from both sides, but that takes care and may be less accurate. Check the crosscut capacity at 90 degrees on the spec sheet for the exact figure.
Final Thoughts
A non sliding miter saw is the better pick for trim, molding and small spaces, and a sliding miter saw is the better pick for wide boards and a fixed workstation. Read the capacity numbers at the right angles, measure your space, think about rail wear and match the saw to your most common cuts. Wear protection and follow the manual. For how we weigh these tradeoffs, see how we review.
Related buying guides
- 10 Inch vs 12 Inch Miter Saw: Size Decision Guide
- Cutting Crown Molding on a Miter Saw: Angles and Settings
- Miter Saw Blade Guide: Tooth Count and Kerf Explained
About the author

The BuyOnceChoice Editorial Team researches durable products worth buying once. Our guides compare published specifications, warranty terms, expert review consensus, and verified owner feedback. We do not conduct our own product trials. See How We Review and our Editorial Policy for our standards.