Sump Pump Maintenance Checklist: Pit, Float, Check Valve
Every few months, clear the pit, free the float, run water through the pump, and check the discharge line and check valve so the pump works in a storm.
 By BuyOnceChoice Editorial Team
Updated November 16, 2026
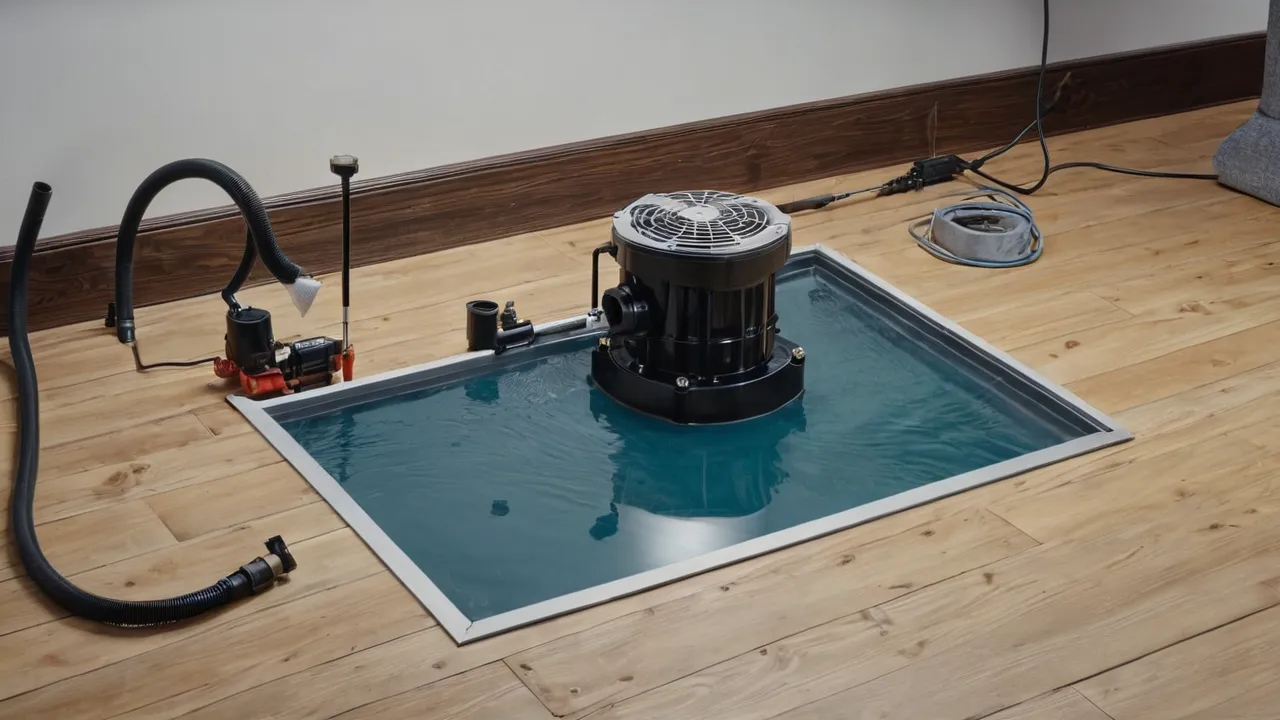
Sump pump maintenance is a quarterly routine: unplug the pump, clear debris from the pit, make sure the float moves freely, run water into the pit to confirm the pump starts and empties it, then inspect the discharge line, outlet and check valve. Always cut power before reaching into the pit, and follow your pump’s manual for any extra steps.
Why a Quarterly Check Pays Off
A sump pump sits idle for long stretches and then must work hard in a storm. Silt, gravel and lint settle in the pit, floats snag on the wall or the pump, and check valves stick. Discovering any of these during a downpour is too late. A short routine every three months, and before the wet season, catches most problems while they are small.
Mark the check dates on a calendar, and write down what you find. A pump that begins to run longer, cycle more often or make odd noises is telling you something.
Seasonal timing helps. Do a full check before the rainy or snowmelt season, a light check in the middle, and another after the season ends. Heavy rain events and a long dry spell are both stressful for a pump. A pump that sits for months may seize, and one that runs for days heats up. After any storm in which the pump ran a lot, look in the pit again for new silt and debris, since heavy flows stir up sediment.
Suggested intervals
| Task | How often | Notes |
|---|---|---|
| Run water through the pump | Every three months | More often in a wet season |
| Clean the pit and intake | Every three to six months | Sooner if water is cloudy or gritty |
| Check float movement | Every three months | With every water run |
| Inspect discharge outlet | Every three months and after storms | In winter, look for ice |
| Inspect check valve | Every six months | Replace if it chatters or leaks back |
| Inspect backup battery and alarm | As the manual states | Often every few months |
| Review pump condition | Once a year | Plan replacement if noisy, hot or short cycling |
Step One: Safety and Power
Unplug the pump, or switch off its circuit, before handling it. Water and electricity are a dangerous mix, and a pump can start when a float rises. Do not stand in water while touching electrical parts. If the pit is full of water and the pump is not running, do not reach in. If you are unsure about the wiring or the outlet, have a licensed electrician check it. The outlet should be a grounded one, and an electrician can tell you whether local code calls for ground fault protection on that circuit.
Know where your breaker is, and label it. If the pump plugs into a ground fault outlet, check its reset button as the outlet maker directs, since a tripped outlet silently stops the pump. Look at the cord for cuts and crushing, and check that the plug is dry and firmly seated. A cord that is damaged should be replaced by a qualified person, not taped.
Step Two: Clean the Pit
With the power off, look into the pit with a flashlight. Remove debris such as stones, mud and trash. A small wet vacuum or a bucket helps remove silt. Check the pump intake screen or the inlet at the base of the pump, and clear it. Make sure the pump sits upright and level on a solid base and not in mud. If a pit cover is used, check that it is on and sealed to keep out debris and reduce humidity and soil gas entry.
Pits come in different forms. A sealed pit lid keeps humid air and soil gases out, and any penetration should be sealed around the cord and pipe. A pit with no lid can collect debris and attract insects. If you see rust-colored sludge or a slimy buildup, that is common in some soils and can clog the pump intake. A periodic rinse with a hose, with the pump unplugged, keeps it clear.
Step Three: Check the Float Switch
- Lift the float by hand once power is restored and confirm the pump starts.
- Make sure the float can swing freely without touching the pit wall or pipes.
- Look for a tether or switch that is cracked or sticking.
- Confirm the float resets and the pump stops.
- Check that the float cord is not tangled.
- Replace a float that sticks or acts erratically.
Do this step with care. If you lift the float with the pump plugged in, the pump will run, so keep hands clear of the pump and do not run it dry for long. Some pumps have a vertical float that slides up a rod, while others have a tethered float on a flexible cord. Each fails in its own way, and the maker’s manual describes the correct motion.
A tethered float can snag on the pit wall or the pump body and stay down, so the pump never starts. A vertical float can stick on its rod. An electronic switch can fail from corrosion. Whatever your type, the cure for a sticky float is usually repositioning or replacement. Check the pit’s width and the pump’s position, since a pump that leans causes snags.
Step Four: Run Water Through the Pump
Restore power, then pour water slowly into the pit until the float rises and the pump starts. A five gallon bucket poured steadily works for most pits. Watch that the pump runs, the water level drops and the pump shuts off. Listen for grinding or a rattle. Check that water is discharged through the pipe and is not leaking at joints. If the pump does not start, hums or runs without moving water, stop and investigate. Cleaning, a new float or a replacement pump may be needed.
Note how long the pump takes to empty the pit and how often it restarts in the following minutes. A pump that restarts quickly after shutting off often has a leaking check valve. Write the timing in your log so that next quarter you can compare.
Step Five: Discharge Line and Check Valve
Follow the discharge pipe from the pump to where it exits the house. Check joints for leaks, and check the outlet outside to confirm it is clear and discharges water away from the foundation. In freezing weather, make sure the outlet is not blocked with ice. The check valve prevents water from flowing back into the pit after the pump stops. If you hear a loud thump or see water rushing back, the check valve may be stuck or worn. See our sump pump category for related guides.
| Part | What to check | Sign of trouble |
|---|---|---|
| Pit | Debris and silt | Cloudy water, gritty feel |
| Float | Free movement and reset | Sticks or stays up |
| Pump | Starts, runs smooth, shuts off | Noise, hot motor, short cycling |
| Discharge pipe | Joints and outlet | Leaks, ice or blockage |
| Check valve | Holds water | Backflow slap or clatter |
| Power cord and outlet | Condition and grounding | Frayed cord, tripped GFCI |
The discharge line often has a small weep hole drilled near the pump to prevent air lock, and some pumps do not need one. A little water spurts out when the pump runs, which is normal. Make sure the discharge pipe is secured and slopes so that it drains after the pump stops, and that the outlet at the house exterior is clear of leaves and snow. In winter, a line that freezes can burn out the pump motor.
Backup Power and Alarms
A pump is no use during a power outage. Consider a battery backup pump or a water powered backup, subject to local rules, and inspect batteries on the schedule the maker gives. A high-water alarm warns you before the pit overflows, and its battery needs checking too. If you use a generator, see our guide on portable generators for how to power the pump safely, and run it outdoors only.
Keep the pump’s manual and model number somewhere handy. When a part fails, you will need those details to order a match. Also note the installation date and any repairs. A pump with a long history of short cycling, noise or heat may be near the end of its life, and planning a replacement before it fails costs less than an emergency purchase in a storm.
When to repair and when to replace
Replace a float switch, check valve or cord when the pump itself runs well. Replace the pump when the motor hums without pumping, the housing is cracked, the pump overheats and trips protection, or repairs keep recurring in the same season. Rust on the housing and a pump that has run through many wet seasons are signs to budget for a replacement.
Frequently Asked Questions
How often should I check my sump pump?
Check it every three months, and again before the rainy or snowmelt season and after any storm in which it ran heavily. Each check should include clearing the pit, confirming the float moves freely, running water through the pump and inspecting the discharge outlet and check valve.
How do I know if my sump pump is working?
Pour water into the pit until the float rises. A working pump starts, empties the pit smoothly, shuts off, and does not restart soon after. Humming without moving water, loud grinding, a pit that stays full or a pump that never starts all mean it needs attention.
Can I clean a sump pit myself?
Yes, if you unplug the pump or switch off its circuit first and are not standing in water. Remove stones and silt with a wet vacuum or bucket, clear the intake screen, and make sure the pump sits level. If wiring looks damaged or the pit is flooded, call a licensed electrician.
How long does a sump pump last?
It varies with use, water quality and installation. A pump that runs often in sandy or silty conditions wears faster than one that rarely runs. Instead of counting years, watch for noise, heat, short cycling and repeated repairs, and read the manual’s warranty terms for the maker’s own guidance.
Final Thoughts
A sump pump earns its keep when the weather turns, and a quarterly check keeps it dependable. Cut power, clean the pit, check the float, run water through, and inspect the discharge and check valve. Replace worn parts early, keep notes, and consider backup power. Read how we review for how we weigh durability and serviceability.
Related buying guides
- Battery Backup Sump Pump vs Water Powered Backup
- Cast Iron vs Plastic Sump Pump Housing: Durability
- Do You Need a Backup Sump Pump? Risk Checklist
About the author

The BuyOnceChoice Editorial Team researches durable products worth buying once. Our guides compare published specifications, warranty terms, expert review consensus, and verified owner feedback. We do not conduct our own product trials. See How We Review and our Editorial Policy for our standards.