Sump Pump Discharge Line and Check Valve Guide
Size the pipe to the pump outlet, drain water well away from the house, protect the line from freezing and pick a check valve that will not slam or stick.
 By BuyOnceChoice Editorial Team
Updated November 16, 2026
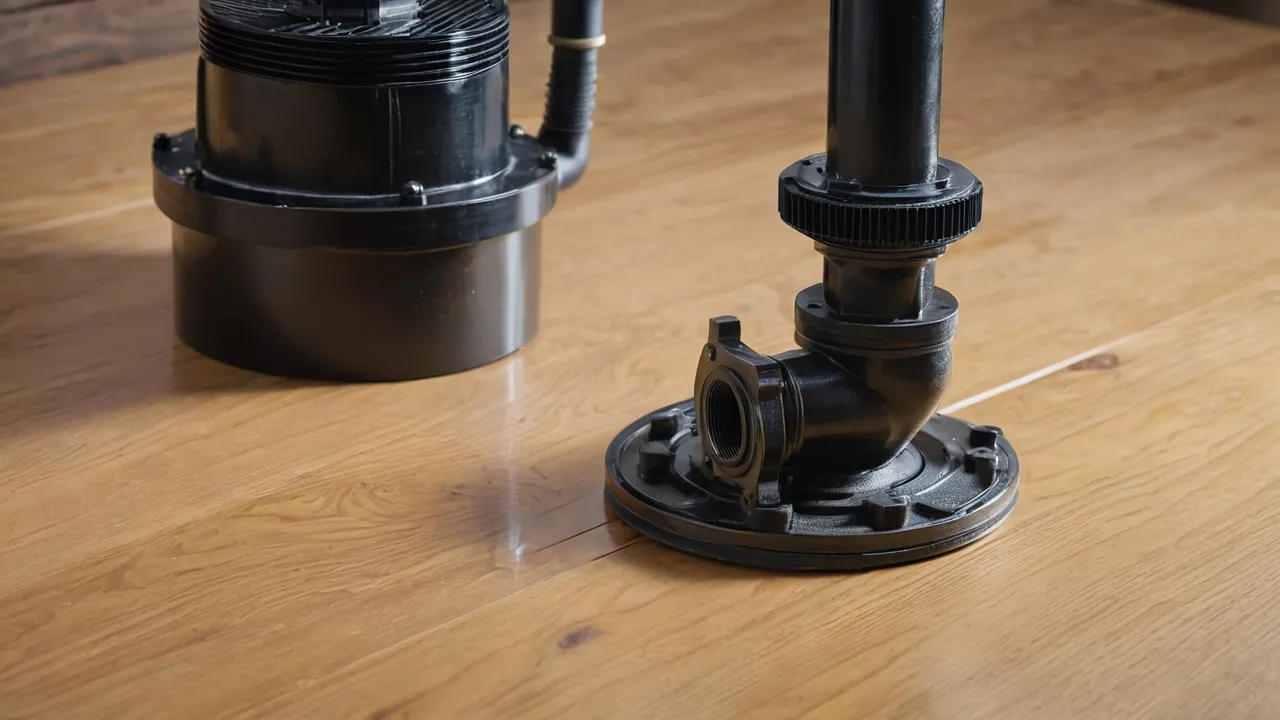
A sump pump discharge line is the pipe that carries water from the pump out of the pit and away from the house, and a safe one matches the pump outlet size, rises with few bends, drains well away from the foundation, resists freezing and includes a check valve. Local codes may add rules about where the water may go, so check them before you plan the route, and follow the pump manual for any figure that differs from the general guidance here.
Pipe Size and Material
Most residential pumps use an outlet of one and a quarter, one and a half or two inches. The discharge pipe should be at least as large as the outlet, and not smaller. Larger pipe lowers friction and noise in long runs, but check the pump maker’s advice. PVC is common for rigid runs, and flexible hose is used for the final stretch outside in some designs. Use fittings and cement that suit the material, and make joints watertight.
Fewer elbows mean less friction and better flow. Use gentle bends and avoid sharp turns. Keep the vertical rise as short as possible, because every foot of lift reduces the pump’s flow.
Length and lift
A long horizontal run adds friction, and a high vertical lift reduces flow. Measure the vertical distance from the pump to the outlet, then add an allowance for the horizontal run and each fitting. If your discharge must travel far, increase the pipe diameter within the pump maker’s guidance, and keep the route as direct as possible. Use the pump curve to see how much flow remains at your effective height. If the flow at that height is too small for your storms, choose a stronger pump or shorten the run.
A worked example shows the method. Suppose the pit bottom is six feet below the outlet, the pipe runs twenty feet sideways and has four elbows. Read the curve at six feet of lift, then reduce that flow figure to account for friction, which the maker or the pipe supplier can estimate from a friction loss chart. If the reduced figure still beats your worst storm inflow, the setup is adequate. If it does not, the options are larger pipe, fewer bends or a more powerful pump.
Where to Discharge
Water should leave the pipe well away from the house, so it does not run back to the foundation and return to the pit. Many guides suggest several feet to ten feet or more, depending on slope and soil, so treat any single number as a starting point and follow local advice. Slope the ground away from the outlet and consider an extension that carries the water downhill to a safe spot. Do not discharge onto a neighbor’s property, a public sidewalk or into a septic system. Many municipalities have rules about connecting to storm or sanitary sewers, and some prohibit it. Call your local building department to confirm.
- Direct the outlet away from the foundation and window wells.
- Avoid discharging onto sidewalks, driveways or neighbors.
- Check local rules on storm drains and sewers.
- Add a splash block or extension where needed.
- Keep the outlet clear of leaves and debris.
- Use a screen or grate if the maker advises.
Consider where the water goes after it leaves the pipe. On flat lots, water can pool near the house, and in clay soil it drains slowly and can run back. A buried extension that daylights at a lower point, a dry well designed for the volume or a rain garden can help, subject to local rules and soil conditions. Avoid discharging into a window well, which can flood the basement, and avoid areas that drain back to the foundation.
Freezing and Winter
In cold climates, a frozen discharge line traps water and can burn out the pump. Bury the line below the frost line where possible, slope it so it drains after the pump stops, or use a freeze protection outlet that opens if the main line freezes. Keep the outlet from sitting in snow or ice. Insulation and heat tape are options only with the maker’s approval for the pipe material. Check the outlet after cold snaps.
A freeze relief device attaches to the pipe outside and provides a second exit if the main outlet freezes. It is a useful safeguard where winters are hard. Keep the outlet and any grate clear of snow after storms. Some owners extend the pipe further from the house in winter, and use a short insulated section near the exit. A pipe that holds standing water between cycles is the one most likely to freeze, so a steady downhill slope to the exit matters as much as insulation.
Check Valve Types
| Type | How it works | Notes |
|---|---|---|
| Swing check | A flap swings open with flow | Common, can clap shut loudly |
| Spring loaded check | A spring closes it quickly | Quieter, reduces water hammer |
| Ball check | A ball seats against the flow | Simple, may stick with debris |
| Silent check | Spring loaded design built to limit noise | Often a good choice for living spaces |
Choose a valve rated for the pipe size and for sump pump use. Install it in the correct direction, following the flow arrow, and above the pit if possible. Use unions or flexible couplings with clamps so you can remove it for cleaning. Check valves wear out, so inspect them regularly. If you hear a loud bang when the pump stops, the valve or the line may be slamming and needs attention.
Install the valve in a vertical or horizontal position as the manufacturer allows, and mark the flow direction on the pipe. Some owners install two valves in series, one near the pump and one higher, to protect against a failure. If you do that, follow the maker’s advice on venting so air lock does not occur. Replace the valve if you hear chatter or see water seeping back.
Backflow, Air Lock and the Weep Hole
When the pump stops, water in the vertical pipe wants to fall back. The check valve stops it. A small hole in the pipe below the check valve, often called a weep hole, lets trapped air escape so the pump does not air lock. Guides commonly give its size as one eighth to three sixteenths of an inch, drilled a few inches above the pump outlet and below the valve, but follow your pump manual because some pumps need no hole. It sprays a little water when the pump runs, which is normal, so aim it back into the pit.
Water hammer is the shock that occurs when moving water stops suddenly. It can loosen joints and rattle pipes. A spring-loaded check valve closes before the water reverses, which reduces the hammer. Securing the pipe and keeping it short also help. If your system hammers badly, check the valve type and the pipe supports before replacing the pump, since the cause is often outside the pump.
Noise, Vibration and Record Keeping
Secure the pipe with straps so that it does not rattle against joists. Rubber couplings reduce noise, and a silent check valve reduces the thud. Support heavy runs so that joints do not stress. Check connections for leaks after the first few cycles. Our sump pump category and the guide to portable generators cover related topics, including how to keep the pump running during an outage.
Write down the pipe layout while you have access: size, length, material, valve type and where it exits. A photo with notes helps whoever services the system next. If you ever replace the pump, you will know which parts to reuse. Label the breaker for the pit circuit at the panel, so you can find it quickly in a hurry.
Safety and Code
Water and electricity are a dangerous combination. Cut power at the breaker and unplug the pump before working near it, and never stand in water near electrical connections. Follow local plumbing and electrical codes, and use a licensed professional for wiring and for any work tied to a sewer or storm connection. Follow the pump manual for pipe, valve and venting details. Do not discharge water in ways that could erode soil or flood a neighbor. See how we review for how we weigh code and safety advice.
Frequently Asked Questions
How far from the house should a sump pump discharge?
Far enough that the water cannot flow back toward the foundation. Many guides suggest several feet to ten feet or more, depending on slope and soil. Slope the ground away from the outlet, use an extension to a lower spot, and confirm any local rules with your building department.
What size pipe should a sump pump discharge line be?
At least as large as the pump outlet, which is commonly one and a quarter, one and a half or two inches. Never reduce the pipe below the outlet size. Larger pipe cuts friction on long runs, but follow the pump maker’s guidance and keep the route short with gentle bends.
Can a sump pump discharge into the sewer?
Usually not. Many municipalities prohibit connecting a sump pump to the sanitary sewer because the added flow can overload the system, and rules for storm drains vary. Call your local building or public works department before routing a discharge line to any sewer, drain or septic system.
What is the hole in the sump pump discharge pipe for?
It is a weep hole, a small hole below the check valve that lets trapped air escape so the pump does not air lock. Guides commonly give one eighth to three sixteenths of an inch. A little water sprays back into the pit each cycle. Some pumps do not need one, so check the manual.
Final Thoughts
A good discharge setup is well sized, short, sloped, protected from freezing, and drains water far from the house. Pick a check valve that suits your home’s noise tolerance, install it where you can reach it, and inspect it often. A neat discharge line keeps the pump efficient and the basement dry. When you finish, run water into the pit and watch the whole path from the pump to the outlet, looking for leaks and slams, and repeat after the first heavy rain.
Related buying guides
- Sump Pump Maintenance Checklist: Pit, Float, Check Valve
- Battery Backup Sump Pump vs Water Powered Backup
- Cast Iron vs Plastic Sump Pump Housing: Durability
About the author

The BuyOnceChoice Editorial Team researches durable products worth buying once. Our guides compare published specifications, warranty terms, expert review consensus, and verified owner feedback. We do not conduct our own product trials. See How We Review and our Editorial Policy for our standards.