How to Clean a Blender Without Dulling Blades
A quick soap-and-water spin handles most jars. Learn the deep-clean steps for gaskets and odors while keeping the blades sharp and your hands safe.
 By BuyOnceChoice Editorial Team
Updated November 16, 2026
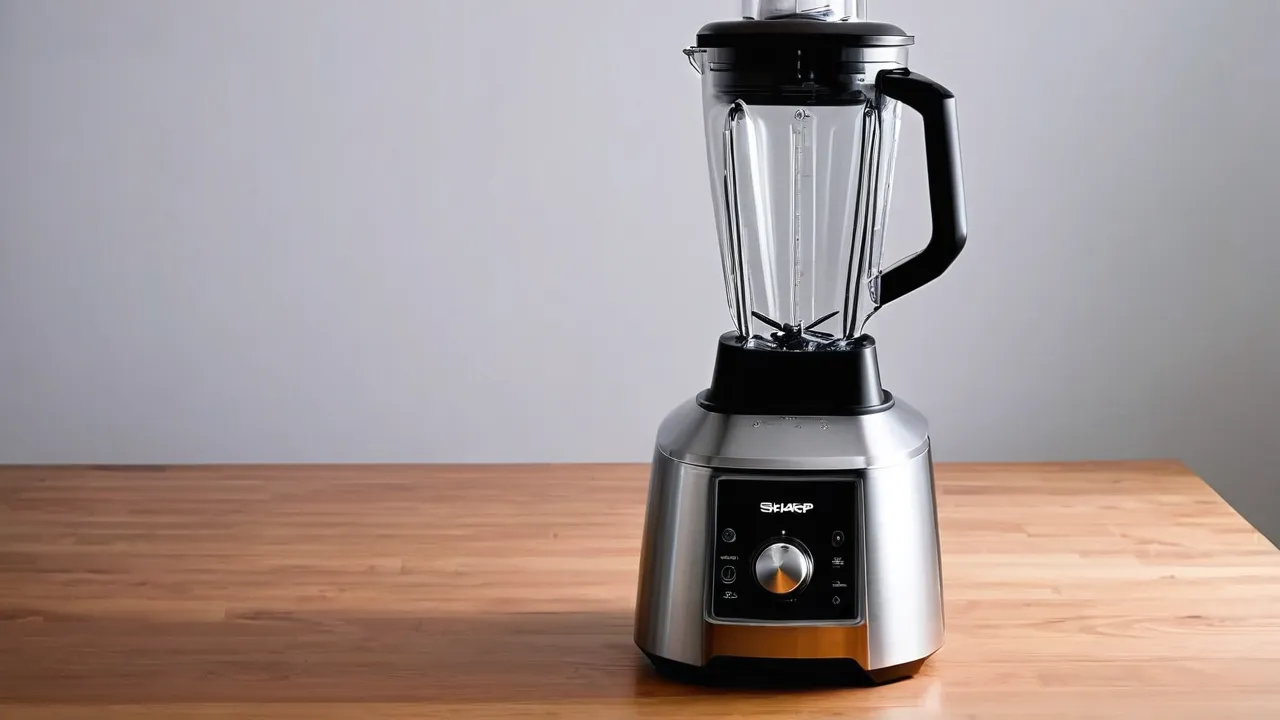
To clean a blender, rinse the jar right after use, fill it halfway with warm water and a drop of dish soap, run it on a low speed for 30 seconds, then rinse and air dry. This cleans the jar and the blade assembly without any hand contact with the blades, which protects both your fingers and the edges. Deep cleaning is only needed now and then.
Safety First: Unplug and Respect the Blades
Blender blades are sharp even when they look dull, and the motor base is an electrical appliance. Before you do any cleaning beyond the quick rinse below, unplug the blender. Never put your hand in a jar that is attached to the base, because a bump of the switch can start the blades. Keep the base dry, and never submerge it or run it under the tap.
When you handle the blade assembly, hold it by the base or use a brush with a long handle, and never wipe a blade with a cloth held in your fingers. Wash blades pointing away from you, and do not leave them hidden under suds in a sink where someone can reach in. Follow your manual for removing and refitting the blade assembly, since some blades are permanently attached to the jar and should not be removed.
The Quick Clean After Every Use
This takes under a minute and prevents most buildup.
1. Pour out the contents and rinse the jar with warm water right away, before residue dries on the walls and under the blades. 2. Fill the jar about halfway with warm water and add a few drops of dish soap. 3. Replace the lid, making sure it is secure, and run the blender on low for 20 to 30 seconds, then on high briefly if the manual allows. 4. Pour out the soapy water and rinse the jar until no suds remain. 5. Invert the jar on a rack to drain and dry, with the lid off so air can reach the gasket.
Do this immediately after blending, since smoothie residue, nut butter, and sauces become far harder to remove once they dry. Avoid using this method for hot liquids, and let the jar cool first.
Deep Cleaning: Blade Assembly, Gasket, and Lid
Once a week, or when you notice odors or sticky residue, take the parts apart according to the manual.
- Unplug the base, remove the jar, and unscrew the blade assembly if your model allows it.
- Soak the parts in warm soapy water for 10 to 15 minutes, then scrub with a soft brush, paying attention to the space around the blades and the underside where food collects.
- Remove the gasket or sealing ring and clean both sides, including the groove it sits in. Gaskets collect odors and residue, and a dirty gasket is a common cause of leaks.
- Rinse every part, dry fully, and reassemble, making sure the gasket sits flat and the blade assembly is tight.
- Wipe the lid and any vent cap, and clean the tamper if you have one.
If the blade assembly cannot be removed, fill the jar with warm soapy water, and use a long-handled bottle brush from the top. Let the jar soak, and avoid pushing the brush into the blades.
Odors, Stains, and Cloudy Jars
- Odors from garlic, onions, or spices: blend warm water with a spoonful of baking soda, let it sit, then rinse. A few lemon slices blended with water also help.
- Stains from turmeric or tomato: wash and set the jar in indirect light, or soak with warm water and baking soda. Plastic jars can stain more than glass.
- Hard water film: blend a mix of warm water and white vinegar, let it stand briefly, then rinse. Avoid leaving vinegar in contact with metal parts for long.
- Cloudy plastic: scratches and heat cause permanent clouding. Replace the jar if it affects use.
- Sticky gasket: soak in warm soapy water and rinse. Replace if it stays tacky or cracks.
Do not mix cleaning products. Never combine bleach and vinegar or other cleaners, because it can release harmful fumes. Check the manual before using any acidic or abrasive product.
Protecting the Blades
Blades dull from impact and from corrosion more than from washing. These habits help.
- Avoid soaking the assembly for hours, since water can seep into the bearing and cause rust.
- Do not use steel wool or harsh abrasives on the blade, which scratch the finish.
- Skip the dishwasher unless the manual says the jar and blades are dishwasher safe. High heat and detergent can wear seals and dull edges.
- Dry the blade assembly fully before you store it.
- Do not blend hard items that your model is not built for, such as large ice blocks in a light jar.
- Avoid letting salt or acidic food sit in the jar for long periods.
Cleaning Plan by Frequency
| When | What to do |
|---|---|
| After every use | Rinse, quick clean with soap and water |
| Weekly | Disassemble, soak, and brush the blade and gasket |
| Monthly | Run a vinegar and water rinse, check the gasket and lid |
| Every few months | Inspect the blade assembly for wobble and corrosion |
| When odors persist | Baking soda or lemon rinse, replace the gasket if needed |
Our blender and mixer guides explain how to choose models with simple, removable parts. Our How We Review page explains how we evaluate products using research and specifications. For related gear, see the cookware and kitchen tools section.
What to Do With a Leaking or Stuck Blade Assembly
A leak at the base usually means a worn or misplaced gasket or a loosened blade assembly. Unplug the blender, disassemble, clean the gasket groove, and refit the gasket flat. If the blade assembly is stuck, soak it in warm soapy water and use the tool the maker supplies, if any. Do not force it with pliers on the blade itself. If it still leaks after a new gasket, the assembly may be worn and should be replaced.
Cleaning Different Jar Materials
Glass jars resist stains and odors and tolerate vinegar rinses, but they can break from impact or sudden temperature change. Plastic jars are lighter and shatter-resistant but stain and cloud more easily and may have limits on hot liquids. Stainless jars resist stains but hide residue, so check inside by feel and sight. For all types, follow the maker’s cleaning guidance and check whether the jar is dishwasher safe on the top rack only.
A Worked Example: Cleaning After Three Different Blends
After a fruit smoothie, the quick clean is enough, since sugars rinse away easily but harden if left. After a nut butter or a thick hummus, fat clings to the walls and under the blades, so use hotter water, a longer soak with soap, and a brush from the top. After a hot soup, let the jar cool until it is safe to handle, vent the lid, and wash it by hand, since heat and steam stress the gasket. If you have blended raw meat or eggs in the jar, wash with hot soapy water, rinse well, and consider following the manufacturer’s guidance on sanitizing. Rinse the lid and gasket separately, because cross-contact hides in the groove.
Mistakes That Dull or Damage Blades
- Letting the jar sit with liquid in it for hours, which encourages corrosion and bearing damage.
- Scrubbing the blade edges with an abrasive pad.
- Running the blender dry to clean it, which strains the motor and dulls the edge.
- Using the dishwasher for assemblies not rated for it.
- Tapping the blade on the counter or sink to knock off food.
- Storing the jar sealed while still damp, which breeds odor and mildew.
Replace a blade assembly if you see rust, chips, or wobble, and follow the manual for the part number and fit. Never run a blender with a damaged blade.
Frequently Asked Questions
Can I put a blender jar in the dishwasher?
Only if the manual says the jar is dishwasher safe, and usually on the top rack. Heat and detergent can wear gaskets and cloud plastic. Blade assemblies are often better washed by hand to protect the bearings and the edges.
How do I clean a blender that has dried-on smoothie?
Fill the jar with warm water and a few drops of dish soap and let it soak for 15 to 20 minutes, then run it on low and rinse. For stubborn spots, use a long-handled brush from the top and avoid touching the blades.
Does cleaning with vinegar damage the blades?
Short contact is generally fine, but long soaks can attack metal parts and seals. Use a diluted mix, rinse well, and do not leave vinegar in the jar for hours. Check the manual for what the maker allows.
Why does my blender still smell after washing?
Odors usually come from the gasket or lid, where food residue hides. Remove the gasket, wash it and its groove, and rinse with baking soda and warm water. If the smell persists, replace the gasket.
Final Thoughts: Clean It Right After You Use It
Quick rinses and soapy blending keep a blender clean with almost no effort, and an occasional teardown handles the gasket and blade assembly. Unplug before disassembly, keep your hands away from blades, and dry everything fully to protect the edges.
Related buying guides
- Stand Mixer for Bread Dough: Capacity Limits Checklist
- Stand Mixer Size Guide: Bowl Quarts by Batch
- Stand Mixer vs Hand Mixer: Who Needs Which
About the author

The BuyOnceChoice Editorial Team researches durable products worth buying once. Our guides compare published specifications, warranty terms, expert review consensus, and verified owner feedback. We do not conduct our own product trials. See How We Review and our Editorial Policy for our standards.