Pre-Trip Luggage Checklist: Weigh, Measure, Inspect
Most luggage problems are visible a day before departure. Work through this checklist of weight, wheels, handle, zippers, locks and tags at home.
 By BuyOnceChoice Editorial Team
Updated November 16, 2026
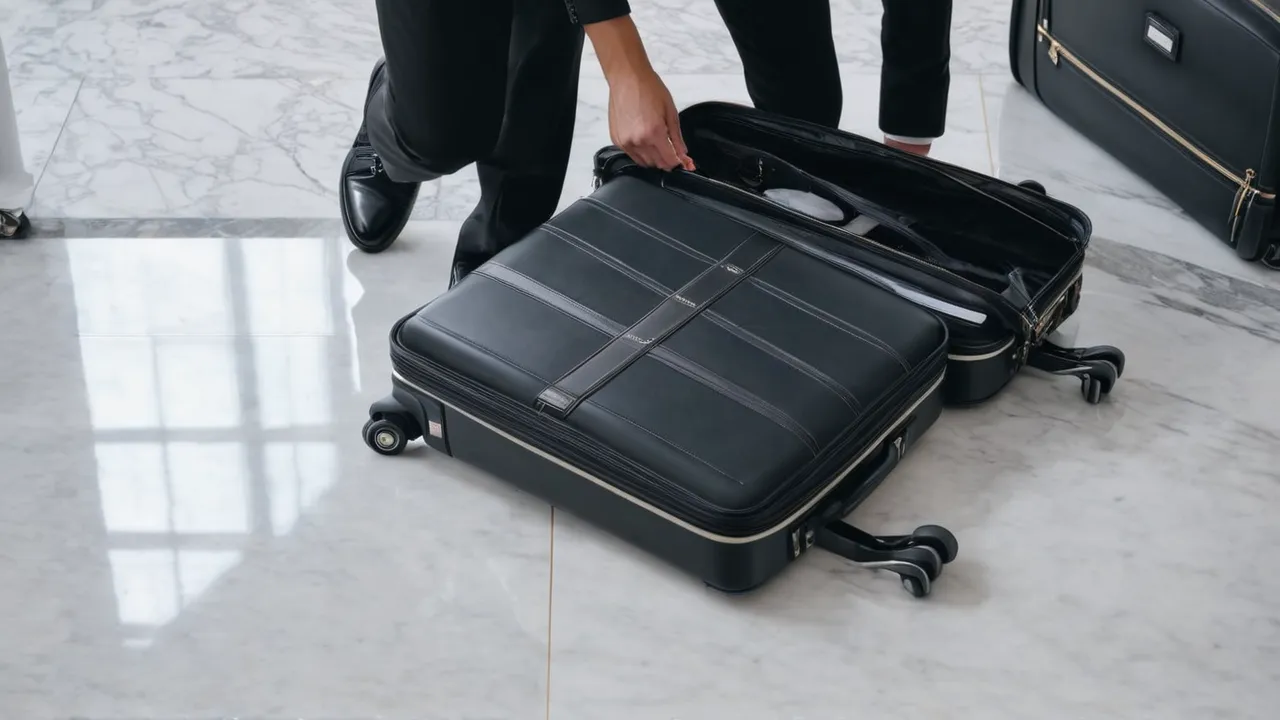
A good luggage checklist before travel covers six things: weigh the bag, spin the wheels, extend the handle, run each zipper, check the lock and tag, and photograph the bag and contents. Do it at least a day before departure, so you have time to fix or replace anything that fails instead of discovering it at the curb.
Why a Home Check Beats an Airport Surprise
Airports are a poor place to find a broken wheel or an overweight bag. At home, you have tools, time and options. A slipped zipper can be realigned, a loose screw tightened, a handle lubricated, and a heavy bag lightened. At the airport, your options narrow to paying a fee, repacking on the floor or checking a damaged bag.
Run the checklist twice for long trips: once a week before to leave time for repairs or shipping, and once the night before to confirm the final packing. Keep it short and consistent so you actually do it.
The Home Check Step by Step
Work through five steps in order. Each takes a few minutes, and together they cover the failures that most often strand travelers at the curb.
Step One: Weigh the Bag
Use a handheld luggage scale or a bathroom scale. Stand on the scale holding the bag, then subtract your own weight. Compare the result with your airline’s checked or carry-on limit on its site. Limits vary by airline, route and fare, so do not rely on memory.
If the bag is over, remove heavy items such as shoes, books or liquids and carry them in a personal bag. Leave a margin of a pound or two for souvenirs and scale differences. A bag that is just under the limit on your scale might be over on the airline’s.
Step Two: Wheels and Handle
Roll the bag across a hard floor in both directions. Listen for scraping and watch for wobble. Spin each wheel by hand. Extend the handle fully and at any intermediate stops, then press down on it. It should not sink or rattle. Our luggage set category includes sets with parts that are easier to service if you find an issue.
Check that the top and side grab handles are firmly attached. Tug gently at the stitching, and look for frayed webbing. These handles carry the whole weight when baggage handlers lift the bag.
Step Three: Zippers and Closures
Open and close every zipper once, slowly. Notice any catching, gaps or sliders that spread. Pull each zipper fully shut, then try to pull the teeth apart by pinching and tugging gently along the track, which reveals weak spots. Clean grit with a brush. For expandable bags, check the expansion zipper as well, and keep it closed unless you need it.
For hard shells, check latches and the seam between halves. The halves should meet evenly, with no gap. Latches should click firmly, and a locking mechanism should operate smoothly.
Step Four: Locks, Tags and Identification
If you use a TSA-recognized lock, confirm that it opens with your code or key, and change the default combination if you have not. Attach a sturdy tag with your name and a phone number or email, and put a second identification card inside the bag in case the tag is torn off. Add a bright strap or ribbon so you can spot the bag. Remove old airline tags so scanners read only the current one.
Take a clear photo of the bag’s exterior and another of its contents. Photos help with claims if the bag is delayed or damaged. Store them in your phone, and email them to yourself.
Step Five: Packing Check
Open the bag and review the contents against your list. Keep valuables, medication, travel documents and chargers in your carry-on. Check the carry-on size against the airline’s dimensions, including wheels and handles. Put liquids in clear, leakproof containers and in a sealed bag. Take a quick look inside for loose items that could shift or break, and place fragile items inside clothes.
Do not forget small details: pack a phone charger in the cabin bag, bring a power adapter if needed, and add a spare set of essentials. See how we think about gear choices on our how we review page, and compare options in our best travel luggage set roundup if your bag fails the check and needs replacement.
When to Repair, When to Replace
If a wheel wobbles or a zipper catches, repair is often possible and quick, especially if parts are available. If the shell is cracked, the frame is bent or several parts are failing, replacement is likely wiser. Contact the maker to see if a warranty applies. If you need a new bag before a trip, buy early so you can pack it, weigh it and check it at home.
Use a simple cutoff when a check fails. If the fix takes a few minutes, such as tightening a screw or clearing a wheel, do it that day. If the part must be ordered, decide within a day whether the trip date leaves time for shipping. If it does not, plan on replacing the bag or borrowing a sound one, rather than hoping the weak point holds through a full trip.
Printable Checklist and Special Cases
Copy this list to a note on your phone and tick each line.
- Weight under the limit, with a margin of a pound or two.
- Wheels spin freely and the tread is intact.
- Handle extends, locks at each stop and does not sink.
- Zippers glide on every pocket and the expansion zipper is closed.
- Latches and seams close evenly.
- Lock opens with your code, and the default code is changed.
- Tag attached with a current phone number, and a card inside the bag.
- Old airline tags removed.
- Photos of the bag and contents taken.
- Valuables, medication and chargers in the cabin bag.
- Liquids sealed in a clear bag.
- Documents, tickets and passport in one zipped pocket.
When to Run Each Check
| When | What to do |
|---|---|
| One week before | Full checklist, with time to repair, order a part or replace the bag |
| Two days before | Re-weigh the packed bag, confirm airline limits and fees |
| Night before | Photos, tags, lock code, cabin bag contents |
| Morning of departure | Passport, phone charge, final weight if you added items |
Run the full list for a long or international trip. For a quick weekend, weight, wheels and zippers are the minimum.
Special Checks for Long or Complex Trips
If you plan several flights, check each airline’s baggage rules, because limits can differ between carriers on one ticket. For international trips, check the destination country’s rules about batteries, medications and electronics, and confirm that your adapters match. If you travel with a stroller, sports gear or musical instruments, confirm the airline’s policy early, since size and fee rules differ. Finally, if you are storing a bag for months before use, look for mildew and a musty smell, and air it out in the open for a day.
Checking a Borrowed or Stored Bag
A bag borrowed from a friend or pulled from the attic needs extra attention. Look inside for odors, stains or insect traces, and run a hand along the lining to find damp spots. Inspect the base and corners for cracks. Check that the lock and handle match what you need, and ask the owner about known issues such as a sticky zipper. If the bag has not been used in a long time, extend and retract the handle several times and spin each wheel to loosen stiff parts. Replace anything that fails before you pack.
Last Look at the Carry-On
Before you leave for the airport, put your passport, boarding pass or phone with the pass, wallet and keys in one fixed pocket, and zip it. Check that your phone is charged and that a charging cable is within reach. Confirm you have any prescription medication in original containers, plus a printed copy of important confirmations in case a battery dies. Check the weather at your destination one last time, and move a layer from the checked bag to the carry-on if conditions look uncertain.
Who Should Choose Which
Do the full checklist if you fly often, check bags or travel with valuable items. Use a short version, covering weight, wheels and zippers, if you take a quick weekend trip with a carry-on. Skip nothing on the weight check if you pay for bags by weight.
Frequently Asked Questions
What should I check on my luggage before a trip?
Weigh the bag, spin the wheels, extend and press the handle, run every zipper, check the lock and tags, and photograph the bag and contents. Do it at least a day before departure so you have time to fix or replace anything that fails.
How do I weigh a suitcase without a luggage scale?
Stand on a bathroom scale holding the bag, note the total, then subtract your own weight measured alone. Compare the result with your airline’s limit and leave a margin of a pound or two, since scales can differ. A cheap hand scale is more accurate if you travel often.
How early should I check my luggage before travel?
A week before is best for a long trip, since it leaves time to repair, order a part or replace the bag. Repeat a short check the night before to confirm weight, tags and cabin bag contents. Leave extra time if you travel on a tight schedule.
Final Thoughts
Ten minutes at home prevents trouble at the airport. Weigh the bag, spin the wheels, check the handle by pressing it, run the zippers, check locks and tags and photograph the contents. Fix small issues early and replace the bag if problems pile up.
Related buying guides
- Signs It Is Time to Replace Your Suitcase
- Smart Luggage Battery Rules: Removable Power Banks
- Spinner vs Two-Wheel Luggage: Pick by Your Route
About the author

The BuyOnceChoice Editorial Team researches durable products worth buying once. Our guides compare published specifications, warranty terms, expert review consensus, and verified owner feedback. We do not conduct our own product trials. See How We Review and our Editorial Policy for our standards.