Work Boot Fitting Checklist: 12 Checks Before You Buy
A printable style list of checks for fitting work boots, from time of day and socks to heel lift on a ramp, so you catch problems before you commit.
 By BuyOnceChoice Editorial Team
Updated November 16, 2026
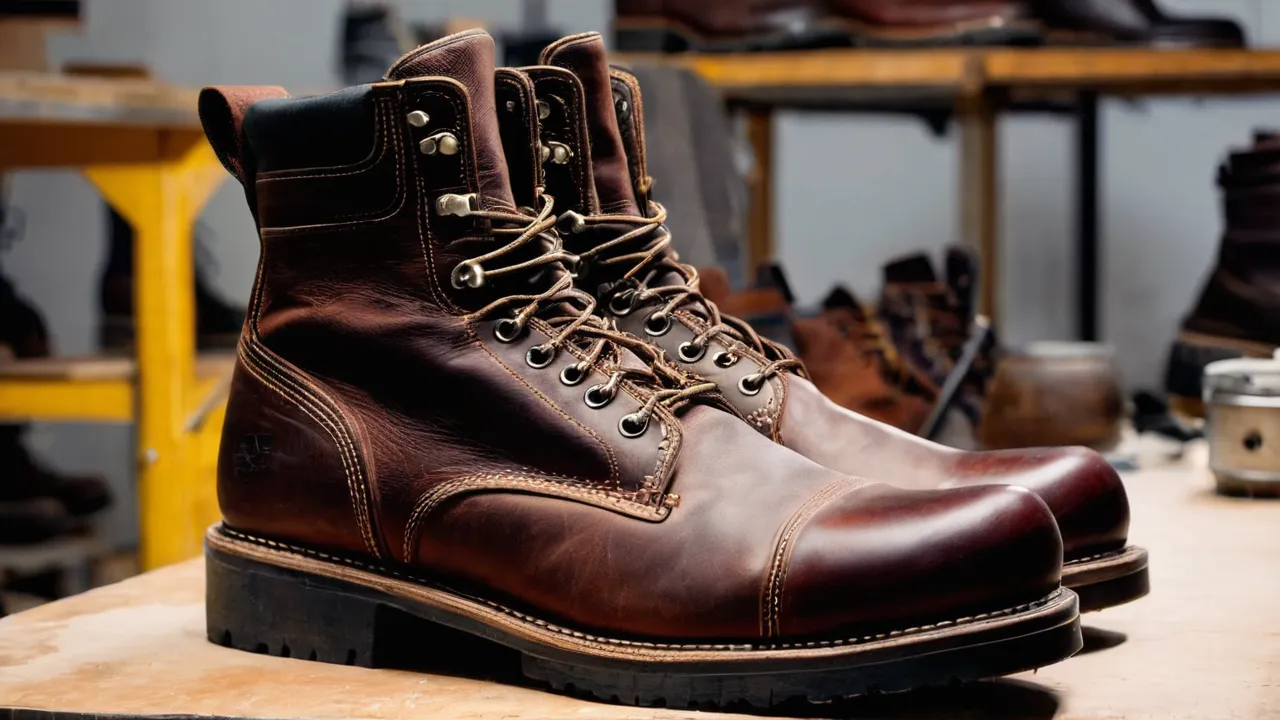
A work boot fit checklist is a short list of checks you run in the same order every time you try on a boot: length, width, heel hold, instep, toe room, flex point, collar, sole stability, volume and timing. Run all ten with your work socks on, in the afternoon, and decline any boot that fails the heel or toe checks, because those two problems rarely improve with wear.
Before You Start
Set up the fitting so the result means something.
- Go in the afternoon or after a few hours on your feet, when feet are at their largest.
- Wear the socks you wear at work, not thin dress socks.
- Bring any insoles or orthotics you use.
- Measure both feet and fit to the larger one, since many people have a slight difference.
- Unlace the boot fully before putting it on, then lace it from the bottom up.
- Stand and walk on a hard floor, and find stairs or a ramp if possible.
Plan about fifteen minutes per boot. Rushing the fitting is how people end up with a boot that feels fine in the store and wrong an hour into a shift.
The Ten Checks
1. Length
Stand with your weight on the foot, slide the foot forward until your toes touch the front, and check the space behind your heel. A finger or two should fit. Then push the foot back and check for roughly a thumb’s width in front of the longest toe while standing. If you are well below that, the boot is short, and if the gap behind the heel is a hand’s width, it is long.
2. Width
The ball of the foot should sit in the widest part of the boot without being squeezed. You should feel contact at the sides, not pressure. If your little toe is pressed against the side, or the upper bulges over the sole, the boot is too narrow. Our wide foot sizing guide explains how width letters work across brands.
3. Heel Hold
Walk, climb stairs and rise onto your toes. The heel should stay down, with at most a very slight lift. Heel slip causes blisters and wastes energy. If the heel lifts noticeably, try a heel lock lacing pattern, but if that fails, move to another size or last.
4. Instep
The lacing area should close over the instep without pressure points or gaps. A high instep needs a roomier lace area, and a low instep needs a boot with a snug tongue. If lacing tight is the only way to hold your foot, the boot is the wrong shape.
5. Toe Room on a Downhill
Find a ramp or tilted surface and walk down it. Your toes should not hit the front, and a safety toe cap should not press on your toenails. If you cannot find a ramp, kick your toes forward against a wall gently or stand on the edge of a step. Toe bang on a downhill is a sign of a short boot or a loose heel.
6. Flex Point
The boot should bend where your foot bends, at the ball. If the crease of the boot sits behind or ahead of your toe joint, the leather bunches and the sole fights you. Squat down and check that the flex does not pinch the top of your foot.
7. Ankle and Collar
The collar should hold the ankle without rubbing the ankle bone or the Achilles. Check by walking, pivoting and squatting. A collar that pinches or gaps will cause irritation on long days.
8. Sole and Stability
Stand on a hard floor and rock side to side. The boot should feel stable, not tippy. Check the sole for firmness that suits the job. Climbers and ladder users need a stable shank, while heavy standing jobs need cushioning.
9. Insole and Volume
If you use an insole, compare the fit with and without. A thicker insole raises the foot and reduces room across the instep and toes, so a boot that was comfortable with the factory insole may become tight. Fit the boot with the insole you will actually use.
10. Time
Wear the boot for at least ten minutes in the store, and more at home. Discomfort that builds is a warning. If a pressure point appears at minute five, expect it to be worse at hour five.
Reading the Results
Score each check as pass, borderline or fail. A fail on heel hold, toe room or width is a deal breaker, because those problems do not reliably go away. A borderline on instep or collar can sometimes be fixed with lacing or an insole. A borderline on length usually means you need a different size.
Decision rules:
- Any fail on checks 1, 2, 3 or 5: try another size, width or model.
- Two or more borderlines: pick another boot, because the problems add up over a shift.
- All passes with one borderline: keep it, work on lacing, and revisit after a few days.
- All passes: wear it indoors for a day or two before you commit to outdoor use.
Fitting Online and Returning Cleanly
Online fitting follows the same checks, with extra planning. Read the return policy first, order two sizes if you can, and try boots on a clean, indoor floor with your work socks. Keep tags, packaging and any plastic on the sole until you are sure. Check whether worn boots can be returned and who pays for shipping.
Record your size and fit notes. A short fit record helps next time: the model, the size, the width, the insole and what you liked or did not. Over time it shows which brands and lasts suit your feet.
Special Situations
If your feet are two sizes apart, fit the larger and fix the smaller with an insole or sock. If you wear orthotics, remove the factory insole and fit the boot with yours. If you have bunions or hammertoes, look for a boot with a roomy toe box and a soft upper in that area. If you have diabetes, circulation problems or persistent foot pain, check with a clinician before choosing footwear.
Heel lift matters most. The other checks tell you about comfort, while heel lift tells you about stability and blister risk. Check it on a ramp or stairs, and again after ten minutes of walking, since a boot can loosen up as you move. See our clothing and footwear section for related fit guides, and our page on how we review explains how we judge claims.
A Printable Version
Copy this onto paper or your phone and mark each line as pass, borderline or fail for each boot you try.
- Length: finger or two behind the heel, thumb’s width at the toe.
- Width: no side pressure at the ball or little toe.
- Heel hold: heel stays down on stairs and ramps.
- Instep: laces close without a pressure point or gap.
- Toe room: no toe bang on a downhill.
- Flex point: boot creases where the foot bends.
- Collar: no rubbing at the ankle bone or Achilles.
- Stability: no rocking side to side on a hard floor.
- Volume: fits with my insole and work socks.
- Time: still comfortable after ten minutes.
Fit two or three boots in one session, since comparing them side by side is more reliable than judging one alone. Put a different model on each foot if the store allows it, and swap, so you feel the difference without relying on memory.
Why Heel Lift Matters Most
Of the ten checks, heel lift predicts the most trouble. A boot that lifts at the heel forces the toes to grip, rubs a blister into the back of the foot and moves the foot around the safety toe, which defeats the toe cap’s purpose of sitting where it is meant to. Length can be adjusted with socks, and width can sometimes be stretched in leather, but a heel that does not hold usually means the last is wrong for your foot.
Check heel lift in three ways: walking on level ground, climbing stairs and stepping down a curb. Ask a friend to watch the back of the boot or look at it in a mirror. If the heel lifts by more than a fraction of an inch on each step, treat it as a fail.
Frequently Asked Questions
How much room should work boots have in the toe?
About a thumb’s width between your longest toe and the front of the boot while standing is a common rule, and your toes should wiggle freely. Too little room causes toe bang on downhills, and too much lets the foot slide. Check with your work socks on.
How can I tell if my work boot heel slips too much?
Walk up stairs or a ramp and watch whether the heel lifts with each step. A very slight lift is normal. If you can feel the heel leave the insole or rub, the boot is too big or the wrong shape. Try heel lock lacing, and if it persists, change size.
Should work boots feel tight at first?
A work boot should feel snug, not tight. Leather may soften a little, but a safety toe will not stretch. If the boot pinches or numbs your toes in the first ten minutes, it is probably the wrong size or width.
What time of day is best to try on work boots?
Late afternoon or after you have been on your feet for several hours, when feet are largest. Wear the socks and insoles you will use at work. Fitting early in the day can lead to a boot that feels roomy in the store but tight on the job.
Final Thoughts
Run the ten checks in order, with work socks, in the afternoon, and walk a ramp or stairs. Treat heel hold, toe room and width as deal breakers and fix borderline instep or collar issues with lacing or insoles. Keep a return window open and a short fit record so the next pair is easier.
Related buying guides
- Work Boot Insoles: When to Replace and When to Skip
- Lace Length and Lacing Styles for Work Boots
- Work Boot Lasts and Heel Counters: What They Mean
About the author

The BuyOnceChoice Editorial Team researches durable products worth buying once. Our guides compare published specifications, warranty terms, expert review consensus, and verified owner feedback. We do not conduct our own product trials. See How We Review and our Editorial Policy for our standards.