Wireless Printer Setup and Network Security Checklist
Set up a wireless printer securely with firmware updates, a strong admin password, a guest network, and unused services switched off, step by step.
 By BuyOnceChoice Editorial Team
Updated November 16, 2026
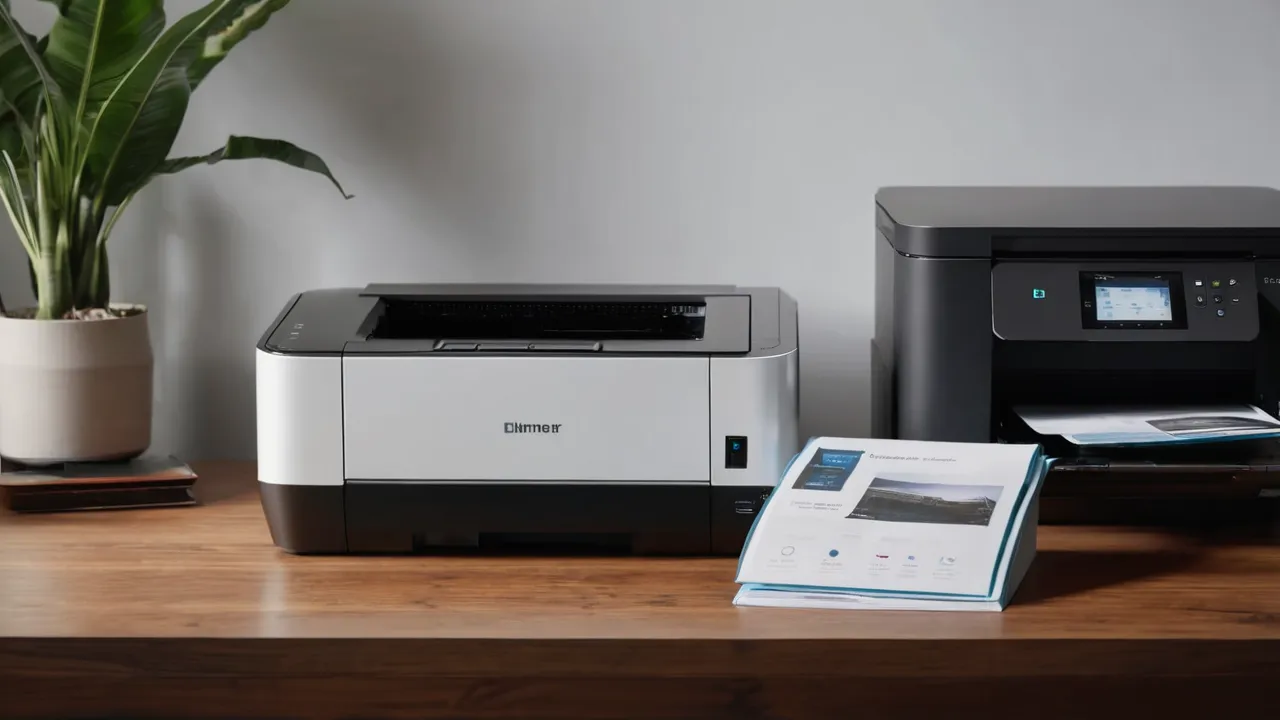
To set up a wireless printer securely, update its firmware, change the default admin password, connect it to a protected network, ideally a guest or separate one, and turn off services you do not use, such as remote printing by email, old protocols, and open ports. A printer is a small computer on your network, and it deserves the same care as other devices.
Printers are easy to forget after setup, yet they store documents, network credentials, and sometimes contact lists, and they accept jobs from anyone who can reach them. This checklist covers the practical steps for a home or small office, with the manufacturer’s manual as the final word on menus and options.
Why a Printer Needs Security
A networked printer runs its own software, listens for print jobs, and may offer a web page for settings. If it uses a weak or default password, someone on the same network can change settings or read stored data. If its firmware is old, known weaknesses may remain open. If it accepts jobs from the internet or through a cloud account, the attack surface is larger.
Most risks come from careless defaults, not exotic attacks. The fixes are simple and mostly free. Our printers and scanners category notes which models support the update and security features discussed here.
Step One: Update the Firmware
Check the manufacturer’s support page or the printer’s menu for firmware updates, and install the latest version before you connect other devices. Firmware updates fix bugs and security problems. Some printers update automatically, and some need a manual check. Keep a note of how to check, and look again every few months.
A caution: some updates change how the printer treats third-party supplies or add account requirements. Read the release notes before updating, and decide with that in mind. For most people, security fixes outweigh the downsides, but you should know what you are agreeing to.
Step Two: Set Admin Credentials
Many printers ship with a default administrator password or none at all. Open the printer’s settings page, using its address from the display or a status page, and set a strong, unique password. Do not reuse a password from another account. Store it in a password manager. If the printer has a PIN for the control panel, set that too.
Check whether the printer offers separate user and admin roles. If so, limit who can change network and security settings.
Step Three: Choose the Right Network
Before you add the printer, look at your router. Make sure it uses a modern encryption mode and a strong password, and that its own admin page has a changed password. Many home networks are only as strong as their router’s defaults. Update the router’s firmware too, since a printer on a weak network is not safe regardless of its own settings.
When you add the printer, use the manufacturer’s setup app or the printer’s menu to join the network, and avoid entering the Wi-Fi password into unknown websites or apps. If the printer offers a setup mode that opens a temporary open network, finish setup quickly and confirm that mode turns off afterward.
Connect the printer to a network protected by WPA2 or WPA3 with a strong password. If your router has a guest or secondary network, consider using it for the printer or for visitors’ devices, depending on how your devices find the printer. Some setups require the printer and computers on the same network for discovery, so check the router’s isolation settings to be sure they do not block printing.
A wired connection removes wireless exposure and is more reliable, if the printer’s location allows it. If you use Wi-Fi Direct for guests, set a password and disable it when not needed. Do not expose the printer to the internet through port forwarding.
Router Settings Worth Checking
Open your router settings and look for four things. Confirm the Wi-Fi uses WPA2 or WPA3 and a long, unique password. Confirm the router admin page has its own changed password. Check whether features you do not use, such as WPS or remote management, are switched off, since manuals often recommend that. Check whether a guest network exists and what isolation setting it uses. Write the settings down, and update the router firmware as the maker describes. If any menu is unclear, the router manual is the authority.
Step Four: Turn Off What You Do Not Use
A practical way to work through the list is to open the printer’s web settings page and read each section once. Look for words such as protocol, port, remote, cloud, web services, and sharing. For each, ask whether you use it. If you do not know what a service does, search the manufacturer’s manual before changing it, and turn off one item at a time so that you can restore it if printing stops.
Keep a short note of what you changed. If you later add a new device that needs a service you disabled, you will know where to look.
Printers often enable many services by default: older network protocols, file transfer, remote access, email printing, cloud printing, and web services. Each one is a possible way in. Open the settings and disable features that you do not use. Keep the ones you rely on, such as standard network printing, and turn off the rest.
If you do not use fax, disable it, since phone lines can be an entry point. If you do not scan to email or network folders, disable those services. Check the list of open ports on the status page if the printer provides one, and compare with the manual.
Step Five: Protect Documents and Data
Think about where documents travel. A scan sent to email passes through your mail provider, a scan sent to a shared folder passes through your network, and a cloud scan passes through the maker’s service. Choose the path that fits the sensitivity of the document. For tax forms, contracts, and medical papers, a direct connection to your own computer or a locked folder is better than an open share.
Also empty the print queue and clear stored jobs now and then, and check whether the printer keeps a history of recent documents that you can turn off.
Some printers store jobs, scanned documents, address books, and logs. Check whether the printer has a storage drive, and whether it offers encryption or a secure erase option. Use confidential or PIN-protected printing for sensitive documents, if available, so a job prints only when you enter a code at the device.
Before selling or recycling a printer, reset it to factory settings and erase stored data and saved network credentials according to the manual. Remove the printer from your accounts and cloud services.
Then Monitor and Maintain
Look at the printer’s status page or logs occasionally, and note unexpected jobs, unfamiliar devices, or unexplained settings changes. Keep the printer’s name and address recorded. When you replace your router, update the printer’s network settings. If the printer starts printing odd jobs or shows strange behavior, disconnect it from the network, reset it, and update the firmware.
For privacy, review the maker’s data collection settings and opt out of optional analytics if you wish. Our guide on how we review explains how we treat connectivity features.
A Fifteen Minute Checklist
- Update the printer firmware after reading the release notes.
- Set an admin password and a control panel PIN if offered.
- Join a protected network with WPA2 or WPA3, or use a wired connection.
- Turn off services you do not use, one at a time, and write down each change.
- Decide where scans go for sensitive papers.
- Enable confidential or PIN printing if the printer offers it.
- Note the printer’s address and the date of your last firmware check.
- Before selling or recycling, reset and erase stored data.
Who Needs What
Guests deserve a thought. If visitors regularly print from their phones, a guest network with printer access is convenient, but it exposes the printer to devices you do not control. A middle path is to let guests send files to you and print them yourself, or to use a temporary Wi-Fi Direct connection with a password that you change afterward.
A household with a few devices needs the basics: update, password, strong Wi-Fi, and fewer services. A home office handling client documents should add a separate network, confidential printing, and a data erase plan. A small business should consider a managed approach with IT help. See the best printer guide for models with solid support.
Frequently Asked Questions
How do I secure a wireless printer?
Update the firmware, set a strong admin password, join a network protected with WPA2 or WPA3, and turn off services you do not use, such as remote printing and old protocols. Do not forward ports to the printer from the internet. Check the manual for the exact menus.
Should I put my printer on a guest network?
It can help keep it separate from your computers, but printing often needs devices on the same network to discover the printer. Check your router isolation settings so they do not block printing. A wired connection or a separate office network is another option.
Do wireless printers store my documents?
Some store jobs, scans, address books, and logs, and some have a storage drive. Check the manual for storage, encryption, and secure erase options. Use confidential printing for sensitive documents, and reset the printer and erase data before you sell or recycle it.
How often should I update printer firmware?
Check every few months, or turn on automatic updates if you are comfortable with them. Updates fix bugs and security problems, but some change supply or account rules, so read the release notes first. Keep a note of how to check for updates.
Final Thoughts
Wireless printer security is routine hygiene: update, set a password, protect the network, disable unused services, and clean up before disposal. Fifteen minutes at setup avoids most of the common problems.
Related buying guides
- All in One vs Single Function Printers
- Color vs Monochrome Laser Printers: Do You Need Color
- How Long Does a Laser Printer Last?
About the author

The BuyOnceChoice Editorial Team researches durable products worth buying once. Our guides compare published specifications, warranty terms, expert review consensus, and verified owner feedback. We do not conduct our own product trials. See How We Review and our Editorial Policy for our standards.