How to Restore Rusty Cast Iron Step by Step
Most rusty cast iron can be saved with scrubbing and reseasoning. Follow these steps, use sensible protection and know when to retire the pan.
 By BuyOnceChoice Editorial Team
Updated November 16, 2026
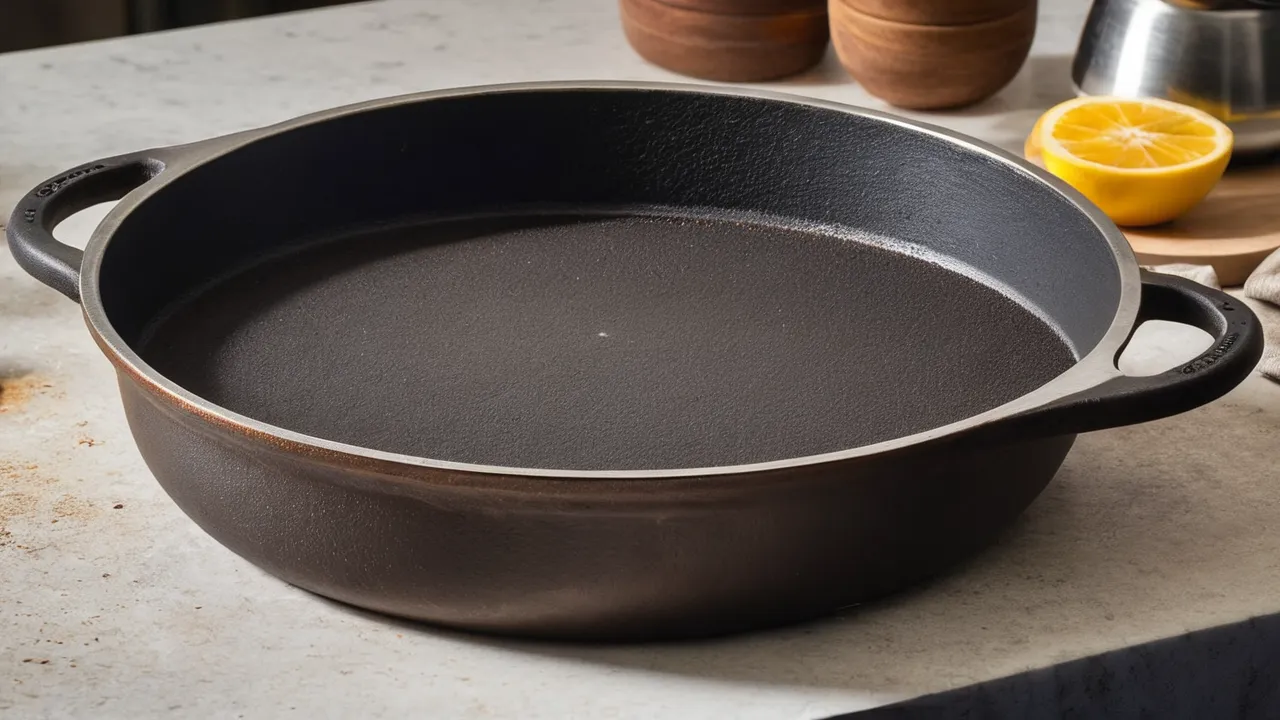
To restore rusty cast iron, scrub off the rust with steel wool or a stiff brush and soapy water, rinse and dry completely, then re-season the bare metal with thin coats of oil baked in the oven. Surface rust is cosmetic and fully fixable. Only a pan that is cracked, badly warped, or deeply pitted is beyond saving, so most rusty pieces are worth the effort.
Safety and Supplies
Restoring cast iron involves scrubbing, sometimes mild acid, and baking at high heat. Plan for the hazards before you start.
- Wear gloves when you use steel wool, abrasive pads, or vinegar, and eye protection if you scrape with a tool. Rust flakes and metal dust irritate skin and eyes.
- Ventilate the kitchen when you bake oil in the oven, because the process produces smoke. Turn on the hood fan and open a window.
- Use oven mitts, since the pan stays hot long after you turn the oven off.
- Do not mix cleaning products, and keep chemical strippers away from food areas unless the label permits that use.
Gather these supplies: steel wool or a stiff brush, dish soap, white vinegar if the rust is heavy, paper towels or lint-free cloths, a high-smoke-point oil such as vegetable, canola, or grapeseed oil, a baking sheet or foil for drips, and oven mitts.
Step 1: Assess the Damage
Look at the pan under good light before you start.
- Light surface rust, orange or brown patches that rub off: easy to fix with scrubbing.
- Heavy rust over the whole pan: fixable with more scrubbing and possibly a vinegar soak.
- Pitted or flaking metal: light pitting can be smoothed, but deep pits that hold rust may limit the pan’s life.
- Cracks: any crack through the body means the pan should be retired.
- Warping: place the pan on a flat counter and press the rim to see if it rocks. A mild rock is a cooking nuisance, and a severe one is a reason to replace.
Also look for old buildup, such as sticky, flaking, or thick black coating. Flaking seasoning should be removed along with the rust.
Step 2: Scrub Off the Rust
Wet the pan with warm soapy water and scrub with steel wool or a stiff brush, working in circles. Rust comes off as an orange paste. Keep scrubbing until you reach bare gray metal, even though it looks dull. Pay attention to corners, handles, and the underside, since rust hides there. Rinse and look again.
If rust is heavy, use a vinegar soak. Mix equal parts white vinegar and water in a basin large enough to cover the rusty area. Soak for about 30 minutes, then check, or follow your pan maker’s guidance. Vinegar attacks iron as well as rust, so do not leave the pan in for hours, and check every 15 to 30 minutes. Remove it as soon as the rust loosens, scrub, and rinse.
Never put a cast iron pan in the dishwasher or leave it to air dry, because that brings the rust back immediately.
Step 3: Dry Right Away
After rinsing, dry the pan with a towel, then set it on a burner over low heat or in a warm oven for a few minutes so that every trace of water evaporates. Bare cast iron can show new rust in minutes when wet. Do not skip this step, and move straight on to seasoning while the pan is warm.
Step 4: Re-Season in the Oven
1. Heat the oven to about 450 to 500 degrees F, or follow the temperature your pan maker or oil label suggests. Higher temperatures than the oil’s smoke point create smoke, so ventilate. 2. Rub a very thin layer of oil over the whole pan, inside, outside, and handle. Then wipe it off with a clean cloth as if you were removing all of it. A thin film is what you want, since thick oil turns sticky. 3. Place the pan upside down on the middle rack, with foil or a baking sheet on a lower rack to catch drips. 4. Bake for one hour, then turn off the oven and let the pan cool inside. 5. Repeat the oiling and baking two or three more times for a stronger finish.
Cool the pan fully before handling. A smooth, hard, slightly glossy surface is the goal, and it will darken over time with use.
Step 5: Build the Surface With Use
New seasoning is thin, so cook fatty foods for the first few uses, such as bacon, sausage, or fried potatoes, and avoid acidic sauces or long simmers until the finish builds up. Wash with a soft sponge, hot water, and a drop of soap if needed, then dry and oil lightly. Over weeks the pan will darken and release food more easily.
Preventing Rust From Returning
- Dry the pan fully after every wash.
- Store in a dry place, with a paper towel in the pan to absorb moisture.
- Do not soak or leave wet food in the pan.
- Wipe a thin film of oil on the cooking surface after drying.
- Avoid storing with the lid on, which traps humidity.
- Use the pan regularly, since use keeps the seasoning healthy.
Choosing Between Oven and Stovetop Seasoning
Oven seasoning gives the most even finish because heat surrounds the whole pan, inside and out, and it is the method most makers describe. Stovetop seasoning heats only the base and is harder to control, so it is better suited to small touch-ups than to a full restoration. If your oven runs hot or you worry about smoke, use a lower temperature and an extra coat or two instead of pushing the heat higher. Whatever you choose, keep the layers thin, because thick oil is the single most common reason a restored pan turns sticky or blotchy.
What a Good Restoration Looks Like
When the job is done, the surface should feel smooth and dry, not tacky. It should look even in color, from deep brown to black, with a slight sheen. Water should bead rather than soak in, and a fried egg should slide more freely after a few cooks. If you see bare gray patches, blotchy brown spots, or a sticky film, the layers were uneven or too thick. In that case, scrub lightly, or bake the pan hot for another hour, and add one more thin coat. Do not worry if the pan is not perfect at first, since regular cooking builds the finish over several weeks.
Should You Keep Restoring or Buy Another Pan?
Restoration costs a little oil and time, so it nearly always beats replacement. Retire a pan only if it is cracked through, severely warped, or pitted so deeply that rust returns in the pits no matter how often you season. Everything else, including heavy rust, is repairable.
Troubleshooting
| Problem | Likely cause | Fix |
|---|---|---|
| Sticky surface after seasoning | Oil layer too thick | Bake again at high heat, or strip and redo |
| Orange spots return | Pan not fully dry | Scrub, dry on heat, re-oil |
| Flaking coating | Oil layers too thick or old coating | Scrape, wash, re-season thinly |
| Gray, dull look | Thin seasoning | Cook fatty foods and re-oil |
| Smoke in the kitchen | Oil above smoke point | Ventilate, use a high smoke point oil |
| Metallic taste | Fresh seasoning or acidic food | Cook fatty foods first |
Our cast iron cookware guides explain how to choose and care for pans. If you prefer a lower-maintenance material, see stainless steel cookware. Our How We Review page explains how we evaluate products using research and specifications. For related gear, see the cookware and kitchen tools section.
How to Handle Vintage or Thrift Store Finds
Old pans often arrive with rust, grime, and decades of crust. Inspect for cracks first, because restoration cannot fix them. Clean with scrubbing and a vinegar soak as above, but avoid methods that stress the metal, such as putting a very old pan into a hot fire to burn off residue, which can warp or crack it. If you do not know the history of the pan, scrub and wash thoroughly before cooking, and skip pieces that show unusual residue or heavy damage.
A Realistic Timeline
A pan with light rust can be done in an afternoon: twenty minutes of scrubbing, a few minutes drying, and two hours of oven time for two rounds of seasoning. A pan with heavy rust may need a soak and extra scrubbing, so allow a day. Plan one extra evening to cool the pan completely between coats. Patience pays off, because the first few weeks of cooking add to the finish.
Frequently Asked Questions
Is rusty cast iron safe to cook on?
Once the rust is scrubbed off and the pan is properly re-seasoned, yes. Do not cook on a pan with active, flaking rust. Remove all loose rust, wash the pan, dry it fully, and season it before you use it for food.
How long can I soak cast iron in vinegar?
Keep it short, usually 30 minutes, and check every 15 to 30 minutes. Vinegar attacks iron along with rust, so long soaks can pit the surface. Remove the pan as soon as the rust loosens, scrub, rinse, and dry immediately.
Can I use steel wool on cast iron?
Yes, on bare rusty iron it works well and removes rust efficiently. Use it before re-seasoning, since it strips the existing seasoning too. After scrubbing, rinse, dry the pan right away, and season it so the bare metal does not rust again.
What oil is best for re-seasoning?
Use a neutral oil with a high smoke point, such as vegetable, canola, or grapeseed oil, and apply it in very thin coats. Many cooks also use flaxseed oil, though it can flake if applied too thickly. Follow the manufacturer’s guidance if your pan came with instructions.
Final Thoughts: Scrub, Dry, Season, Repeat
Rust is a surface problem. Scrub to bare metal, dry completely on heat, and season with thin coats at high temperature. Check for cracks and deep pits first, and ventilate the kitchen while the oil bakes.
Related buying guides
- How to Season Cast Iron: Oils, Temps, and Frequency
- Smooth vs Rough Cast Iron Surface: What Changes
- Vintage vs Modern Cast Iron: Is Old Worth Buying?
About the author

The BuyOnceChoice Editorial Team researches durable products worth buying once. Our guides compare published specifications, warranty terms, expert review consensus, and verified owner feedback. We do not conduct our own product trials. See How We Review and our Editorial Policy for our standards.