How to Season Cast Iron: Oils, Temps, and Frequency
Seasoning is thin oil baked into a hard layer. Learn which oils work, what oven range to use, how often to repeat it, and when to leave it alone.
 By BuyOnceChoice Editorial Team
Updated November 16, 2026
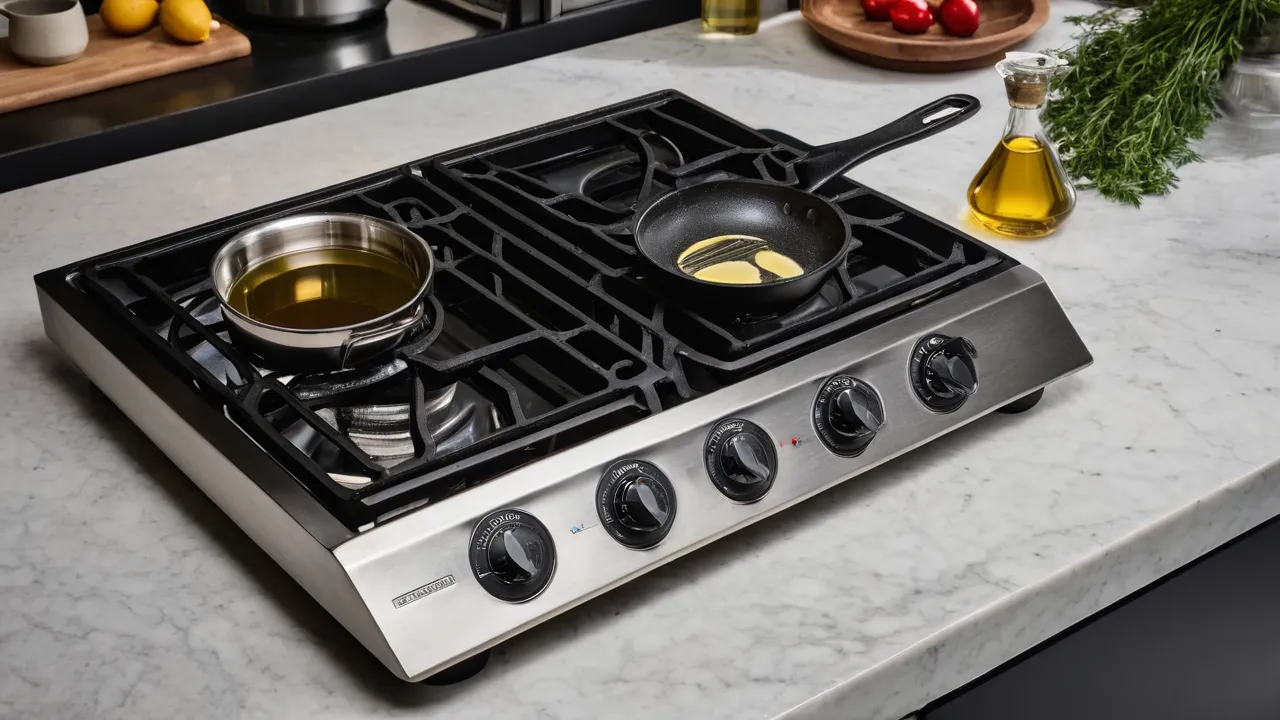
To season cast iron, rub a very thin layer of high-smoke-point oil over a clean, dry pan, wipe off nearly all of it, and bake the pan upside down in an oven at roughly 450 to 500 degrees F for one hour, then let it cool in the oven. Repeat for two or three coats on a new or stripped pan. After that, routine cooking and a light oiling after each wash keep the seasoning healthy.
What Seasoning Actually Is
Seasoning is not a flavor and not a coating you can see in a bottle. It is a thin layer of oil that has been heated until it polymerizes, meaning the oil’s fats link into a hard, plastic-like film that bonds to the iron. That film fills the pores of the metal, shields it from moisture, and gives food a smoother surface to release from. Because it is made by heat, it builds in layers, and thin layers bond better than thick ones.
Seasoning wears off with use, scrubbing, and acidic foods, and it can be rebuilt at any time. A pan does not need a perfect finish to cook well. It needs a continuous, thin film and a cook who dries it after washing. Understanding that makes the rest of the process simple: thin oil, high enough heat, and enough time.
Safety Before You Start
Seasoning uses an oven at high heat and hot oil, and both can cause burns and smoke.
- Ventilate the kitchen with the hood fan and an open window. Heated oil smokes, and some smoke is normal at these temperatures.
- Check that the oven is clean, because old grease can ignite or smoke.
- Use oven mitts for a pan that is hot long after the oven is off, and keep children and pets away.
- Never leave the oven unattended when you are using it for the first time at high heat, and keep a lid or baking sheet handy for a small oil flare in a pan on the stove.
- If you have pet birds, move them to another room, since fumes from hot oil and from nonstick coatings can harm them.
Choosing an Oil
The ideal oil is neutral, inexpensive, and has a smoke point near or below your seasoning temperature, so that it polymerizes instead of staying liquid. Check the label for the oil’s smoke point and your pan maker’s guidance.
| Oil | Notes |
|---|---|
| Vegetable or canola | Common, cheap, forgiving, works well |
| Grapeseed | Neutral, high smoke point, widely used |
| Sunflower or safflower | Similar to vegetable oil, check the label |
| Flaxseed | Popular for a hard finish, but can flake if applied too thickly, so apply very thin coats |
| Solid vegetable shortening | Simple and easy to apply thinly |
| Olive oil | Lower smoke point, can smoke and turn sticky at high heat, so it suits routine maintenance more than a full seasoning |
| Butter or unrefined oils | Burn at low temperatures, skip for baked seasoning |
There is no single correct oil. What matters more than the choice is applying a very thin coat and baking it at a high enough temperature. If you want a reliable default, use a neutral vegetable oil.
Step by Step: The Oven Method
1. Wash the pan with warm water and a brush, then dry it fully on a burner on low heat. A new pan with factory seasoning can be washed and dried only. A pan with rust or flaking should be scrubbed to bare metal first. 2. Heat the oven to about 450 to 500 degrees F. Put foil or a baking sheet on the lower rack to catch drips. 3. Apply a few drops of oil to a lint-free cloth and rub it over the entire pan, including handle, rim, and outside. 4. Use a clean cloth to wipe the pan as if you were removing all the oil. A nearly dry, matte look is correct, and a visible film is too much. 5. Place the pan upside down on the middle rack and bake for one hour. 6. Turn off the oven, leave the pan inside to cool, and repeat steps 3 to 5 for two or three more coats.
Expect a smooth, hard, slightly shiny surface. A blotchy or sticky finish means the oil was too thick or the oven too cool. Fix it by baking again at high heat for an hour.
Stovetop Seasoning and Maintenance
You do not need a full oven session each time. For routine care after washing, warm the pan on the stove until it is dry, add a few drops of oil, and wipe it around with a cloth, then wipe off the excess. Heat for a minute more until it just begins to smoke lightly, then let it cool. This replenishes a thin film in minutes.
Cooking itself seasons the pan. Frying bacon, searing meat, and shallow frying all add thin layers, which is why heavy use improves the finish. In contrast, long simmers of acidic foods like tomato sauce, wine, or vinegar break seasoning down, so avoid them until the finish is well established.
How Often to Season
- New pre-seasoned pan: cook fatty foods for the first several uses and oil lightly after washing. A full oven session is optional.
- Bare, stripped, or restored pan: two to four oven coats before first use.
- Regular use: a quick stovetop oiling after most washes, and an oven session once or twice a year or when the surface looks dull or patchy.
- After heavy scrubbing or acid cooking: re-oil right away, and add an oven coat if bare metal shows.
There is no calendar rule. Look at the pan. If it is dark, smooth, and food releases, leave it alone. If it is gray, rough, or sticky, it needs attention.
Oven Safety Notes and Manual Guidance
Read your oven’s owner’s manual before running it at high heat for an hour, since some ovens have limits on how long they should run at their top setting, and self-cleaning ovens differ from standard ones. Do not use the self-clean cycle to season or strip a pan unless the pan maker says it is acceptable, because the extreme heat can crack cast iron. If you have a gas oven that smells of gas, stop and call a licensed professional. Keep a fire extinguisher rated for kitchen use within reach, and do not use water on a grease flare. If smoke becomes heavy, turn off the oven, keep the door closed to starve the flame, and ventilate once it is safe.
Seasoning Different Pieces
Skillets and griddles are simple, but other pieces need small adjustments. A Dutch oven made of bare cast iron should be seasoned inside and out, including the lid, and the lid should be baked separately or propped so that no surfaces touch. Waffle irons and pans with crevices need extra wiping to avoid pooling oil in the corners. Enameled pieces should not be seasoned, because the enamel is the cooking surface. Pieces with wooden handles should be kept out of a hot oven, so remove the handle if it comes off, or use stovetop seasoning only and follow the maker’s care guidance.
Signs the Seasoning Is Working
You will know it is working when water beads on the surface, eggs and fish release with a little fat, and the pan looks even and slightly glossy. You will know it is failing when food sticks despite enough fat, when the surface looks dull gray, or when rust appears. Treat each of those as a prompt for a quick oiling, not a crisis.
Fixing Common Problems
- Sticky or tacky surface: the oil layer was too thick. Bake at high heat for an hour, or scrub and redo it with thinner coats.
- Flaking: layers were too thick or applied on a dirty pan. Scrape loose bits with a spatula, wash, and re-season thinly.
- Orange spots: rust from moisture. Scrub the spots, dry on heat, and re-oil.
- Smoking too much: reduce oil, ventilate, and check that the oven is clean.
- Uneven color: usually cosmetic and evens out with use.
Our cast iron cookware guides explain how to choose and care for pans. For related gear, see the cookware and kitchen tools section. Our How We Review page explains how we evaluate products using research and specifications.
A Worked Example
A cook buys a bare, rough-surfaced skillet. She washes and dries it on the stove, heats the oven to 475 degrees F, rubs a few drops of canola oil over the pan, wipes it until it looks almost dry, and bakes it upside down for an hour. After cooling in the oven, she repeats the process twice more over an evening. The pan turns a deep brown. For the next week she fries bacon and potatoes and oils lightly after each wash. By the second week the pan releases eggs reasonably well, and she keeps up the light oiling.
Frequently Asked Questions
What is the best oil to season cast iron?
A neutral, high-smoke-point oil such as vegetable, canola, or grapeseed works well and is forgiving. Flaxseed can give a hard finish but may flake when applied thickly. The method matters more than the oil: use a very thin coat and bake it hot.
What temperature should I use to season cast iron?
Most cooks bake at roughly 450 to 500 degrees F for an hour, a range at or above the smoke point of common oils. Follow your pan maker’s guidance if it differs. Too low a temperature leaves oil tacky, and too thick a coat does the same.
How often should I season cast iron?
Season a new or stripped pan with several oven coats, then oil lightly after most washes. Do another oven session once or twice a year, or when the surface looks gray, rough, or sticky. Regular cooking of fatty foods also builds the finish.
Why is my seasoned cast iron sticky?
Stickiness usually means the oil layer was too thick or the oven temperature was too low to polymerize it. Bake the pan upside down at 450 to 500 degrees F for an hour to harden the layer, or scrub and redo it with a very thin coat.
Final Thoughts: Thin Coats, High Heat, Regular Use
Seasoning is simple: clean the pan, apply a thin layer of neutral oil, wipe it nearly dry, and bake it hot. Ventilate while it smokes, and let cooking and light oiling maintain the finish.
Related buying guides
- Smooth vs Rough Cast Iron Surface: What Changes
- Vintage vs Modern Cast Iron: Is Old Worth Buying?
- Can You Wash Cast Iron With Soap? Care Rules
About the author

The BuyOnceChoice Editorial Team researches durable products worth buying once. Our guides compare published specifications, warranty terms, expert review consensus, and verified owner feedback. We do not conduct our own product trials. See How We Review and our Editorial Policy for our standards.