How to Replace Suitcase Wheels Step by Step
Ordering the wrong part is the most common mistake. Learn to read your wheel's attachment type, measure it, and decide whether a swap is worth the effort.
 By BuyOnceChoice Editorial Team
Updated November 16, 2026
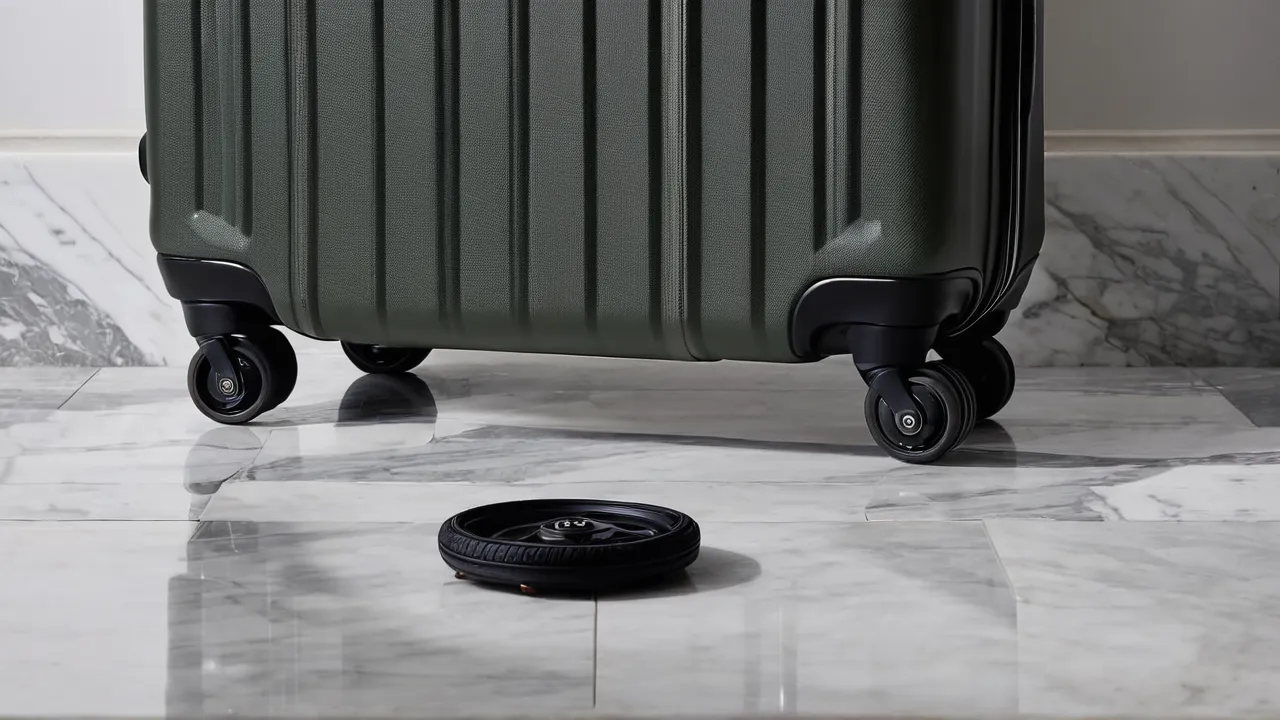
To replace suitcase wheels, first identify how the wheel attaches to the shell, because every later step depends on it. Screw-in housings can be swapped at the kitchen table, bolted assemblies need a wrench and a matching part, and riveted wheels usually call for drilling or a repair shop. Measure the old wheel, photograph the mount and confirm that the replacement fits before you order.
Why the Attachment Type Decides Everything
Suitcase wheels look similar from the outside, but the mount underneath varies a great deal. A wheel is held to the shell by a housing, and that housing is secured in one of a few ways. Buy a wheel with the wrong mount and you will not be able to install it, no matter how carefully you measure the wheel itself.
Manufacturers choose mounts for cost and shell design, not for owner repair. A bag that uses visible screws is built with service in mind, or at least tolerates it. A bag with rivets was assembled on a production line and is meant to be replaced as a whole. Knowing which kind you own tells you quickly whether this is a ten minute job or a trip to a repair shop.
The Four Common Mount Types
Screw-in housing
Two to four visible screws pass through the housing into the shell or a metal plate. Remove the screws and the whole wheel assembly comes away. This is the friendliest design for owners, because replacement housings with matching hole spacing are common.
Bolt-through assembly
A bolt passes through the shell and is secured by a nut inside the suitcase, often hidden under the lining. You will need to peel back the lining or reach through the interior to hold the nut while you turn the bolt. Allow extra time and keep the lining intact.
Riveted housing
Metal rivets squeezed flat on the inside hold the housing in place. You can drill out the rivets, but you then need replacement rivets or small bolts, and the hole pattern must match. Many owners leave this job to a repair shop.
Axle only
On some bags the housing is fine and only the wheel itself has worn out. The wheel turns on an axle held by a screw or a snap pin. If this is your case, you can replace just the wheel, which is the cheapest repair.
How to Identify Your Type in Five Minutes
Lay the bag on its side on a towel and look closely at each corner.
- Look for visible screw heads on the housing. Count them and note whether they are Phillips, hex or another drive.
- Open the suitcase and check the interior floor near the wheel. A nut or a metal plate under the lining points to a bolt-through mount.
- Look for flattened metal circles, which are rivet heads, on the inside or outside.
- Spin the wheel and wiggle the housing. Notice whether the swivel is part of the housing or a separate piece.
- Photograph every angle, including the underside, with a coin or ruler beside it for scale.
Those photos are what you will show a seller or repair shop, and they prevent most wrong-part orders.
Measure Before You Order
Wheels are specified by several measurements, and you should record all of them in inches and millimeters, since sellers use both.
- Wheel diameter, measured across the tread.
- Wheel width at the tread.
- Axle hole diameter, if you are replacing only the wheel.
- For a full housing: the distance between mounting holes center to center, the number of holes and the housing height.
- Whether the housing swivels and in what direction the swivel stem fits.
Compare these against the product page, and look for a seller who states them. If a listing does not, ask before buying. Contact the bag’s manufacturer first, because some supply parts for their own models, as discussed in our luggage warranty checklist.
The Tools You Need
For a screw-in or bolt-through swap, you generally need a screwdriver that fits the screw heads, a small adjustable wrench or socket for nuts, and a work surface that protects the shell. A towel under the bag prevents scratches. A drop of threadlocker on bolts helps hold them against vibration, though you should follow the product’s directions. Keep screws in a small dish so they do not roll away.
Do not force a stubborn screw. A stripped head turns a simple repair into a drilling job. If a screw spins freely, it may have stripped the plastic around it, and you may need a slightly larger replacement or a repair shop.
When Replacing Wheels Is Not Worth It
A swap makes sense when the shell, zippers and handle are in good condition. It does not make sense when the shell is cracked near the mount, because a new wheel will tear out again. Weigh the cost of parts and time against the price of a comparable bag. If the bag is part of a matched set, replacing one wheel can keep the set usable. Browse complete sets if replacement costs approach the price of a new bag, and see our best travel luggage set roundup for what to look for in replaceable designs.
Step by Step: Replacing a Screw-In Wheel
Work through the job in order. This sequence suits screw-in and bolt-through housings; follow the manufacturer’s instructions if you have them.
- Empty the bag and lay it on its side on a towel, with the damaged wheel facing up.
- Photograph the mount, then remove the screws or nuts with the matching driver, keeping them in a dish.
- If the housing is held from inside, peel back the lining only as far as needed and hold the nut while you turn the bolt.
- Lift the old assembly away. Compare it with the new part: diameter, width, hole spacing and swivel stem should match.
- Seat the new assembly, start every screw by hand and then tighten evenly in a cross pattern. Firm is enough; overtightening strips plastic.
- Press the lining back, stand the bag up and roll it on a hard floor.
Allow thirty minutes to an hour for the first wheel, then less for the rest. If a screw spins without tightening, stop and use a repair shop rather than drilling into the shell.
Replace One Wheel or All Four
Wheels on the same bag wear at a similar rate, because they carry similar loads and roll over the same surfaces. If one wheel has failed from age rather than from a single impact, the others are usually close behind. Replacing all four at once costs more in parts but saves you from opening the bag again a few months later, and it keeps the glide even. Mixed wheels, with a new tread beside a worn one, can make the bag pull to one side.
If only one wheel was damaged by a curb or a baggage handler, replacing just that one is reasonable, as long as the new part matches the others in diameter and swivel type. Pairing a single large wheel with three small ones makes the case rock.
After the Swap: Check Before You Travel
Once the new wheels are on, give the bag a proper shakedown at home. Load it with the weight you normally pack and roll it across a hard floor and a carpet. Tilt it on two wheels, then push it as a spinner. Listen for rattles, which mean a loose screw, and watch for wobble in the swivel. Tighten fasteners once more after a short walk, since new hardware often settles.
Keep a spare screw or two taped inside the bag, along with a note of the screw size and drive type. If a fastener works loose on a trip, you will have a match in your pocket instead of a bag that rocks across an airport.
Who Should Do It Themselves
Handy owners with a screw-in or axle-only design should try it. Owners with rivets, a cracked shell or no way to confirm part fit should use a repair shop or consider a new bag. Skip the repair entirely if the wheels are the only attractive part of a bag that is failing elsewhere. Our how we review page explains how we weigh serviceability when assessing bags.
Frequently Asked Questions
Can I replace the wheels on my suitcase myself?
Often yes, when the wheel is held by screws or a bolt-through mount. Riveted housings need drilling and matching hardware, and many owners use a repair shop. Identify the mount first, photograph it, measure the wheel and housing, and confirm the replacement fits.
How do I know which replacement wheels fit my suitcase?
Measure the wheel diameter and width, the mounting hole spacing center to center, the number of holes and the housing height. Compare these with the seller’s listing, or ask the manufacturer for the part for your model. Photos of the mount help a seller match the part.
Should I replace all four suitcase wheels at once?
If the wheels failed from age, replacing all four is usually better because the others are near the end of their life, and matched wheels roll evenly. If one wheel was damaged by a single impact, replacing just that one is reasonable if it matches the others.
Final Thoughts
The secret to a clean wheel swap is information. Identify the mount, photograph it, measure it and confirm the part before you open the box. Screw-in housings and axle-only repairs are within reach for most owners, bolted assemblies take patience and riveted housings usually mean a shop. If the rest of the bag is sound, a few replacement parts can add years of service.
Related buying guides
- Is Expensive Luggage Worth It? Cost Per Trip Math
- What a Lifetime Luggage Warranty Really Covers
- Luggage Buying Checklist: 12 Checks in the Store or Online
About the author

The BuyOnceChoice Editorial Team researches durable products worth buying once. Our guides compare published specifications, warranty terms, expert review consensus, and verified owner feedback. We do not conduct our own product trials. See How We Review and our Editorial Policy for our standards.