How to Clean a Coffee Maker: Weekly and Monthly Routine
A part by part routine for drip coffee makers, with weekly and monthly steps, notes on what vinegar can damage, and rinse rules after descaling.
 By BuyOnceChoice Editorial Team
Updated November 16, 2026
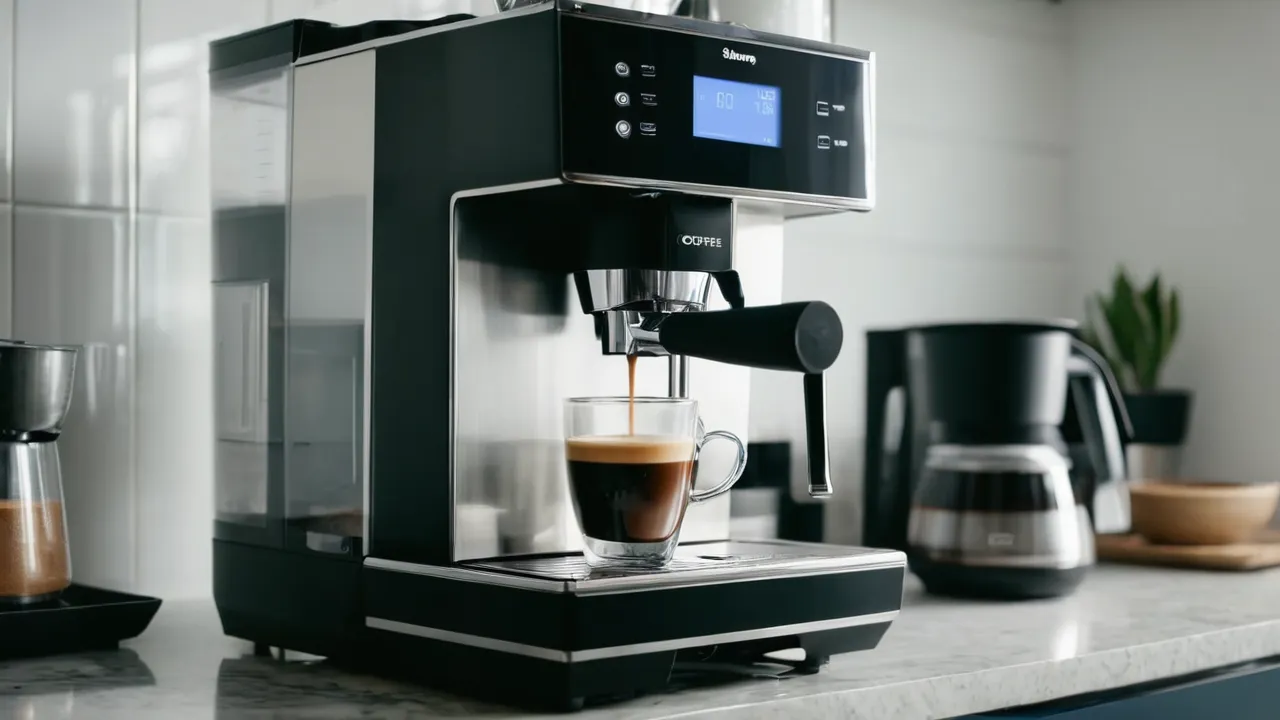
To clean a coffee maker, wash the carafe, lid, filter basket and any removable parts with warm soapy water after each pot or at least weekly, wipe the warming plate and exterior, and descale the internal water path about once a month, more often with hard water. Use the descaling method in your manual, since vinegar is not safe for every machine. Afterward, run several cycles of fresh water until no smell or taste remains.
Coffee oils turn rancid, and mineral scale slows heating and shortens the life of the pump and heater. A short routine prevents both. This guide splits the work by part, gives a weekly and monthly schedule, and explains what to check before using vinegar.
Unplug First and Read the Manual
Unplug the machine and let it cool before any cleaning. The warming plate and brew basket stay hot for a while. Keep electrical parts, the cord and the plug dry, and never immerse the base in water.
Next, check the manual for cleaning instructions. Many manufacturers specify a descaling product or a diluted white vinegar solution. Others warn against vinegar for certain models, because acid can degrade seals, gaskets or heater parts over repeated use, and some machines with sensors or specific descaling cycles call for the maker’s own descaler. If your manual is lost, search the model number on the manufacturer’s site. When you cannot find guidance, use a descaler sold specifically for coffee machines and follow its label.
Part by Part Cleaning
Carafe and lid
Wash after each use. Coffee leaves an oily film that builds up in glass and under the lid gasket. Use warm water, mild dish soap and a bottle brush if the opening is narrow. For stains inside a glass carafe, a soak in warm water with a little baking soda helps. Avoid abrasive pads on glass and on stainless steel thermal carafes, since scratches hold stains. Check if the carafe is dishwasher safe, because many thermal carafes are not.
Filter basket and permanent filter
Rinse the basket after every pot and give it a full wash weekly. A permanent mesh filter needs a soft brush, since oils clog the mesh. Replace paper filters every brew, never reuse them.
Spray head and shower area
Grounds splatter and steam deposit residue under the lid. Wipe with a damp cloth and clear any clogged holes with a soft brush or toothpick. Skip sharp metal tools.
Warming plate and exterior
Once the plate is cool, wipe it with a damp cloth. Burnt coffee on a hot plate can smoke and smell. Use a mild cleaner only if the manual allows. Clean the control panel with a barely damp cloth.
Water reservoir
Empty it if you are not using the machine for a few days, and wipe it with a damp cloth. Standing water grows odor and biofilm. Some reservoirs are removable and can be washed in soapy water.
Weekly and Monthly Schedule
A simple schedule keeps cleaning from turning into a chore.
- After each pot: discard grounds and filter, rinse the carafe and basket, and leave the lid open so parts dry.
- Weekly: wash all removable parts with soap, clean the spray head and the warming plate, and empty and wipe the reservoir.
- Monthly: descale the internal water path. If you have hard water, or you notice slower brewing or sputtering, do it more often.
- Every few months: check seals, gaskets and the carafe for wear. Replace worn parts according to the manufacturer.
Keep a short log if you like data: write the date of the last descale on a piece of tape on the base. That removes guesswork and helps you spot whether hard water is shortening the interval.
Water hardness is the biggest variable. Hard water leaves scale on the heater, and the machine takes longer to brew. If your tap water leaves white crust on kettles and faucets, your coffee maker likely has the same issue. Filtered water extends the time between descaling.
A Ten Minute Weekly Routine
1. Unplug the machine and let it cool.
2. Wash the carafe, lid, basket and any permanent filter with warm soapy water, using a bottle brush on the carafe.
3. Wipe the spray head area and clear clogged holes with a soft brush.
4. Wipe the warming plate and the exterior with a damp cloth once cool.
5. Rinse and wipe the reservoir, then leave the lid open so it dries.
6. Dry parts completely before reassembly.
Do these steps on the same day each week so the habit sticks, and add a descale to the monthly list at the interval the manual gives for your water.
Descaling: What Vinegar Can Damage
White vinegar is the common home descaler. It is inexpensive and effective on scale for many drip machines. But acid can harm rubber seals and some metals over repeated use, and some manuals prohibit it.
- Vinegar can leave a lasting smell and taste if you do not rinse enough.
- Machines with internal sensors, pumps or aluminum components may be more sensitive. Check the manual.
- Never mix vinegar with bleach or other cleaners. Mixing produces dangerous fumes.
- Citric acid based descalers are a common alternative, and manufacturers of specialty machines often sell their own formula.
If the manual specifies a descaler, use that, since using a different one might affect your warranty.
A typical descaling process is described by many manuals this way: fill the reservoir with the recommended solution, run a partial brew, pause so the solution sits in the system for a period the manual specifies, then finish the cycle. Follow the exact proportions and times in your instructions, because they vary by machine.
Rinse Cycles After Descaling
Residue left from descaling can affect taste and might irritate some people. After the solution has run through, discard it and fill the reservoir with fresh water. Run a full cycle, then repeat until there is no vinegar smell or taste. Many machines need several rinse cycles, and fewer is not worth the risk. Wash the carafe and basket in soapy water between cycles.
If you notice a lingering odor, run one more water cycle and wash all removable parts again. A persistent smell after several rinses can mean the machine has hidden buildup, and you should consult the manufacturer.
Signs It Is Time to Clean or Service
- Brewing takes noticeably longer than it used to.
- Water sputters or the machine makes more noise.
- Coffee tastes bitter, sour or stale even with fresh beans.
- White deposits appear in the reservoir or around the spray head.
- Less water reaches the carafe than you poured in, which suggests partial clogging.
Mold and yeast can grow in a damp reservoir or under a lid that is closed on wet parts, particularly in warm kitchens. If you see black or pink film, wash the area with soapy water and a brush, then run the descaling and rinse routine. Leaving the reservoir lid and carafe lid open between uses lets the interior dry and slows regrowth.
Coffee grounds themselves can be composted, but they should not go down the drain. Tap the filter into the trash or a compost bin and rinse the basket over a strainer when possible.
For single serve and espresso machines, descaling cycles and special tools differ, so follow the manual. Our coffee makers category covers how designs differ in access to parts.
If Odor or Taste Does Not Go Away
Persistent bad taste after washing usually means residue in the water path or scale. Run a descale cycle using the approved product, then run at least several full reservoirs of fresh water. If the taste remains, replace the paper filter brand, check the water source and look for black or pink film in the reservoir. A taste that survives all of that points to a part that needs service, so check the warranty or contact the maker. Do not mix cleaning products, since that can create harmful fumes.
Safety Notes
Unplug the machine for all cleaning. Do not immerse the base or plug. After descaling, rinse repeatedly, since leftover descaler is not meant to be consumed. Keep vinegar and descaling solutions away from children, and ventilate the kitchen when using strong solutions. Follow the manual for any part that is not marked removable, and ask the manufacturer when unsure.
Frequently Asked Questions
How often should you clean a coffee maker?
Wash removable parts like the carafe, lid and basket after each pot or at least weekly, wipe the warming plate and exterior, and descale monthly or at the interval in your manual. Hard water and daily use call for more frequent descaling. Keep a note of the last descale date.
Can you clean a coffee maker with vinegar?
Many drip machines can be descaled with diluted white vinegar, but some makers advise against it because acid can harm seals and leave odors. Check the manual first. If you use vinegar, rinse with several full reservoirs of fresh water and never mix it with other cleaners.
How do I get the coffee smell out of my coffee maker?
Wash the carafe, basket and lid with warm soapy water, descale with an approved solution, then run several fresh water cycles. Leave the lid open to dry so no moisture sits inside. Persistent odors can mean hidden buildup, so repeat the cycle and check the reservoir.
Is it safe to wash coffee maker parts in the dishwasher?
Only parts the manual lists as dishwasher safe. Many carafes, lids and baskets are, but heating elements, bases and reservoirs with electronics are not. Never immerse the base or plug. When unsure, hand wash with warm soapy water and a soft brush, then dry thoroughly.
Final Thoughts
Good cleaning is mostly regular washing of removable parts, a monthly descale with a method your manual approves, and several rinse cycles afterward. Wash oily parts often, descale more frequently if you have hard water, and avoid vinegar unless the maker allows it. When shopping, favor machines with removable reservoirs and baskets and a clear descaling instruction, and see the best coffee maker roundup and how we review for how we compare serviceability.
Related buying guides
- Iced Coffee Makers vs Brewing Hot Coffee Over Ice
- Keurig vs Nespresso: Machine Differences That Matter
- Nespresso Original vs Vertuo: Which System Fits You
About the author

The BuyOnceChoice Editorial Team researches durable products worth buying once. Our guides compare published specifications, warranty terms, expert review consensus, and verified owner feedback. We do not conduct our own product trials. See How We Review and our Editorial Policy for our standards.