How to Choose a Camera Travel Backpack
Choose a camera pack by your loaded kit, not the empty bag. Learn how access, dividers and carry-on dimensions decide whether it works at the airport.
 By BuyOnceChoice Editorial Team
Updated November 16, 2026
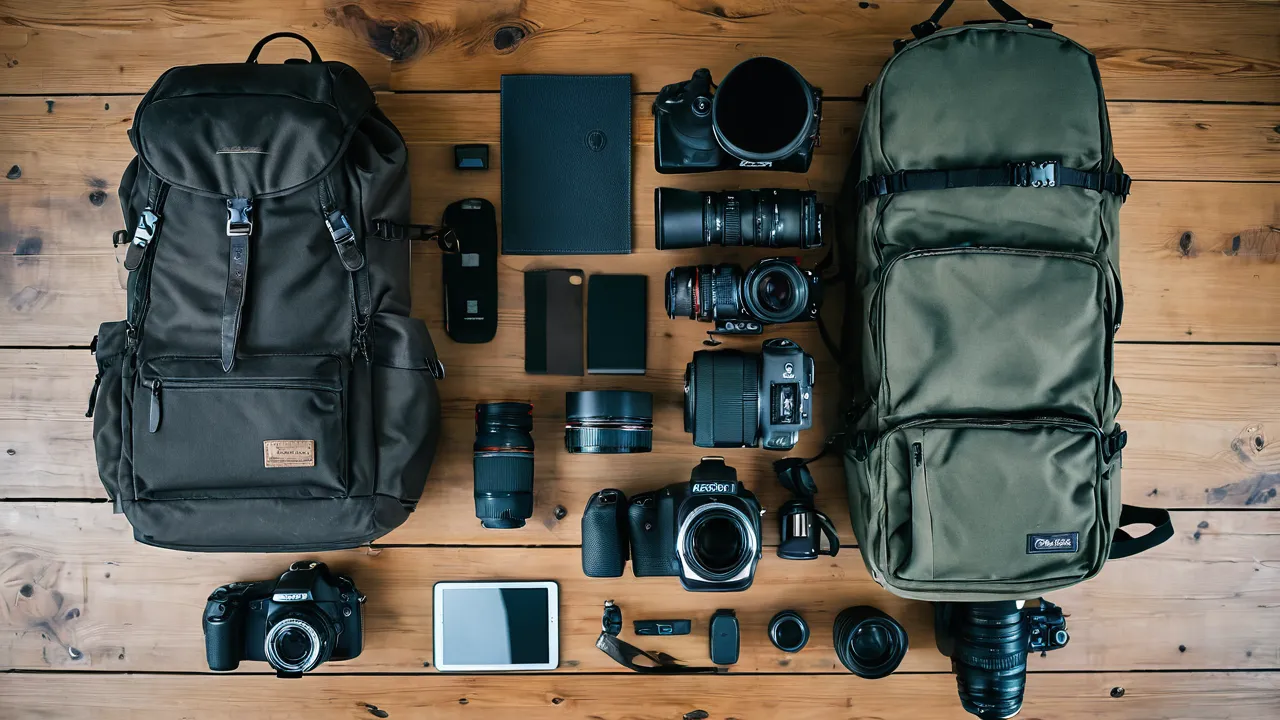
A camera travel backpack works when its dividers fit your actual kit, its access style matches how you shoot, and the loaded pack still fits the carry-on limits of the airlines you fly. Start by laying out your body, lenses and accessories, then pick the smallest pack that holds them with padding between pieces.
Start With Your Kit, Not the Bag
Most buyers begin with a bag and try to fit gear into it. Reverse that. Lay every item on a table: camera body with a lens attached, spare lenses, flash, batteries, chargers, filters, memory cases and a small tripod if you carry one. Measure the longest and widest pieces, because a telephoto lens often decides the minimum interior height.
Then note which items you reach for most. A street shooter grabs the body and one lens constantly. A landscape shooter changes lenses rarely and cares more about carrying a tripod. Your habits determine how much access speed you need compared with raw capacity. A pack sized for future gear you may never buy forces you to carry extra weight and empty space, and loose gear in extra space shifts around even with dividers.
Access Styles and What They Cost You
How you open the pack matters more than most spec sheets suggest.
Top and rear access
Rear access opens against your back, so thieves cannot reach the main section while you walk. It is secure but awkward, because you must slip the pack off to reach gear. It suits people who rarely stop to shoot.
Side access
Side access lets you swing one strap off, rotate the pack in front of you and grab the camera without setting the bag on the ground. This is useful on crowded streets and wet ground. The trade-off is a smaller side opening, which fits one body easily but makes lens swaps slower.
Clamshell and front access
A clamshell opens wide so you see everything at once. It is easy to organize at a hotel desk, but you need a clean surface to open it. Many travelers like a hybrid: side access for the body and a roomy top for clothing.
Dividers, Padding and Layout
Padded dividers held with hook-and-loop strips are the standard way to build a layout. Look for dividers that are thick enough to keep lenses from touching and that can be moved or removed. A fixed layout locks you into one kit, while adjustable dividers adapt as your kit changes.
Check these details:
- Padding thickness on the bottom, since the base takes the shock when you set the pack down hard.
- A padded top flap or lid layer so a drop onto a corner does not crush the gear.
- Tall dividers that protect the lens barrel when the pack stands upright.
- Soft interior lining that will not scratch glass or coatings.
- Separate pockets for batteries and cards so small items do not float loose.
Our backpack category lists packs where you can compare these features side by side.
Carry-On Fit With a Loaded Kit
An empty camera pack can look fine, then bulge when stuffed with a long lens. Many US airlines allow a personal item and a carry-on, and each airline publishes its own dimensions for both. Check your airline’s page rather than relying on a general rule, and measure the pack with gear inside.
Weight matters as well. Some regional or international carriers apply a weight cap to cabin bags, and camera gear is dense. If your kit is heavy, consider wearing a vest with some items or moving less delicate gear into a second bag. Never check lenses or bodies in luggage that gets handled roughly, because impact damage is a common reason owners regret a packing choice.
If your trip needs a laptop too, make sure the pack has a separate padded laptop section that does not squeeze the camera zone. For a pack that doubles as a work bag, see how our best executive backpack roundup treats laptop compartments.
Comfort for Heavy Loads
Camera kits are heavy and compact, which is a hard combination for a backpack. Look for a padded hip belt, an ergonomic shoulder strap shape and a sternum strap to spread weight. A rigid or semi-rigid back panel keeps the pack from sagging behind your lower spine and gives lens bodies a stable surface. Ventilated back padding helps in warm climates but adds bulk.
Torso length matters too. A pack that is too long rests on your hips wrongly, and one that is too short puts the load on your shoulders. Check the manufacturer’s stated fit range if the pack lists one.
Weather and Security Details
Rain protection varies widely. A water-resistant fabric and a coated zipper help in drizzle, while an included rain cover gives more protection in storms. Neither makes a pack waterproof unless the maker states it. Keep lenses in a sealed pouch when conditions are harsh.
For security, lockable zipper pulls, a tuck-away strap pocket and a hidden pocket for passports and cards deter casual theft. These do not stop a determined thief, but they raise the effort.
How to Judge a Pack Against Your Kit
Turn the layout into numbers. Measure the interior height of the pack’s main camera compartment and compare it with the tallest item standing upright, including any hood and cap. Subtract at least an inch for the base padding. Then add the widths of the items that sit side by side and allow about half an inch of divider thickness between each pair. If the total exceeds the compartment width, the pack either forces items to stack or leaves a lens loose.
Worked example: a body with a standard zoom attached, two extra lenses, a flash and a pouch of batteries and cards. Lay them in two rows on a table, measure the footprint, and compare it with the interior dimensions on the product page. If the footprint fills about three quarters of the compartment, you have room for dividers and a little growth. If it fills nearly all of it, expect the dividers to compress the gear and choose the next size up or drop an item.
Also judge the pack against the rest of your trip. Count the clothing, laptop and water you will carry beyond the camera zone, and check that the pack has a separate section for them. A pack that puts the camera and the clothes in one open space invites crushing and scratches.
Packing a Camera Pack for Flights
Load the pack the way you will carry it. Put the heaviest items, usually the longest lens, close to your back and low enough that the pack does not pull backward. Keep the body in the quick-access pocket with the lens cap on and the strap wrapped so it cannot snag. Place small items such as filters and battery grips in padded pouches rather than pockets that press against glass.
For flights, keep every battery and spare cell in the cabin. Spare lithium batteries must travel in the cabin, not in checked bags, and the exact limits differ by airline and country. A common FAA rule allows spare batteries up to 100 watt-hours without special approval, while larger ones need airline approval, so check the watt-hour rating printed on each battery and your airline’s page. Tape or cap exposed terminals on spares. If your pack is tight on dimensions, remove a lens hood or collapse a monopod, but do not squeeze a loaded pack into a sizer by force, because padding compression can strain lens mounts.
Common Mistakes Owners Describe
Owners often regret three decisions. First, buying a pack that is too big, so gear slides and the whole pack feels heavy even when half full. Second, choosing a pack by looks and discovering that the side pocket cannot hold a water bottle and the tripod strap is missing. Third, ignoring the weight of the empty pack, which can be considerable with heavy padding and a rigid frame. Check the manufacturer’s stated empty weight and subtract it from any weight limit your airline sets for cabin bags.
Another frequent regret is skipping a trial load. Order from a seller with a clear return policy, load your real kit, walk around the house for twenty minutes with the full weight on and open every compartment while wearing it. Discomfort at the hip belt or shoulder points shows up quickly, and you can still send the bag back.
Who Should Choose Which
Choose a side-access pack if you shoot on the move and change settings often. Choose a clamshell if you organize gear at stops and shoot from a base. Choose a hybrid camera and daypack if you carry clothes and a laptop with the camera. Skip an oversized pack if your kit is a single body and two lenses, since a smaller bag is lighter and easier to bring onboard. Read how we judge fit and construction on our how we review page.
Frequently Asked Questions
How big should a camera backpack be?
Choose the smallest pack that holds your body, lenses and accessories with padded dividers between pieces. Lay out your kit, measure the longest lens and compare it with the interior height. Leave a little room for one future item, but avoid a pack sized for gear you do not own.
Can I take a camera backpack on a plane as a carry-on?
Often yes, but it must fit your airline’s published carry-on or personal item size when loaded, and some carriers weigh cabin bags. Measure the packed bag, check the airline page and keep lenses and spare batteries with you in the cabin.
Is side access or top access better for a camera bag?
Side access is faster for shooting on the move because you can swing the pack around without setting it down. Top or rear access is more secure and holds more in the main section. Choose by whether you value speed or security more.
Final Thoughts
Pick the pack around your gear’s measurements, your access habits and the airline’s limits. Confirm thick dividers, a padded base, solid straps and room for a laptop if you carry one. A well-sized camera pack should feel like part of your kit, not a trade-off you accept.
Related buying guides
- How to Choose a Travel Backpack for Your Trip Style
- How to Fit a Travel Backpack: Straps, Belt, and Load
- Leather vs Nylon Laptop Bags for Frequent Travel
About the author

The BuyOnceChoice Editorial Team researches durable products worth buying once. Our guides compare published specifications, warranty terms, expert review consensus, and verified owner feedback. We do not conduct our own product trials. See How We Review and our Editorial Policy for our standards.