How to Fit a Travel Backpack: Straps, Belt, and Load
Fit a pack in the right order and it feels lighter. Follow the belt-first routine, pack the load close to your spine and fix the faults that cause aches.
 By BuyOnceChoice Editorial Team
Updated November 16, 2026
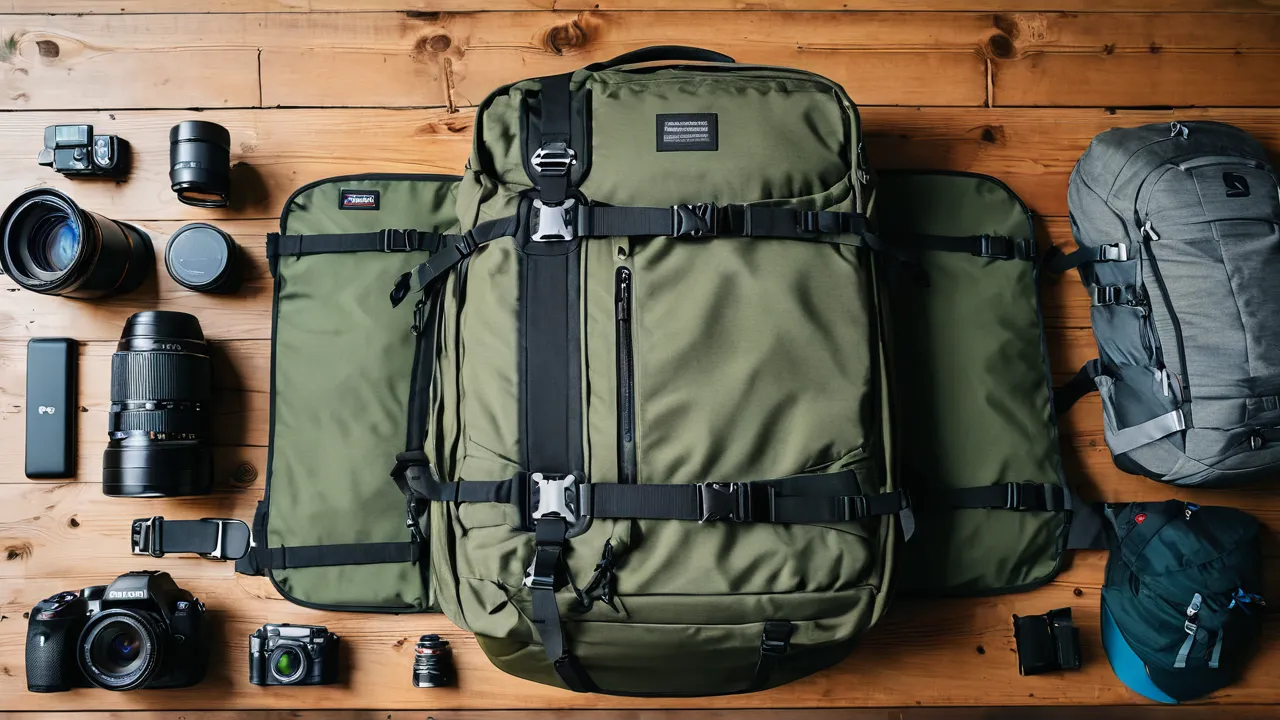
To fit a backpack, load it first, then loosen every strap, set the hip belt over your hip bones and tighten it, snug the shoulder straps, pull the load lifters and finish with the sternum strap. Done in that order, most of the weight rides on your hips instead of your shoulders. Skipping the order is the most common reason a good pack feels bad.
Start With a Realistic Load
A pack fitted empty will feel different once it is full. Before adjusting anything, put in the weight you intend to carry, such as clothes, a rain jacket and a few books or a water bottle. Ten to fifteen pounds is a reasonable stand-in for a light airport trip. The fabric sags and the frame settles under load, so straps that looked fine empty will need a second adjustment.
Loosen the shoulder straps, the load lifter straps and the sternum strap so the pack hangs freely. Make sure the hip belt is open. Check that the harness is set for your torso length; if the pack has an adjustable back panel, set it before wearing the pack. Our backpack category lists packs with adjustable harnesses.
The Fit Routine, Step by Step
- Lift the pack onto your back by its haul loop, leaning slightly forward.
- Position the hip belt so its padded center sits over the top of your hip bones, the iliac crest. About half the belt should be above the bone and half below.
- Close the belt buckle and pull the belt tight. It should feel snug enough that the pack does not slide when you shrug.
- Tighten the shoulder straps just until they touch your shoulders. They are not meant to hold the load.
- Pull the load lifter straps, the small straps at the top of the shoulder straps, so the pack sits closer. They should angle about forty-five degrees from the strap to the pack.
- Close the sternum strap across your chest so the shoulder straps stay in place, but keep it loose enough to breathe.
- Walk around for a few minutes and readjust.
Hip belt first, shoulders second is the rule that matters most.
Checking the fit with a mirror
Once the pack is on, stand sideways to a mirror or ask a friend to look. The pack should sit centered on your back with its top roughly level with your shoulders, and its bottom should end above your tailbone, not on your buttocks. If the pack extends well above your head, the frame is too long or the lifters are too loose. If the pack bottom bangs against your thighs when you walk, the pack is too long for your torso or the belt has slipped down.
Look at the shoulder straps from the side. They should curve over your shoulders and drop into the pack at about the level of your armpits or slightly higher. A strap that pulls straight up from the pack means the harness is too short for you. A strap that angles sharply downward means the harness sits too low.
Adjusting while moving
Fit is not a one-time job. Take a lap around the room, climb a few stairs and bend forward as if tying a shoe. The pack should move with you rather than swing. If it shifts side to side, tighten the compression straps on that side. If it drags downward, retighten the belt.
Load Placement for Airport Walking
How you pack changes how the pack carries. For airport days with long terminal walks and stairs, put the heaviest items against your back and between your shoulder blades and the middle of the pack. This keeps the center of gravity close to your spine. Place lighter items, such as clothing, at the bottom and top, and put quick-access items like a passport, charger and snack in the lid or front pocket.
If you carry a laptop, keep it in the sleeve against your back and keep dense items next to it, not at the bottom, where they pull the pack down and backward. A pack that swings away from your back strains your lower back. Pack tight so contents do not shift, and use the compression straps to pull the load inward. For stair-heavy transfers, shortening the compression straps stabilizes the load.
How to measure torso length
Torso length is measured along the spine, not around the body. Tilt your head forward and find the bony bump at the base of your neck, called the C7 vertebra. Then find your hip bones by placing your hands on your hips with thumbs pointing backward, and imagine a horizontal line between the tops of the bones. Have a friend run a soft tape measure along your spine between those two points. Compare the number with the maker’s size chart, since ranges differ between brands. If you fall between sizes, trying the smaller size with an adjustable harness is often more comfortable than a pack that is too long.
Worked example: if the maker’s chart gives a medium size for a torso of 17 to 19 inches and you measure 18.5 inches, the medium should place the belt over your hips with the straps dropping from the top of your shoulders. If you measure 16.5, the small is the better fit, and a medium with the harness at its shortest setting may still ride too high.
Common Fit Faults and Fixes
| Symptom | Likely cause | Fix |
|---|---|---|
| Shoulder pain | Belt too loose, so shoulders carry load | Tighten the belt first, then loosen the straps |
| Belt slides down | Belt sits on soft tissue, not on the hip bones | Reposition and retighten at iliac crest |
| Gap between straps and shoulders | Pack too long or straps too loose | Check torso length and tighten the straps |
| Pack pulls backward | Load too far from the spine | Move heavy items closer and tighten lifters |
| Chafing at the armpit | Straps too close to the neck or too loose | Adjust sternum and shoulder straps |
| Numb hands | Straps cut off circulation | Loosen shoulder straps, move weight to the belt |
Torso Length and Belt Size
If you cannot get the belt to land on your hips even after adjusting, the pack may be the wrong size. Torso length decides where the belt sits relative to the shoulder straps. Measure yourself using the C7-to-hip method before blaming the pack. Many packs allow the belt to be swapped in different sizes, and some have a hip belt that slides to adjust to your waist. If the belt overlaps or cannot close, ask for a different size.
Handling security and seats
Airport routines put a pack’s fit under pressure. You will lift the bag onto belts, slide it under seats and carry it through boarding bridges. When you take the pack off, keep the belt buckled loosely so you do not need to refit everything each time. A quick reset takes seconds if you leave the strap lengths alone and only open the buckles. Stow loose strap ends with the elastic keepers so they do not catch on conveyor belts.
Posture and Walking Habits
A well-fitted pack still needs good habits. Walk upright, not leaning far forward. Take shorter steps on stairs, and use the haul loop for lifting rather than the shoulder straps. When you set the pack down in an airport, loosen the shoulder straps slightly, which relieves pressure while you wait in line. If you will wear the pack for hours, reposition it every so often by releasing and tightening the belt, which changes the pressure points.
A pack also needs maintenance of adjustment. Over a day, straps creep, and the load shifts. A two-minute check after your first hour saves discomfort later. Our how we review page describes how we think about fit claims on product pages.
Who Should Choose Which
Choose a pack with a padded hip belt and load lifters if you carry more than a day-pack load, walk long distances or travel with a laptop plus gear. A simple pack with minimal strap adjustment is fine for light loads and short commutes. Skip packs that have only a thin, unpadded waist strap if you plan to carry heavy loads, because that strap cannot move weight to your hips. For a more polished carry, see our best executive backpack roundup.
Frequently Asked Questions
How tight should a backpack hip belt be?
Snug enough that the pack does not slide down when you shrug, with the padded center resting over the tops of your hip bones. Most of the weight should ride on the belt, so tighten it first and then adjust the shoulder straps.
What is the sternum strap for?
It keeps the shoulder straps from sliding outward and makes the pack feel more stable. Fasten it across your chest at a height that feels comfortable and keep it loose enough to breathe. It does not carry weight. Adjust it last, after the belt and shoulder straps are set.
Why does my backpack hurt my shoulders?
Usually the hip belt is too loose or sits too low, so the shoulders carry the load. Load the pack, set the belt over your hip bones, tighten it, and then loosen the shoulder straps slightly. If pain continues, check torso length against the size chart.
Final Thoughts
Fit a pack with weight inside it, belt first, shoulders second. Keep the heavy items against your spine and check the pack again after an hour of walking. Most discomfort traces back to a loose belt, a wrong torso length or a load that hangs too far back. A few minutes of adjustment at home pays off every time you wear the pack.
Related buying guides
- Leather vs Nylon Laptop Bags for Frequent Travel
- How to Measure Your Torso for a Travel Backpack
- Personal Item Size Guide: What Fits Under the Seat
About the author

The BuyOnceChoice Editorial Team researches durable products worth buying once. Our guides compare published specifications, warranty terms, expert review consensus, and verified owner feedback. We do not conduct our own product trials. See How We Review and our Editorial Policy for our standards.