Shed Foundation Options: Gravel, Concrete, Skids
Compare gravel pads, concrete slabs, pavers, skids and piers by drainage, cost, permanence and warranty impact, with a plan for a level, well drained base.
 By BuyOnceChoice Editorial Team
Updated November 16, 2026
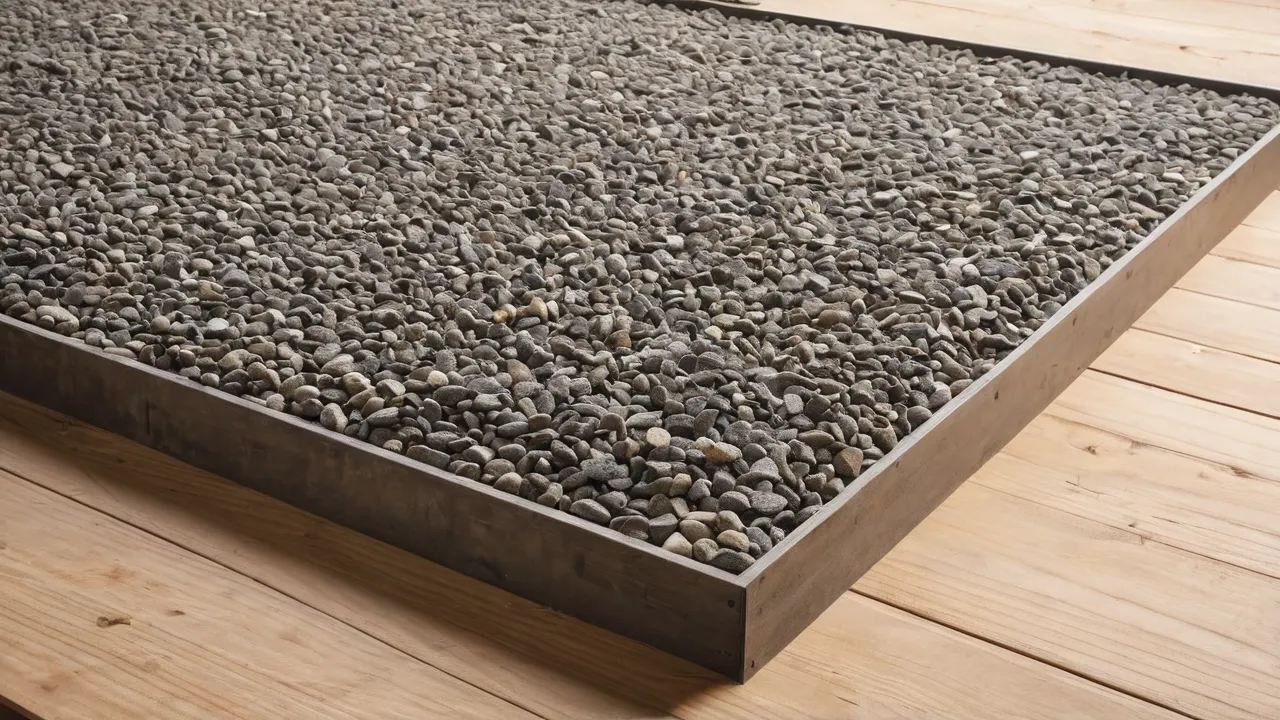
The best shed foundation is a level, well drained base that supports the whole floor and suits your soil, shed weight and local rules. For most backyard sheds that means a compacted gravel pad, a concrete slab, or a pressure treated skid or timber frame set on gravel. Each works when it is built level and sized to the shed, and each fails in different ways when it is not.
Gravel Pad
A gravel pad is an excavated area filled with compacted crushed stone, usually a few inches deep and extending a little beyond the shed’s footprint. Many resin and metal kit manufacturers list it as an approved base when it is level and framed with a timber border. A gravel pad drains well, lets water move away from the floor and is forgiving on gently sloped yards. It is also a common choice for people who rent, since it can be removed.
Pros and limits to weigh:
- Good drainage and low cost compared with concrete, and easy to build with a rented plate compactor.
- Needs a border to hold stone in place, and a weed barrier fabric to keep weeds out.
- Settles if the sub soil is soft or the gravel is not compacted in layers.
- Works best when you use crushed stone with fines that lock together rather than round pea gravel, which shifts.
- Does not provide a place for typical anchor bolts, so you need ground anchors or a wood frame on top.
Here is a typical build sequence, adjusted to the manual and local rules. Mark the area a foot larger than the shed on every side. Remove sod and topsoil to the depth needed for the gravel, which is usually four to six inches for a small shed, and slope the sub grade slightly so water does not pool. Lay landscape fabric, then add crushed stone in layers of about two inches, compacting each layer with a plate compactor. Frame the edge with pressure treated timbers if you need a border, check level in several directions and screed the surface flat. A pad built this way is usually ready the same day, which is why it appeals to people who want the shed quickly.
A few details separate a pad that lasts from one that fails. Do not skip the compaction, because loose stone settles under the corners where the load concentrates. Do not use a thin layer over soft ground, since the stone will sink into mud. If the shed has a floor frame that touches the stone, set it on pavers or timbers so that the wood stays off damp gravel.
Concrete Slab
A slab is the most durable and rigid base. It gives a level surface, keeps rodents out and is the easiest to anchor to, since you can set anchor bolts or use drilled anchors. A common slab for a shed is about four inches thick over a compacted gravel layer, with reinforcement such as wire mesh or rebar. In cold climates, frost can heave a slab that is not designed for it, so ask local officials about frost depth and whether a thickened edge or footings are required.
Slabs cost more and take more time than gravel, and they need curing before use. They are also permanent, so a poorly placed slab is difficult to move. Pour a slab slightly larger than the shed footprint so rain drains away, and slope the surface slightly for drainage if the manual allows it. Structural concrete work and anything near utilities is best done by a licensed contractor, and local codes may require inspection.
Think about cost and timing before choosing a slab. A slab has more steps than a gravel pad: excavation, a compacted base, forms, reinforcement, pouring, finishing and a curing period of several days before loading, and longer in cold or hot weather. Many owners hire a contractor for a slab, particularly for anything larger than a small shed. A monolithic slab with thickened edges can serve as both foundation and floor, and some sheds sit directly on it with a bottom plate bolted to the concrete. Ask whether the shed needs a gap or a sill gasket to keep water out, and whether a vapor barrier is needed beneath the slab.
Concrete is unforgiving: a slab that is poured out of level cannot be adjusted, and a crack from poor base preparation is permanent. If you are not confident, hire a professional. Where frost is deep, ask your local office about requirements such as footings or frost protected design, which add cost but prevent heaving.
Skids, Blocks, Piers and Pavers
Wood sheds often sit on pressure treated skids, which are long timbers that keep the floor off the ground. Skids can sit on a gravel bed, on concrete blocks or on piers. They are easy to level and can be moved on rollers, which is why they are popular for prebuilt sheds. Blocks and piers need firm soil and a level top, and each point must carry its share of the load. Pavers on a sand bed are a light weight option for small, light sheds, but they can shift and sink under heavy loads and are not suited to wind exposed locations.
Check the shed manual for the foundation types the manufacturer approves. Some warranties require a specific base, and a shed placed on bare soil or unstable blocks can warp the floor and make doors stick.
Use a simple check for blocks and piers. Space them according to the manual, often every few feet along each skid, and place each on a compacted base or a solid footing, not on bare soil. Check that every support carries load, since a floating support is worse than none. After a season, re-check level, because soil settles most in the first year. Wood skids should be rated for ground contact, and a gap between the wood and the soil reduces rot. Pavers set on compacted sand work for a light shed in mild climates but are a poor choice where frost, wind or heavy equipment is involved.
Slope, Drainage and Soil
Water decides how long a foundation performs. Build the base higher than the surrounding ground so rain drains away, and avoid the bottom of a slope where water collects. Clay soil holds water and expands, sandy soil drains but can shift, and organic topsoil compresses over time. Remove topsoil and sod before you build the base, since they decay and cause settling.
If your yard slopes, you can excavate the high side and build up the low side with compacted gravel, or use a retaining border. Slopes over a few inches across the shed width usually need more work than a quick fill. Consider drainage swales or French drains if water runs toward the base.
Level, Size and Warranty
A shed floor that is out of level by even a small amount racks the walls and binds the doors. Use a long straight board and a level, and check across and diagonally. Make the base slightly larger than the footprint as the manual specifies, with the shed centered. Photograph the base before assembly, and keep the manual, since warranty claims for warped floors often depend on proof the base was built to the instructions.
Anchoring and Maintenance
Whatever you choose, plan to anchor the shed, because wind can move a lightly loaded shed. Slabs take bolts or drilled anchors, wood platforms take lag screws, and gravel pads take ground anchors or a frame. Check the base each spring for settling, weeds, erosion and gaps, and add gravel or re-level as needed. Keep soil and mulch away from the floor frame, and trim vegetation that holds moisture against the shed.
Who Should Choose Which
Choose a gravel pad for most resin and metal kits, sheds under about 100 square feet and sites with good drainage. Choose a concrete slab for large or heavy sheds, workshops, heavy equipment storage and areas where you want the strongest, most pest resistant base. Choose skids or blocks for wood sheds you may move, and for sites where digging is limited, provided the ground is firm. When in doubt, follow the manual and ask the local building office about requirements.
To compare shed models, see the storage sheds category, the outdoor resin storage shed roundup, the wider lawn, garden and outdoor guides and our process at How We Review.
Frequently Asked Questions
Can I put a shed on gravel only?
Yes, if the manufacturer approves it and the gravel is compacted, level and bordered. Gravel drains well, but you still need anchors or a frame for wind. Use crushed stone rather than round pea gravel, and check the base for settling every spring.
Do I need a concrete slab for a shed?
Not always. Many small kit sheds are approved for gravel or a wood platform. A slab is best for large or heavy sheds and workshops. Check the manual and local rules, and hire a licensed contractor for structural concrete work.
How level does a shed foundation need to be?
As level as you can make it, because a twisted floor racks the walls and makes doors stick. Check across and diagonally with a long straightedge and level, and follow any tolerance the manual gives. Correct problems before assembly, not after.
Can I build a shed on a slope?
Yes, with preparation. Excavate the high side and build up the low side with compacted gravel, or use a retaining border and a leveled platform. If the slope is steep or water runs toward the shed, add drainage and consult a local contractor.
Final Thoughts
Choose the foundation your shed manual approves, build it level and sized to the footprint, and make sure water drains away. Anchor the shed to the base and inspect the foundation each spring. For large slabs, utilities or code questions, rely on local officials and licensed professionals.
Related buying guides
- Shed Permit and Setback Checklist
- Shed Size Guide: Sizing by What You Store
- Shed Ventilation and Moisture Control
About the author

The BuyOnceChoice Editorial Team researches durable products worth buying once. Our guides compare published specifications, warranty terms, expert review consensus, and verified owner feedback. We do not conduct our own product trials. See How We Review and our Editorial Policy for our standards.