Standing Desk Height Guide: Find Your Range
Measure your elbow height seated and standing, subtract the keyboard, and add allowances for trays and mats to learn the desk range you need.
 By BuyOnceChoice Editorial Team
Updated November 16, 2026
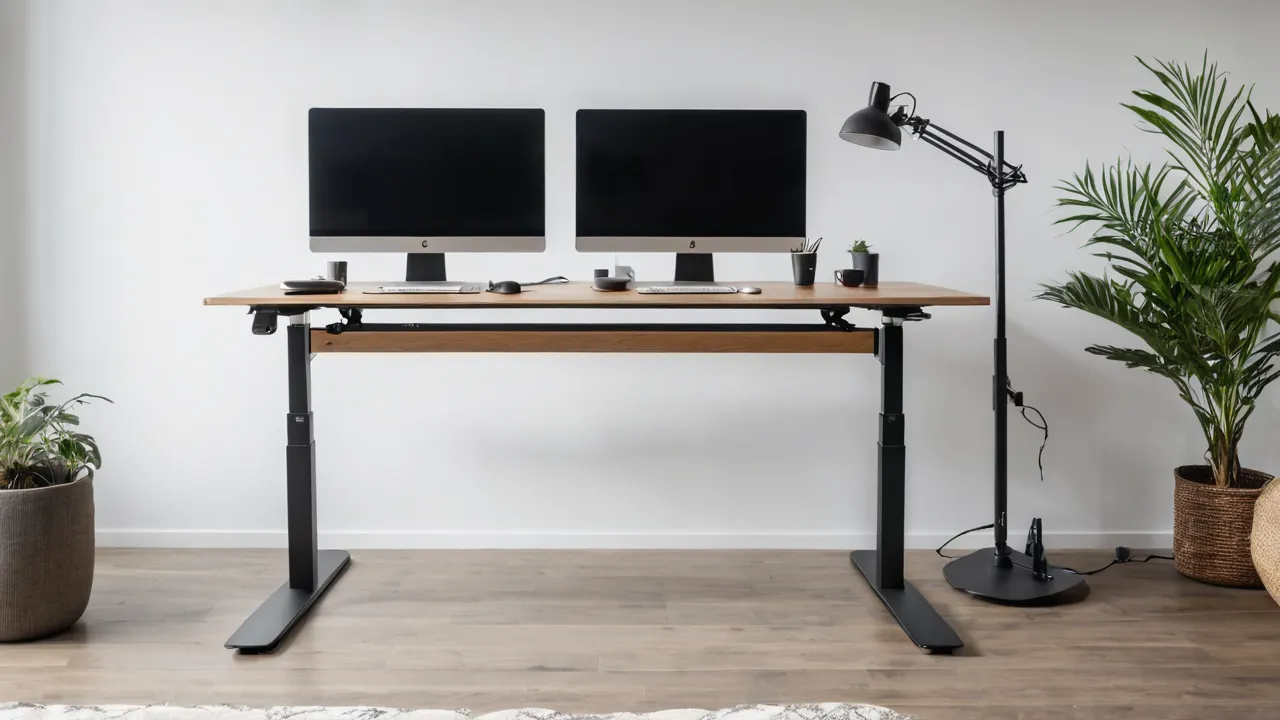
The right standing desk height range comes from your elbow height, not your total height: measure the floor to your bent elbow while seated and while standing, subtract the thickness of your keyboard and wrist position, and add allowances for mats, shoes or trays. Those two numbers tell you the lowest and highest settings a desk must reach.
Why Total Height Is the Wrong Starting Point
Charts that match body height to desk height are handy for a rough guess, but they hide the variation in arm length and torso proportions. Two people of the same height can have elbows an inch or two apart, and that difference is enough to make a desk feel too low or too high.
What you want is a work surface where your forearms are about level with the floor, your elbows are bent near a right angle and your shoulders are relaxed. That position depends on your elbow, so measure it directly. The method below takes five minutes and a tape measure.
Because the correct setting differs between sitting and standing, your desk needs two target heights. Many standing desks do not reach low enough for shorter users or high enough for taller ones, so it is worth knowing the numbers before you shop.
The Elbow Method Step by Step
Do the measurements in the shoes you normally wear at your desk, on the floor where the desk will sit. A friend makes it easier, but a doorframe and a pencil work as well.
- Seated: sit on your chair at a comfortable height with feet flat, upper arms hanging naturally, forearms bent about ninety degrees. Measure from the floor to the underside of your elbow, or mark it on a wall.
- Standing: stand relaxed in your desk shoes, bend your arms the same way and measure from the floor to your elbow.
- Keyboard allowance: measure the thickness of your keyboard with wrist rest, from the desk surface to the home row. Subtract it from each elbow number.
- Write down both results: the seated desk surface height and the standing desk surface height.
That subtraction matters because you do not type on the desk surface, you type on the keyboard above it. If your keyboard and wrist rest add an inch or so, the desk needs to be that much lower than your elbow.
A Worked Example With Made-Up Numbers
To show the arithmetic, imagine a person whose seated elbow height is 27 inches and standing elbow height is 43 inches. Their keyboard with wrist rest is 1.5 inches thick. The seated desk height would be 25.5 inches and the standing desk height would be 41.5 inches. These numbers are only an illustration to show how the method works, not a norm.
The range then runs from 25.5 to 41.5 inches, a span of 16 inches. Compare that to the product page of the desk you are considering. The desk’s minimum should be at or below your seated number, and its maximum at or above your standing number.
Now add the allowances in the next section. If the person stands on a mat or wears thicker shoes than they used for measuring, the standing number increases, and the desk needs a little more upward range.
Allowances for Trays, Mats and Chairs
Several accessories change the math. A keyboard tray hangs below the desk surface and lowers the typing height, so a desk with a tray can have a surface slightly above your keyboard target while the tray lands in the right place. If you plan to use a tray, subtract its drop from the surface target and check that the tray fits under the desk top and clears your legs.
An anti-fatigue mat raises your standing position by its thickness, so measure with the mat if you will use one. A footrest or a higher chair changes the seated number, so use the chair you will actually keep, and do not count a temporary dining chair.
Monitor placement is separate, but it relies on the same posture. The top of the screen should sit near eye level, so a monitor arm with enough height travel can compensate for a surface that is a little too high or low. Treat the arm as a fine adjustment tool, not as a way to rescue a desk that is far off.
A Second Worked Example With a Tray
Take a person with a seated elbow height of 24 inches and a standing elbow height of 40 inches, a keyboard that is 1 inch thick, and an anti-fatigue mat that is 0.75 inches thick. Seated, the surface target is 23 inches. Standing on the mat, add the mat to the standing elbow number to get 40.75, then subtract the keyboard to get 39.75 inches. The desk must reach from 23 to 39.75 inches, a span of 16.75 inches. A desk whose minimum is 25 inches fails at the low end. A keyboard tray that drops the typing surface 2 inches below the desk would let a 25 inch minimum work, provided the tray fits under the top and clears your legs. Always recheck the tray clearance before you count on it.
Matching the Result to a Desk
Desk makers list the lowest and highest height of the desktop, and many include a recommended user height range. Do not rely on that last figure, because it is a generalization. Compare the actual numbers to your own.
A frame with a wide range, achieved by three-stage legs, covers more users, while a two-stage frame may stop short at either end. If you are near the extremes, such as very tall or very short, verify the numbers carefully. Some desks cannot go lower than a typical dining table height, which can leave short users with elbows too high when seated.
Also account for the thickness of the top. The listed height may be to the frame’s top surface or to the finished desk, so read the fine print. A thick top adds to the surface height and reduces the usable low range.
Two People, One Desk
If two users with different heights share a desk, calculate the range for each and take the lowest seated number and the highest standing number across both. The desk must cover that combined span. Memory presets make switching quick, so choose a controller with at least a few stored heights.
When the difference is large, consider a footrest for the shorter person, or a chair with a wide height range for both. Do not try to split the difference in a fixed height, since a compromise surface is rarely comfortable for either person.
Plan for change as well. Bodies, chairs and shoes change over the years, and a desk that spans a little more than you need today will still suit you later. If you are choosing between two frames, the wider range is the buy-once option. For a lower-tech alternative that skips motors entirely, see how a manual standing desk handles height adjustment, and remember that crank and gas-assist models also list minimum and maximum heights that you should compare with your numbers.
Re-measure if anything changes. A new chair, a different keyboard or a new pair of work shoes can shift the numbers by an inch, and checking again takes a minute. Save the figures somewhere handy so you can set the desk quickly after a move.
Finally, trust comfort over arithmetic when the two disagree. After you set the desk, work for a day and note any tension in your shoulders, wrists or neck. Adjust by small steps, about half an inch at a time, until your forearms feel level and your shoulders relaxed. Memory presets then lock in the settings that worked.
Common Mistakes When Measuring
- Measuring in socks and then wearing thick shoes at the desk.
- Measuring seated on a dining chair, then using a different office chair.
- Forgetting the keyboard or wrist rest thickness.
- Reading the listed desk height as the height to the top of the frame, not the finished top.
- Letting a chart set the target instead of your own elbow.
- Skipping the standing measurement and guessing from the seated one.
Check your numbers once with a helper, because a tilted tape can shift a reading by an inch.
Quick Reference Table
| Step | What to measure | What to do with it |
|---|---|---|
| Seated elbow | Floor to elbow in your desk chair | Subtract keyboard thickness for the low setting |
| Standing elbow | Floor to elbow in desk shoes | Subtract keyboard thickness for the high setting |
| Mat or tray | Thickness or drop | Add the mat, subtract the tray drop |
| Desk spec | Minimum and maximum height | Confirm it spans your two numbers |
Who Should Take Which Route
- Choose a standard-range desk if your numbers fall comfortably between its limits with a little room at each end.
- Choose a wide-range three-stage frame if you are near either extreme or share the desk.
- Choose a keyboard tray only if your desk’s low end is too high for you and the tray fits under it.
- Skip any desk whose low or high end sits inside your measured numbers. No accessory fixes a range that is out of reach.
Frequently Asked Questions
How do I find the right standing desk height for me?
Measure the floor to your bent elbow while seated and while standing, in the shoes and chair you will use. Subtract the keyboard thickness from each number. Those two results are the lowest and highest desk surface heights you need, and the desk range should cover both.
Is there a standing desk height chart by body height?
Charts exist, but they only give rough guesses because arm length and torso proportions vary. Two people of the same height can have elbows an inch or two apart. The elbow method gives a number based on your body, which is more reliable than a chart.
What if my standing desk does not go low enough?
Choose a different desk with a lower minimum, use a higher chair and a footrest, or add a keyboard tray that drops the typing surface if it clears your legs. No accessory fixes a desk whose range is far out of reach, so check the minimum before you buy.
Do I need an anti-fatigue mat in my height calculation?
Yes, if you will stand on one, because it raises your standing position by its thickness. Measure your standing elbow height while standing on the mat and in your desk shoes. Otherwise your standing target will be a little low and the desk may feel too short.
Final Thoughts
Measure your elbows, subtract the keyboard, add the allowances and compare to the spec. That five-minute method beats any chart, and it prevents the most common standing desk regret.
When you are ready to shop, our standing desks category and how we review are good places to continue.
Related buying guides
- Standing Desk Lifespan: Motors, Controllers and Repairs
- Standing Desk Safety: Cables, Collisions and Children
- Standing Desk Top Size and Weight Capacity Guide
About the author

The BuyOnceChoice Editorial Team researches durable products worth buying once. Our guides compare published specifications, warranty terms, expert review consensus, and verified owner feedback. We do not conduct our own product trials. See How We Review and our Editorial Policy for our standards.