How to Maintain a Robot Vacuum: Weekly Checklist
Robot vacuum maintenance guide with a weekly, monthly, and yearly parts schedule for brushes, filters, sensors, wheels, mop pads, and the base station.
 By BuyOnceChoice Editorial Team
Updated November 16, 2026
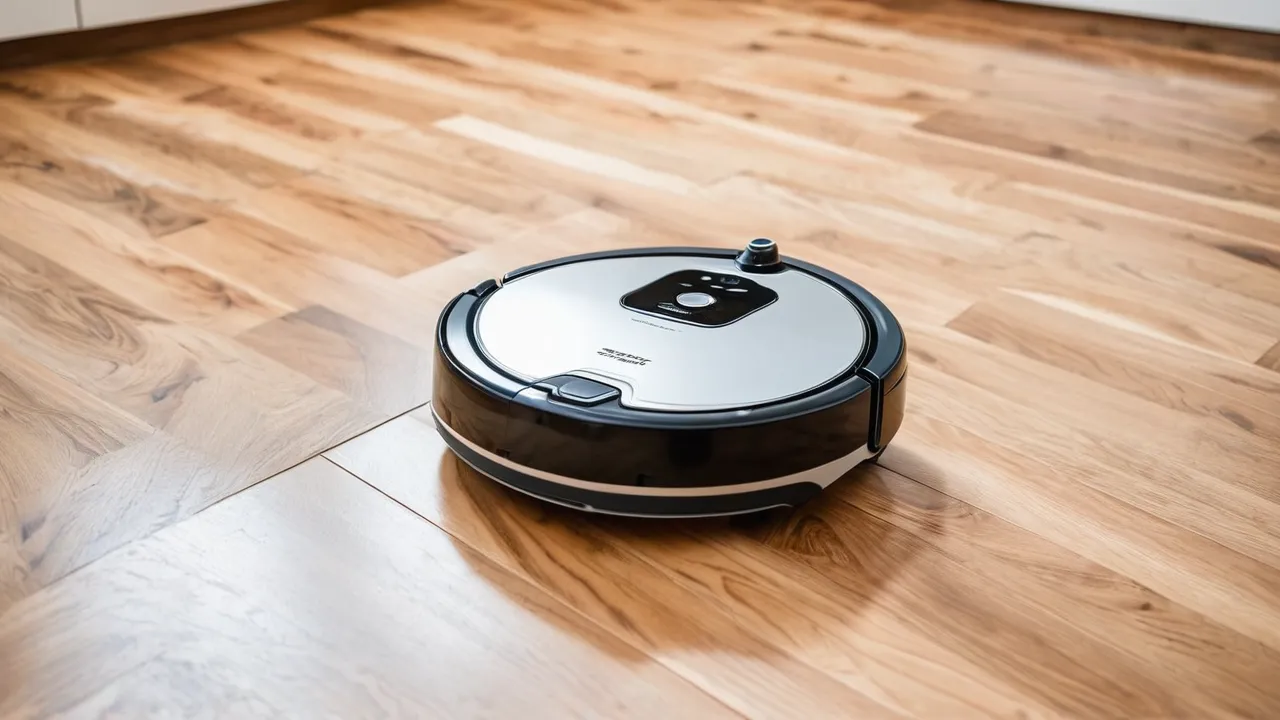
Robot vacuum maintenance is a short routine of emptying the bin, cutting hair from the brush, wiping sensors, and washing or replacing filters, with side brushes and mop pads swapped on a schedule. Keep the base contacts clean and update the firmware. Do the small jobs weekly, and the rest monthly or as parts wear.
Safety and Prep
Power off the robot and remove it from the dock before cleaning. Unplug the base station before cleaning its contacts or its bin. Keep water away from the electronic parts and the charging contacts, and let washed parts dry fully before reinstalling. Check the manual for your model’s parts, and use only approved replacements, since the wrong battery or charger can be a fire risk.
Why Robots Need Upkeep
A robot vacuum runs frequently, so dust, hair, and debris build quickly. Hair wraps around the brush and the wheels, dust clogs filters, and dirty sensors confuse navigation. A neglected robot loses suction, misses spots, gets stuck, or reports errors. Most of these problems disappear after cleaning, and a regular routine keeps the machine working as well as new.
Weekly Tasks
Empty the dustbin
Empty the bin after every few runs, or after each run in a home with pets. Tap out debris into a trash can. If the robot uses a base station that empties the bin automatically, check the bag or bin in the base and replace the bag when it is full.
Cut hair from the main brush
Remove the main brush and cut away wrapped hair with scissors or the cleaning tool that came with the robot. Check the bearings and the housing at both ends for hair that wraps around the shaft.
Wipe sensors and cliff sensors
Use a dry microfiber cloth to wipe the cliff sensors under the robot, the bump sensor, and the lidar window or the camera lens, if present. Dust on sensors causes false cliff detection, wrong turns, and poor maps.
Clear the side brush
Hair tangles around the side brush. Pull it off, clear hair, and reattach it. If the bristles are bent or splayed, replace it.
Do the weekly tasks in the same order each time: bin, brush, sensors, then wheels. A fixed order means you do not skip the sensor wipe, which is the step people forget and the one that prevents most navigation complaints. The whole round takes only a few minutes once it becomes habit.
Monthly Tasks
Wash or tap the filter
Remove the filter and tap it over a trash can. If it is washable, rinse with cold water and let it dry completely for a day or more before reinstalling. Do not use soap unless the manual allows it. Replace the filter on the maker’s schedule if it is not washable.
Clean the wheels
Remove hair and debris around the drive wheels, the front caster wheel, and the wheel wells. Spin the wheels and check that they turn freely. Stuck wheels cause error messages and wear the motor.
Wipe the charging contacts
Use a dry cloth or a pencil eraser, if the manual allows, to clean the contacts on the robot and the dock. Dirty contacts cause charging failures.
Wash the dustbin
Rinse the bin with water if the manual allows, and dry completely. Wipe the bin’s seal.
Mop pad and tank care (combo models)
Wash reusable mop pads after use, let them dry, and empty the tank. Descale the tank if you have hard water. Clean the base station’s water trays and tubes, as the manual describes. See our robot vacuum and mop combo round-up for combo models.
Parts, Base Station, Software and Battery
Manufacturers give intervals, and your use will vary. As a general guide, parts that wear faster in homes with pets or heavy dust need earlier replacement.
| Part | Typical replacement interval |
|---|---|
| — | — |
| Side brush | Every 3 to 6 months |
| Main brush | Every 6 to 12 months |
| Filter | Every 3 to 6 months if not washable |
| Mop pads | Every 3 to 6 months |
| Dust bags (base station) | When full |
| Battery | When runtime falls sharply, often after a few years |
Follow your manual’s schedule. Keep spare brushes and filters on hand, so that a worn part never stops you from running the robot.
The Base Station and Docking
Wipe the charging contacts and the area around the dock. Keep the dock on a hard floor against a wall with clear space in front, as the maker advises. Empty or replace the bag in a self-empty base on schedule, and clean the intake path where the robot sends debris. If your base washes mop pads, drain the dirty water tank and clean the pads and tray often to avoid odor.
Software and Maps
Update the firmware and app when updates are available, since they can fix navigation bugs and security issues. Review the map from time to time, and delete duplicate or corrupted maps. Check no-go zones after you rearrange furniture. If the robot gets lost, restart it from the dock, or rebuild the map with doors open and the floor clear.
Battery Care
Lithium-ion batteries lose capacity over time. Avoid leaving the robot fully discharged for weeks, and avoid storing it in a hot place. If you leave for a long trip, charge it partially and power it off per the manual. If runtime falls sharply, check whether the maker sells replacement batteries and follow the instructions. Do not use damaged or swollen batteries, and stop use if the robot is hot or smells of burning.
Troubleshooting, Routine and Mistakes
- Robot stops mid-run: check for tangled brushes, stuck wheels, and a full bin.
- Weak suction: empty the bin, clean the filter, and check for clogs in the intake.
- Wrong turns or bumping: clean sensors and check lighting for camera models.
- Will not charge: clean contacts and check the dock’s power.
- Error beeps: look up the code in the app or manual.
See the robot vacuum guides and the home appliances hub for related guides, and the How We Review page for how we handle durability claims.
Setting Up a Routine You Will Keep
A maintenance routine fails if it takes too long. Keep a small kit near the dock: scissors or the cleaning tool, a microfiber cloth, a spare filter, and a spare side brush. Do the weekly tasks while the robot is charging. A good habit is to pair the task with a regular activity, such as taking out the trash on trash day. Mark a monthly reminder in your phone for the filter, wheels, and contacts. Put the replacement dates for brushes, filters, and pads on a calendar when you install them.
Many apps track part life and send reminders. Use these, but verify by looking at the parts, since the counter assumes average use. If you see worn bristles, a flat brush, or a gray filter, replace it. Homes with long-haired pets or children will find that parts wear sooner.
Prepare the Floor for the Robot
Maintenance includes the environment. Pick up cords, socks, and small toys before each run, tuck loose curtain cords out of reach, and move lightweight items that the robot could drag. Use the app’s no-go zones for pet bowls and cable clusters. Keep thresholds clear, since a wheel stuck on a rug fringe leads to stalls and extra wear. Check that the dock area is clear of clutter, and that the robot has a straight path to return.
Mistakes That Shorten Life
- Letting hair wrap around the brush until it stalls the motor.
- Washing non-washable filters or putting electronic parts in water.
- Leaving a wet mop pad on the robot between runs.
- Ignoring app updates.
- Running the robot over cords, liquids, or fine construction dust, which clog it quickly.
- Using non-approved replacement batteries or chargers.
- Storing the robot in a hot garage or a freezing room.
A few small habits prevent most of them. If you plan to leave the robot unused for a long time, clean it, charge it partway, turn it off, and store it in a cool, dry place. When you return, charge it fully and update the app before the first run.
Decision Rules
- Homes with pets: bin and brush weekly, filters every month.
- Low-traffic homes: bin and brush every two weeks, filters every two months.
- Hard water with a combo: descale monthly.
- Older robot with low runtime: consider a battery if available, or replace the unit.
Keep a note of the model name and the part numbers for the side brush, main brush, filter and mop pads. Replacement parts are easiest to order when you do not have to take the robot apart to read the label.
Frequently Asked Questions
How often should I clean my robot vacuum?
Empty the bin after every few runs, or after each run with pets, and cut hair from the main brush and wipe the sensors weekly. Wash or tap the filter, clean the wheels and wipe the charging contacts monthly. Replace side brushes, main brushes, filters and pads on the maker schedule.
How often should I replace robot vacuum parts?
Follow the manual. As a general guide, side brushes and non-washable filters wear every few months, main brushes every six to twelve months, and mop pads every few months. Homes with pets or heavy dust need earlier replacement. If bristles are worn flat or the filter is gray, replace the part.
Why does my robot vacuum keep getting stuck?
Common causes are hair wrapped around the brushes or wheels, a full bin, dirty cliff sensors and clutter such as cords or rug fringe. Clean the brushes, wheels and sensors, pick up loose items before runs and use the app no-go zones. If it still stalls, check the manual error codes.
Can I wash a robot vacuum filter?
Only if the manual says it is washable. Rinse it with cold water, skip soap unless the manual allows it and let it dry completely for a day or more before reinstalling. Non-washable filters should be tapped out and replaced on the maker schedule rather than put in water.
Final Thoughts: Five Minutes a Week Keeps It Reliable
A robot vacuum stays reliable when hair, dust, and sensor film are cleared on schedule. Empty, cut, wipe, wash, and replace parts by the calendar, and keep spares ready.
Related buying guides
- LiDAR vs Camera Navigation in Robot Vacuums
- Robot Vacuum Battery Life and Replacement
- Robot Vacuum Buying Guide: Navigation, Suction, Upkeep
About the author

The BuyOnceChoice Editorial Team researches durable products worth buying once. Our guides compare published specifications, warranty terms, expert review consensus, and verified owner feedback. We do not conduct our own product trials. See How We Review and our Editorial Policy for our standards.