How to Clean Refrigerator Coils and Gaskets
How to clean refrigerator coils and gaskets step by step, with a seasonal schedule, tools list, and signs that dirty coils or seals are costing you.
 By BuyOnceChoice Editorial Team
Updated November 16, 2026
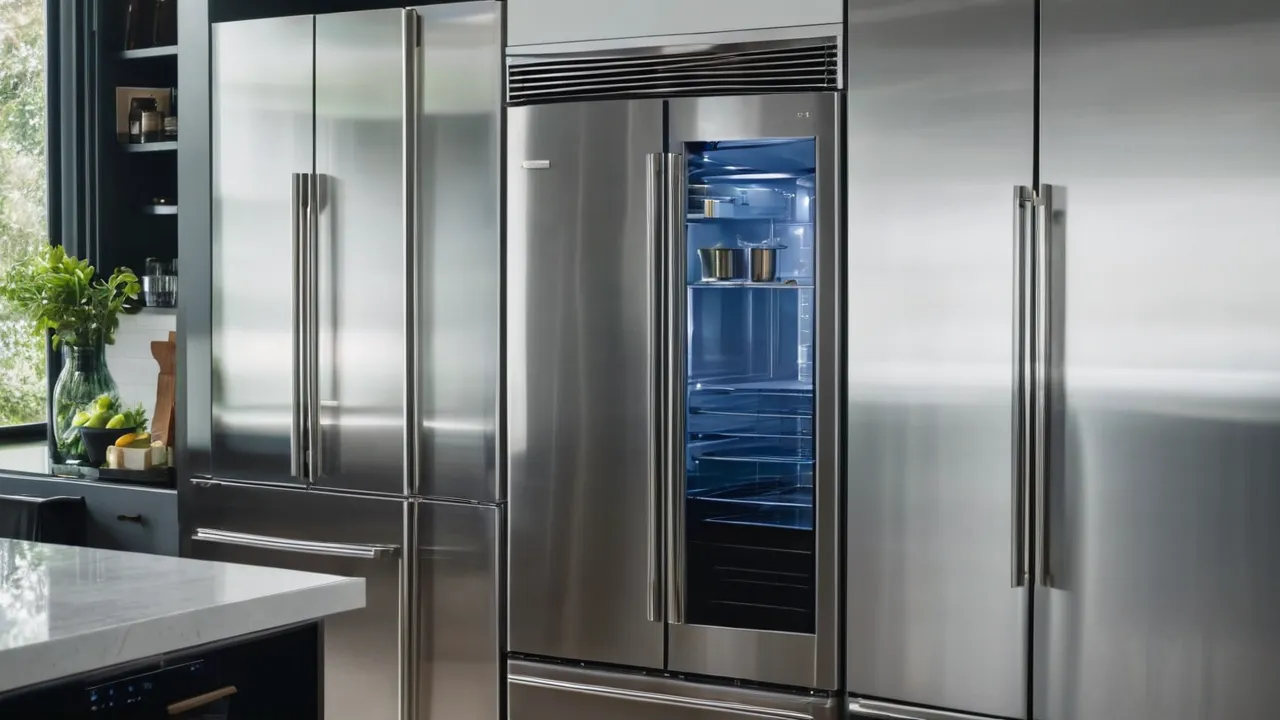
To clean refrigerator coils, unplug the refrigerator, remove the grille or access panel, vacuum the condenser coils with a soft brush, clean the fan area, and wipe the door gaskets with mild soap. Do the coils once or twice a year, and sooner with pets. Unplug before starting and follow the manual.
Safety Before You Start
Unplug the refrigerator before cleaning the coils. If the outlet is hard to reach, pull the unit out gently, taking care not to kink the water line on models with an ice maker. If you have a water line, shut off the supply if you need to move the unit far. Wear gloves, since the fins can be sharp, and avoid wetting electrical parts. Move food into coolers if the job will take a long time, and keep the doors closed as much as you can.
Why Coils and Gaskets Matter
The condenser coils release heat from the refrigeration system. When dust, pet hair, and grease coat the coils, heat cannot escape, and the compressor runs longer and hotter. The result is higher power use, weaker cooling, and extra wear on the compressor. Dirty coils are one of the simplest causes of a refrigerator that runs constantly.
Gaskets are the rubber seals around the doors. A seal that is dirty, cracked, or hardened lets warm air in. The refrigerator then runs more, frost can build in the freezer, and food may spoil faster. Keeping gaskets clean and flexible protects efficiency and food safety.
Find Your Coils
Coil location varies. On many refrigerators, the condenser coils are underneath, behind the front grille at the bottom. On others, they are on the back panel. Some newer models have coils that are inside or behind panels and need little cleaning. Check the manual for the location, and look for instructions on removing the grille. The grille usually snaps off or is held by a few screws.
Tools
- A vacuum with a brush attachment and a narrow crevice tool.
- A long, narrow coil brush, often called a refrigerator coil cleaning brush.
- A flashlight.
- A soft cloth and mild dish soap.
- A small brush for gasket folds.
- A bucket of warm water.
- Gloves.
Cleaning the Coils Step by Step
- Unplug the refrigerator.
- Remove the grille or the back panel as the manual shows.
- Shine a flashlight at the coils and fan area to see the dust.
- Vacuum loose dust with the brush attachment, working gently along the fins.
- Use the coil brush to reach deep into the area, and pull out dust bunnies toward you.
- Clean the condenser fan blades, if accessible, with a soft cloth. Do not bend the blades.
- Vacuum the floor and the area under the unit.
- Check the drain pan, if accessible, for standing water or debris, and clean it with warm soapy water.
- Reinstall the grille or panel, plug the unit in, and make sure it starts.
Avoid spraying water on coils, since moisture can reach electrical parts. Do not use compressed air to blow dust into the room or into the motor, unless the manual allows it.
Take a quick photo of the coil area before you clean it and again afterward. It shows how much dust you removed, helps you remember how the grille fits back on, and gives you a baseline for how fast dust returns in your kitchen. If the fins look bent or flattened, mention it to a technician rather than forcing them straight.
Cleaning the Gaskets and Checking the Seal
Gaskets collect crumbs, spills, and mildew in their folds. Clean them with a cloth dampened in warm water and mild dish soap, then rinse with a clean damp cloth and dry. Use a soft brush or a cotton swab for the folds. Avoid harsh cleaners, bleach, or petroleum products, which can degrade rubber. Check for cracks, tears, and flat spots.
A simple seal check
Close the door on a strip of paper or a dollar bill. If you can pull it out without resistance, the seal in that spot is weak. Try several spots around the door. A weak seal can sometimes be fixed by cleaning, by warming a stiff gasket with a hair dryer on low to restore shape, or by adjusting the door level. A torn or permanently flattened gasket should be replaced, and replacement gaskets are available for many models. Check that the refrigerator is level, since a tilt can leave a gap.
Schedule
| Task | Frequency |
|---|---|
| Vacuum coils | Every 6 months, every 3 to 6 with pets |
| Wipe gaskets | Monthly |
| Check seal | Every 6 months |
| Clean drain pan | Yearly |
| Vacuum under and behind | Every 6 months |
Our refrigerator guides show how coil location varies by model, and the How We Review page covers how we weigh upkeep claims.
Signs Dirty Coils or Seals Are the Problem
- Compressor runs most of the time.
- The back or the sides feel hot.
- Frost builds quickly in the freezer.
- Condensation forms around the door.
- The refrigerator struggles in summer.
- Energy bills climb without another cause.
If cleaning does not help, check the temperature settings, the door alignment, and the fans. Persistent problems need a technician.
Other Spots That Affect Cooling
Beyond coils and gaskets, a few other items affect how hard the refrigerator works. Check the vents inside the fridge and freezer compartments, since blocked vents stop cold air from circulating. Do not stack items against the back wall or in front of the vents. Check the door shelves for loose items that prevent the door from closing. Check the level, with a small bubble level on the top shelf, and adjust the front feet so the doors close on their own.
Look at the drain on the back wall of the fridge compartment. A small hole drains defrost water to the pan at the bottom, and food debris can clog it, causing water to pool on the shelf or freeze. Clear it with warm water and a soft pipe cleaner as the manual suggests. If your refrigerator has a water filter, change it on the schedule in the manual, and shut off the supply before replacing a filter that is not a quick-change design.
A Seasonal Routine You Can Keep
Pick two days a year to tie the job to something you already do, such as the clock change in spring and fall. On those days, unplug the unit, vacuum the coils and the floor behind it, wipe the gaskets, clear the drain, and check the temperature with a thermometer. Food safety agencies such as the FDA advise keeping the refrigerator at 40 degrees Fahrenheit or below and the freezer at 0 degrees or below, and many guides suggest aiming near 37 in the fresh food section. If readings drift, adjust the dials and recheck after a day.
When Cleaning Is Not Enough
If the refrigerator still runs constantly, makes loud noises, or fails to hold temperature after cleaning, there may be a mechanical fault. A failed condenser fan, a faulty defrost system, or low refrigerant requires a technician. Note the symptoms and when they started, and check whether the unit is under warranty. If the compressor is hot to the touch and the fan is silent, say so when you call. A clear description helps the technician bring the right parts, and may save a second visit.
Decision Rules
- Pets or a dusty home: clean coils more often, commonly every three to six months, and check your manual.
- Clean home without pets: twice a year is enough.
- Coil location unclear: check the manual or the maker’s website.
- Seal weak after cleaning: adjust level, then replace the gasket.
- Built-in or hard-to-move unit: call a technician for coil access.
See also the home appliances hub for related guides.
Keep the manual or a photo of the model plate with your cleaning notes. When something goes wrong, you will want the exact model number to look up coil access, gasket part numbers and any warranty coverage.
Frequently Asked Questions
How often should I clean refrigerator coils?
Once or twice a year for most homes, and more often, commonly every three to six months, if you have pets or a dusty home. Put it on the calendar with something you already do, such as the clock change. Dirty coils make the compressor run longer and hotter, so regular cleaning protects efficiency.
Where are the coils on my refrigerator?
On many models they sit underneath behind the front grille, on others they are on the back panel, and some newer models have coils behind panels that need little cleaning. Check the manual for the location and the steps to remove the grille, which usually snaps off or is held by a few screws.
How do I know if the door gasket needs replacing?
Close the door on a strip of paper. If it pulls out without resistance in a spot, the seal is weak there. Cleaning, warming a stiff gasket with a hair dryer on low and leveling the unit can help. A torn, cracked or permanently flattened gasket should be replaced, and parts are sold for many models.
Can I use compressed air to clean refrigerator coils?
Avoid it unless the manual allows it. Compressed air blows dust into the room and can push it into the fan motor. Use a vacuum with a brush attachment and a long, narrow coil brush with the unit unplugged, and do not spray water on the coils because moisture can reach electrical parts.
Final Thoughts: Clean Twice a Year, Wipe Monthly
Clean coils help the compressor shed heat, and clean gaskets keep warm air out. Unplug the unit, vacuum the coils, wipe the seals, and check them on a schedule. Simple habits protect efficiency and food.
Related buying guides
- Mini Fridge Buying Guide: Size, Noise, and Use Case
- Refrigerator Dimensions: How to Measure Before You Buy
- Refrigerator Ice Maker and Water Dispenser: Pros and Cons
About the author

The BuyOnceChoice Editorial Team researches durable products worth buying once. Our guides compare published specifications, warranty terms, expert review consensus, and verified owner feedback. We do not conduct our own product trials. See How We Review and our Editorial Policy for our standards.