How to Install a Rooftop Cargo Carrier Without Damage
Check limits, set crossbar spacing, mount the box centered, tighten to the maker's spec and recheck after the first miles. Avoid paint and roof damage.
 By BuyOnceChoice Editorial Team
Updated November 16, 2026
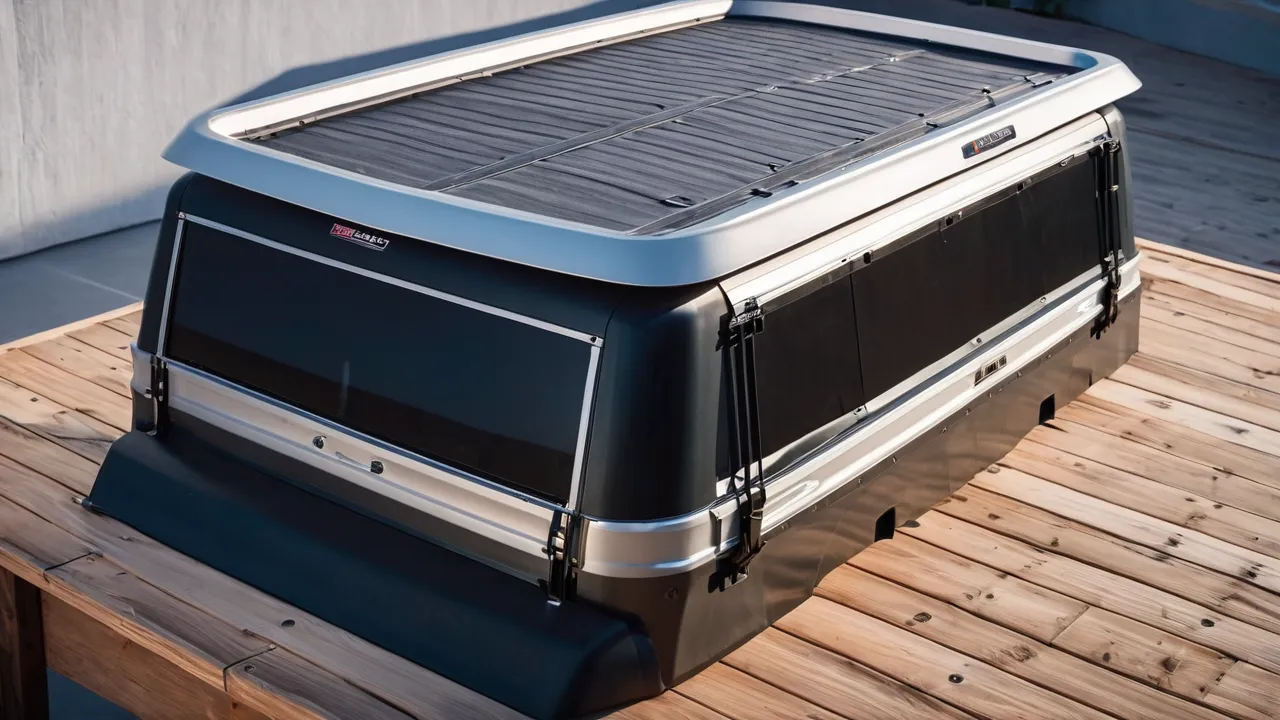
To install a rooftop cargo carrier, confirm that the crossbars are secure and rated for the load, set the carrier on the bars in the position the manual shows, tighten the clamps evenly, check clearances for the hatch and windshield, and recheck the mounts after the first few miles. Read both the carrier manual and the vehicle manual first, because the load limit and the mounting method come from them. Take your time. Most installation problems come from rushing.
Before you begin
Gather what you need: the carrier manual, the vehicle manual, the clamp hardware, a soft cloth, a tape measure and a helper. A carrier is bulky and awkward to lift alone, and dropping it can crack the shell or scratch the roof. Choose a flat, level spot with room to open the carrier and walk around the vehicle.
Check the numbers. Find the vehicle’s roof load limit, the crossbar limit and the carrier’s own limit, and note the weight of the empty carrier. Your cargo plus the carrier must stay below the lowest limit, and the limit while driving is lower than a limit when parked. Inspect the carrier for cracks, check that clamps and knobs are present and look at the crossbars for damage. Clean the roof and crossbars so grit does not scratch the paint. If your carrier is new, read through the parts list and compare it with what is in the box.
Install or check the crossbars
Most carriers mount to crossbars. If the bars are not yet fitted, install them following the rack maker’s instructions and fit guide, and check that they sit square to the vehicle and level. If bars are already on the vehicle, check that every bolt and clamp is tight and that the bars have not shifted.
The spacing between the bars matters, because each carrier lists a range of spacing it accepts. Measure the distance between the bars from center to center and compare it with the carrier manual. If the bars are too close, the carrier may twist, and too far apart, the clamps may not reach. Adjust the bars if the rack maker’s instructions allow. Check also that the bars extend far enough past the clamp points, since a clamp too near the end of a bar can slip off.
Set the carrier position
Lift the carrier with a helper and set it on the bars, then adjust it forward or backward. Place it so that the lid does not hit the windshield or the open hatch and so that the carrier does not extend too far over the rear or front. The manual usually shows a recommended position. Center the box between the sides of the vehicle, with an equal gap on both sides.
Mark the clamp positions with tape on the bars so you can set the carrier in the same place each time. Open the hatch or tailgate fully and make sure it clears the carrier by a comfortable margin. Check the sunroof, antenna and any roof-mounted fixtures, since they may need room to move.
Position checks to repeat each season
- Open the tailgate fully and confirm clearance.
- Open the carrier lid and make sure it does not strike the windshield or the hatch.
- Check that the carrier sits level and does not tilt.
- Confirm that the clamps align with the marks.
Tighten clamps and mounts
Fit the clamps around the crossbars as the manual shows. Tighten them in stages, alternating between sides and between the front and rear clamps, so the carrier seats evenly. Some carriers use quick-release knobs with a torque-limiting feature that clicks when properly tight. Others use bolts or nuts, and the manual may give a torque specification. Follow it rather than guess. Overtightening can crack the shell or crush the bars, and undertightening lets the carrier shift.
Check that clamp hardware engages the bar fully, with no gaps, and that any plastic spacers or pads sit correctly. Wiggle the carrier firmly by hand. It should not shift relative to the bars. Close the lid, try the latch and lock it, and confirm that the lid is secure. Keep the key in a safe place, not in the lock.
Check clearance and fit
With the carrier installed, walk around the vehicle and look from each side. Check the gap between the carrier and the roof, the gap at the bars, and the clearance to the windshield and hatch. Make sure no strap or cable hangs where it can drag on the paint. If the vehicle has a rear spoiler or a roof antenna, check that the carrier does not touch them.
Measure the height of the vehicle with the carrier and write it on a card or a sticker near the mirror. Garage doors and drive-through height limits can damage the carrier and your roof. Many owners hang a small note from the mirror as a reminder.
The first drive and the retorque check
Mounts can settle after the first few miles. Drive slowly at first, listening for wind noise, rattles or whistles. Stop at the first safe spot after a short distance and recheck the clamps, knobs and lid latch. Tighten as the manual advises. Check again at the next stop and at fuel stops on long trips. Do the same after driving on rough roads or in high winds.
If you hear a new noise, stop and check. A loose clamp, a gap in the lid seal or an item shifting inside can all cause sounds. A strap or loose cable can whip against the carrier. Fix the cause before continuing, rather than turning up the radio.
Loading and safety
Pack heavy items low and near the center of the box, balance weight from side to side and fill gaps with soft items so cargo does not slide. Keep the total load below the lowest limit, and remember that the box weight counts. Never carry fuel, propane tanks or other hazardous items in a closed box. Keep valuables in the cabin. Close and lock the lid and check the latch before you drive.
Mistakes that damage paint or the roof
- Setting the carrier on the bars without a clean roof, which grinds grit into paint.
- Dragging the carrier across the roof instead of lifting it.
- Overtightening clamps until the shell cracks or the bars bend.
- Letting clamp ends or straps rub the paint.
- Skipping the retorque check after the first miles.
- Ignoring the height when entering a garage.
- Mounting the carrier too far forward, where the lid can strike the windshield.
Use the guidance in our cargo carrier guide and the roof racks and cargo carriers category for choosing and caring for a carrier, and see how we review for how we weigh safety advice. If you are unsure about mounting on your roof, ask a qualified installer.
A step-by-step summary to keep in the glovebox
- Read the carrier and vehicle manuals, and write down the lowest load limit.
- Clean the roof and bars, then inspect the carrier for cracks and missing parts.
- Check the crossbar spacing against the carrier manual.
- Lift the carrier with a helper and set it on the bars, centered side to side.
- Slide it to the position that clears the hatch and windshield, and mark the clamp locations.
- Tighten each clamp in stages, following the manual’s torque or knob click.
- Wiggle the carrier, close and lock the lid, and measure the height.
- Drive slowly, stop after a short distance and recheck every clamp.
- Recheck at fuel stops and before each trip.
Removing the carrier and storing it
To remove the carrier, reverse the steps with a helper. Release the clamps evenly, lift the box straight up rather than dragging it, and set it on a soft surface. Wipe off road film and salt, let it dry and store it in a place where it will not be crushed or sit in direct sun. Remove the bars too if you will not use them for a long time, since that restores fuel economy and quiets the vehicle. Keep the hardware together in a labeled bag, and write down the clamp positions so that the next installation goes quickly.
Frequently Asked Questions
How tight should cargo carrier clamps be?
Tight enough that the carrier does not shift when you push it firmly, but not so tight that it cracks the shell or bends the bars. Follow the manual’s torque value or the click of a torque-limiting knob, tighten in stages from side to side, and recheck after the first few miles, because parts settle.
Where should I place a cargo box on my roof?
Center it from side to side, and position it fore and aft as the manual shows, so the lid and the open hatch clear the windshield and each other. Mark the clamp positions with tape so you can repeat the placement.
Can I install a rooftop cargo carrier by myself?
It is possible with a small, light carrier, but a helper makes it much safer, since the box is bulky and easy to drop. Lifting alone risks scratching the roof, cracking the shell or straining your back, so ask for help and lift the box straight up rather than dragging it.
How often should I check the mounts on a roof carrier?
Check after a short drive when you first install it, again at fuel stops on long trips and before every trip. Look at the clamps, knobs, lid latch and lock, and listen for new noises. Retighten as the manual says, and recheck after rough roads or strong wind.
Final Thoughts
A careful installation takes a little time: confirm the load limits, set the carrier at the right position, tighten the clamps in stages, check clearances and recheck the mounts after the first miles. Avoid the mistakes that scratch paint or overload the roof, and keep the load balanced. A well-mounted carrier is quiet, safe and ready for years of trips.
Related buying guides
- Kayak and Bike Roof Rack Guide: Carriers and Fit
- Roof Rack Load Limits: Static vs Dynamic Weight
- Roof Rack vs Cargo Box vs Hitch Carrier: Which to Pick
About the author

The BuyOnceChoice Editorial Team researches durable products worth buying once. Our guides compare published specifications, warranty terms, expert review consensus, and verified owner feedback. We do not conduct our own product trials. See How We Review and our Editorial Policy for our standards.