How to Clean Stains Off Enameled Dutch Ovens
Brown stains and burnt residue on enamel are usually cosmetic. These gentle methods remove them without scratching the glossy finish.
 By BuyOnceChoice Editorial Team
Updated November 16, 2026
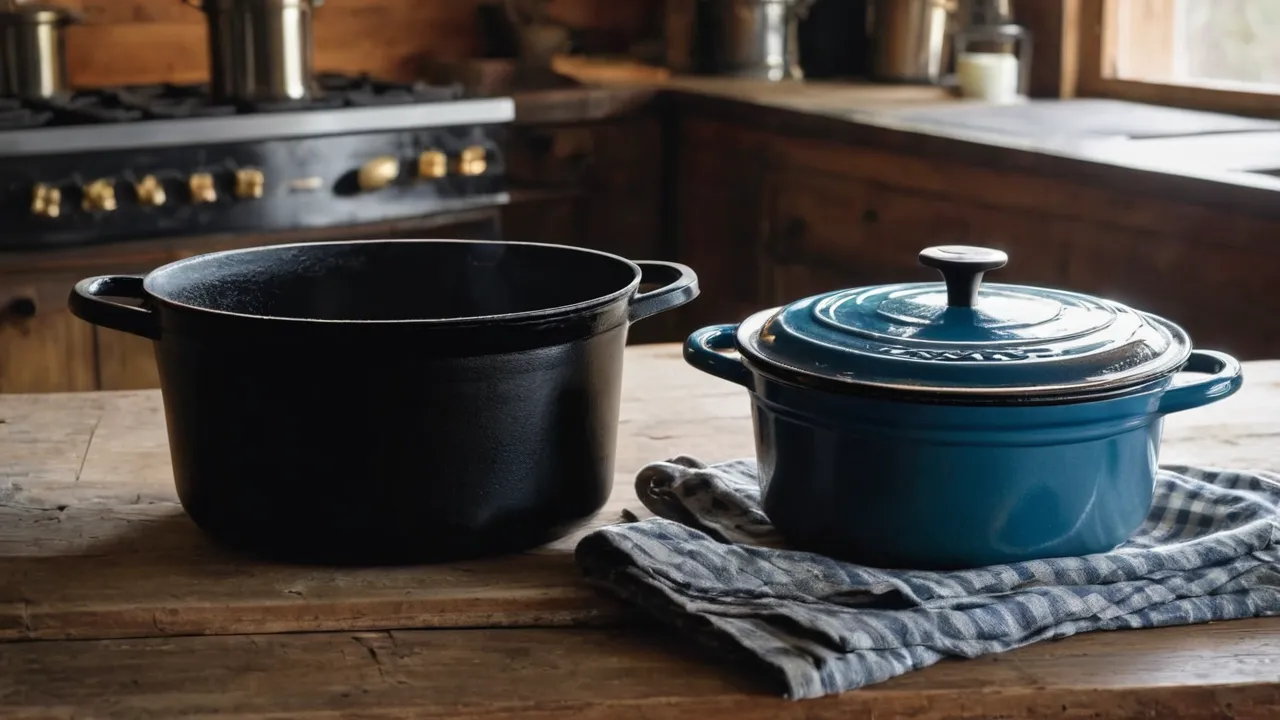
To clean stains off an enameled Dutch oven, start gentle: soak in warm soapy water, then simmer a few tablespoons of baking soda in water for a few minutes, and scrub with a soft sponge or nylon brush. Most brown stains, burnt residue, and tea-colored film lift this way. Save stronger methods for stubborn marks, and check the manufacturer’s care guide before using bleach or abrasive cleaners.
Know What You Are Cleaning
Enameled cast iron is a cast iron body fused with a glassy coating. The enamel is hard and smooth, but it can scratch, craze, or chip, and abrasive cleaning makes those problems worse. Interior surfaces come in light colors, such as cream or white, which show stains easily, and in darker finishes that hide them. Stains on enamel are usually surface film from oils and sugars, not damage to the coating, which is why they respond to patient soaking rather than force.
It helps to separate three kinds of marks. Food film is a brown or tan layer of baked oil and protein that wipes off with soaking. Mineral marks look like white or cloudy spots from hard water and clean with a mild acid. True damage, such as chips, deep scratches, or a rough patch where the enamel has worn through, will not clean and needs a different decision. Work out which you have before you scrub.
Let the pot cool completely before washing. Cold water on a hot enameled pot can cause thermal shock that cracks the enamel or the iron beneath it.
Step 1: Soak and Wash
This handles light stains and fresh residue.
1. Let the pot cool to room temperature. 2. Fill it with warm water and a few drops of dish soap, enough to cover the stained area. 3. Soak for 20 to 30 minutes, or longer for baked-on food. 4. Wipe with a soft sponge, a nylon brush, or a wooden or silicone scraper. 5. Rinse and dry fully with a towel.
Avoid steel wool, metal scrapers, and scouring powders, which can scratch. A plastic pot scraper is helpful for burnt edges.
Step 2: Baking Soda Simmer
For brown stains and burnt-on residue that survive a soak, use heat and a mild alkali.
1. Add enough water to cover the stained area and a tablespoon or two of baking soda for each quart of water. 2. Bring to a gentle simmer on low to medium heat for about 10 minutes, stirring with a wooden spoon. 3. Turn off the heat and let it cool until safe to handle. 4. Scrub with a nylon brush, then wash and rinse.
For stuck-on spots, a thick baking soda paste left on the stain for 30 minutes helps before scrubbing. Do not leave the pot empty on a burner, and never boil it dry.
Step 3: Stubborn Stains
If simmering does not work, try these in order, stopping when the stain lifts.
- Oxalic-acid cleanser for cookware: some makers permit gentle use. Apply a paste, let it sit briefly, scrub lightly, and rinse thoroughly.
- Diluted bleach soak: some manufacturers allow a diluted bleach soak for light interiors. Follow the ratio and time they give, rinse thoroughly, and never mix bleach with vinegar or ammonia. Check that the pot has no chips, since bleach can attack exposed iron.
- Vinegar and water for mineral marks: a diluted mix wiped on and rinsed off. Avoid long soaks.
- Dishwasher: some enameled pieces are dishwasher safe, but detergents can dull the finish over time, and hand washing is the safer default.
Ventilate the room when using bleach or acid, wear gloves, and rinse until no residue remains. If a manufacturer says not to use a product, follow that guidance.
What Not to Use
- Metal scouring pads and steel wool.
- Harsh powders with coarse grit.
- Sudden temperature changes such as a cold rinse on a hot pot.
- Metal utensils that scrape the interior.
- Long soaks in strong acids or bleach beyond the guidance.
- Oven cleaner or caustic products on the enamel.
If the surface has already lost its gloss in some areas, harsher cleaning will only extend the dull patches. Use the gentlest method that works.
Preventing Stains
- Preheat gradually and use medium heat, since high heat bakes oils onto the surface.
- Use enough fat or liquid for the cooking you do, and stir to prevent scorching.
- Deglaze after browning, which lifts fond before it burns.
- Soak the pot soon after cooking instead of leaving it overnight.
- Avoid heating the pot empty, which can discolor and damage the enamel.
- Use wooden, silicone, or nylon utensils.
- Store with a paper towel or a lid-lifting spacer so air circulates.
Stain Chart
| Stain | Likely cause | First method |
|---|---|---|
| Brown film inside | Baked oil and sugars | Soak, then baking soda simmer |
| Dark burnt spots | Scorched food | Baking soda paste, then simmer |
| White cloudy spots | Mineral deposits | Diluted vinegar wipe |
| Tea or tomato tint | Pigment in food | Baking soda soak, or maker-approved bleach soak |
| Gray scratches | Metal utensil marks | Cleanser with a soft cloth, may not fully lift |
| Rough patch or chip | Damaged enamel | Cannot be cleaned, inspect and decide |
Our Dutch oven guides explain what to look for in an enameled pot. Cooks who want a pan that tolerates scouring may prefer stainless steel cookware. Our How We Review page explains how we evaluate products using research and specifications. For related gear, see the cookware and kitchen tools section.
When the Stain Is Actually Damage
Hold the pot in strong light and run your finger across the stained area. If it feels smooth, the mark is a stain. If it feels rough, or if you see dark exposed metal or a flaked edge, the enamel is damaged. A chip on the rim or outside is mostly cosmetic, though it can rust. A chip in the cooking surface can grow and expose bare iron, so many makers recommend retiring a pot with a damaged interior. Check the maker’s guidance and warranty, and do not cook with a pot that is flaking into food.
A Realistic Example
Suppose a cream-colored pot has a brown film after months of braising. A warm soak does little, so the owner simmers a baking soda solution for ten minutes and scrubs with a nylon brush. Most of the film lifts, leaving a faint tint. A second round with a baking soda paste left for half an hour removes most of the rest. The remaining faint tint is cosmetic and does not affect cooking. The owner accepts it rather than switching to harsher methods that could dull the enamel. This patient, gentle approach is the one that protects the pot.
Cleaning Between Cooking Sessions Versus Deep Cleaning
Most owners do not need a deep clean after every meal. After ordinary cooking, a warm soak and a soft sponge are enough, and drying the pot before storage prevents water spots and rust on the exposed rim. Plan a deeper baking soda treatment every few weeks for pots used for frequent braising, or whenever the interior begins to look dull or tinted. Rim edges, where enamel meets bare iron, deserve extra attention: wipe them dry and apply a thin film of cooking oil if the maker advises it, since the exposed rim can rust.
Keep lids clean as well. The underside of the lid collects condensate and oil, which can brown and drip back into the pot. Wash the lid with the same gentle approach, and check the knob for a loose screw, since a loose knob is a safety hazard when you lift a hot lid.
Tools Worth Keeping at the Sink
A small kit makes enamel care easier: a nylon-bristle brush, a plastic pot scraper, a non-scratch sponge, a box of baking soda, a bottle of white vinegar for mineral spots, and a soft towel for drying. Add rubber gloves if you plan to use stronger products. Keep wooden or silicone spoons by the stove so that metal utensils never touch the interior, and a pair of oven mitts for lifting the hot lid. These inexpensive items prevent most of the damage that makes stains hard to remove in the first place.
Frequently Asked Questions
Can I use bleach on an enameled Dutch oven?
Only if the manufacturer allows it. Some permit a diluted bleach soak for light interiors, with a stated ratio and time. Never use bleach on a chipped pot, never mix it with other cleaners, and rinse thoroughly afterward. If the maker does not mention bleach at all, choose the gentler methods instead.
Why is the inside of my Dutch oven turning brown?
Baked-on oil and sugar form a thin brown film at normal cooking heat, especially on light enamel. It is usually cosmetic and responds to a baking soda simmer. Cooking on lower heat, adding enough liquid, and deglazing after browning reduces it, and regular soaking keeps it from building up.
Is it safe to cook in a stained enameled pot?
Yes, if the enamel is intact and the stain is surface film. A pot with chips, flaking, or rough worn patches in the cooking surface should be retired, since exposed iron can rust and enamel fragments can get into food. When in doubt, check the maker’s guidance about damaged enamel.
Can I put an enameled Dutch oven in the dishwasher?
Many makers say it is dishwasher safe, but hand washing is gentler and keeps the finish longer. Check the care guide for your pot, and avoid the dishwasher if the enamel is chipped, since detergent can reach the exposed iron and cause rust spots.
Final Thoughts: Be Patient, Not Abrasive
Most stains on enameled Dutch ovens come off with a soak and a baking soda simmer. Escalate slowly, follow the maker’s care guide, and stop using a pot whose cooking surface is chipped or flaking.
Related buying guides
- Oven Safe Temperatures for Cookware and Lid Knobs
- Round vs Oval Dutch Oven: Which Shape Fits You
- Braiser vs Dutch Oven: Which Do You Need
About the author

The BuyOnceChoice Editorial Team researches durable products worth buying once. Our guides compare published specifications, warranty terms, expert review consensus, and verified owner feedback. We do not conduct our own product trials. See How We Review and our Editorial Policy for our standards.